Add a new policy
This article describes how to create and edit a new policy for protecting Datto Backup for Microsoft Azure: Azure Files.
Environment 
- Datto Backup for Microsoft Azure: Azure Files
Description
A policy is used to determine the backup and retention period for a tenant associated with it. It also allows you to set the threshold for amount of time without a successful backup before an alert is sent.
Create new policy 
To create a new policy, select + Policy in the upper right of the page. This will open the Add New Policy drawer.
To create a new policy from scratch, follow the process outlined below.
-
Log into the UniView portal using your UniView or KaseyaOne credentials.
-
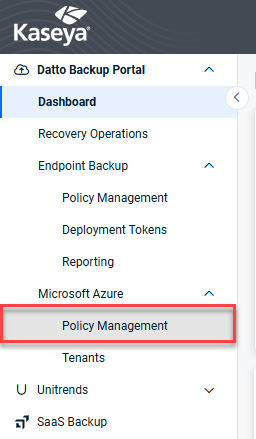
In the left-hand menu, expand Microsoft Azure and select Policy Management.
-
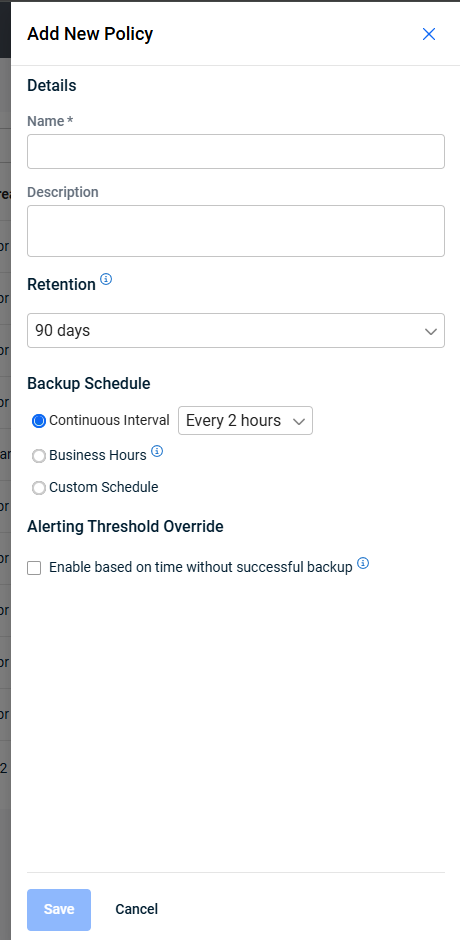
Select + Policy in the upper right of the page. The Add New Policy drawer will open.
-
Fill out the Details of the new policy:
-
Name: The name of the policy to be created.
-
Description: Not required but can be helpful to list the tenant(s) intended to be used with the policy or the retention window selected.
-
-
Select the retention period for the backups using the policy. This determines how long backup data is kept in the cloud.
NOTE Older backups will automatically be consolidated over time to save space while preserving the key recovery points.
-
Set the backup schedule using one of the following options:
-
Continuous Interval: Select the period between backups from the dropdown. A new backup will be taken every [selected] hour(s).
-
Business Hours: Backups will occur every two hours, Monday - Friday, between 8 am and 6pm (local time).
-
Custom Schedule: Selecting this option will open more options for a custom schedule. Here you can select which days to take backups, the frequency of the backups on those days, and the time ranges in which backups can be taken.
-
-
Under Alerting Threshold Override, select the checkbox to set the time period that is allotted without a successful backup before an alert will be sent.
NOTE This will override the BackupIQ settings to receive alerts based on the threshold defined here.
-
Click Save to complete the creation of the new policy or Cancel to discard the settings.
Edit a policy
Select the edit icon to the right of the policy on the Microsoft Azure – Policy Management page. This will open the Edit Policy pane, used to edit the existing policy. This provides the same options as when the policy is created. Select the option that needs to be changed and adjust its value as needed. 
Click Save to confirm the changes and Cancel to discard them. If the policy is updated the Modified By and Last Modified values on the Microsoft Azure – Policy Management page will be updated.


