Restoring a Datto Backup for Microsoft Entra ID backup

PERMISSIONS Superusers and admin users have full access to all features. Manager users can start backups. Monitor users can see the dashboard.
NAVIGATION https://login.backup.net/login (UniView) > Action menu
IMPORTANT BEFORE YOU RESTORE Restore skips existing Microsoft Entra ID records and any changes that have been made to existing records will not be restored. Instead, new records will be created only for records that do not exist at all in the target domain. New records will NOT be created for items that appear in the tenant's list of deleted records.
Use these steps to restore your Microsoft Entra ID data from a backup:
- Navigate to https://login.backup.net/login to log in to the Datto Backup Portal as a superuser or admin.
- Select SaaS Backup in the left navigation pane.
- Select the action menu at the right edge of the tenant you want to restore.
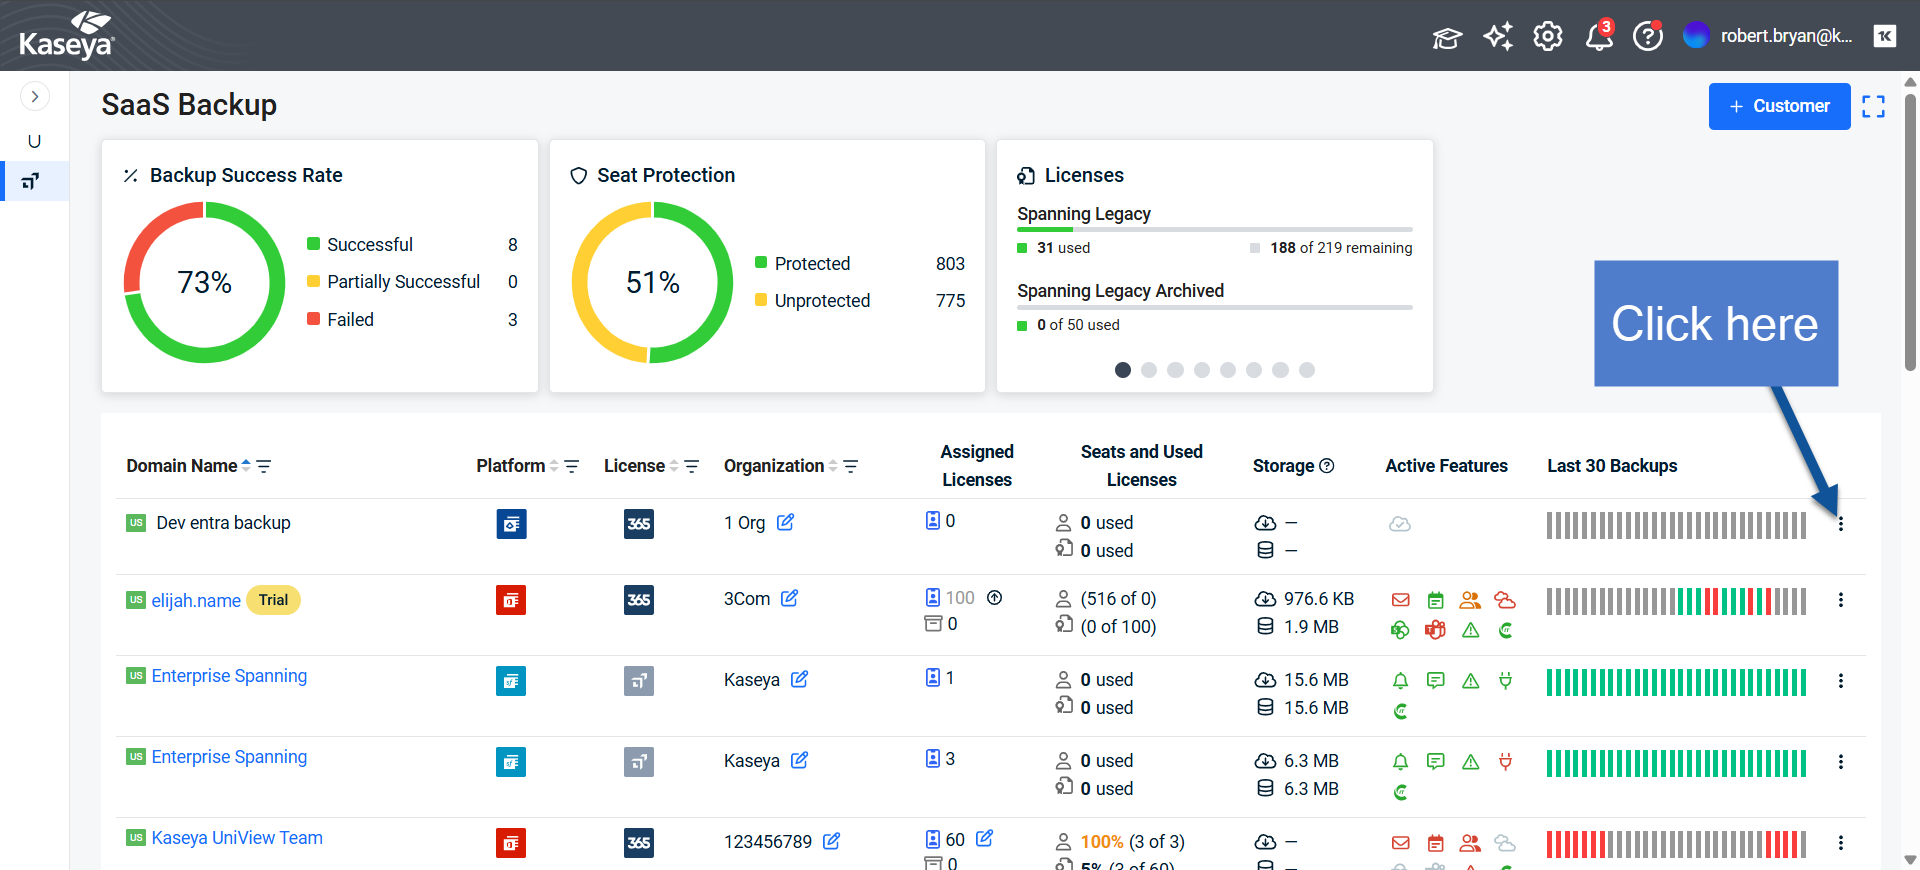
- Click Restore. The restore screen will appear:
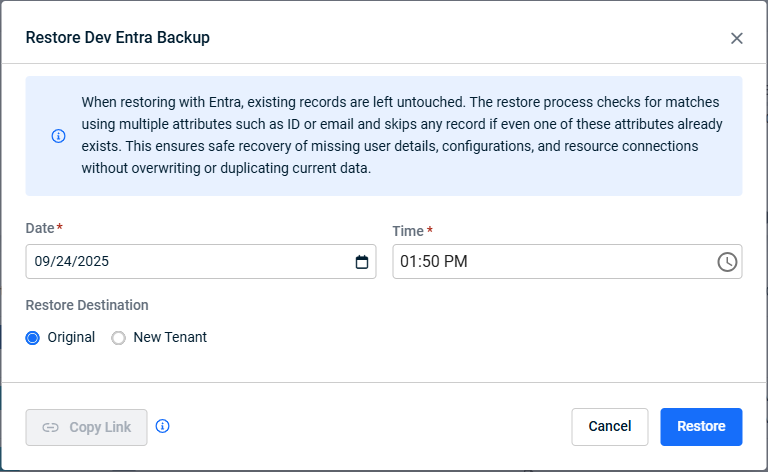
- Use the Date and Time fields to select the date and time from which you want to restore your data.
NOTE The date selector will not allow you to choose restore dates before your tenant was added to Datto Backup for Microsoft Entra ID.
NOTE Datto Backup for Microsoft Entra ID will restore your data from the closest restore point before the date and time you select.
- Choose a Restore Destination.
To restore your data to the same tenant where it was originally backed up from, select Original.
To restore your data to a new tenant, select New Tenant. To restore to a new tenant, you need to either click Sign in with Microsoft 365 to authorize the restore operation with your own Global Administrator credentials or click Copy Link to create a link that you can send to the Global Administrator for the tenant so that they can authorize the restore operation. Once the Global Administrator approves the restore via the link, you can continue with the restore.
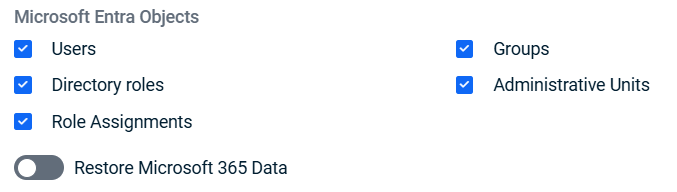
The Global Administrator will see a notification confirming their approval when they use the link to approve the restore. - Choose which types of Entra objects to restore and whether or not to restore Microsoft 365 data as well.
- Once you have received approval, click Restore.
You will see a message confirming that the restore has started.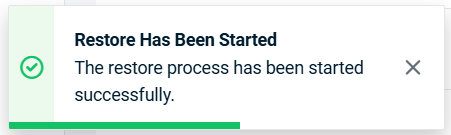
- Log in to your Microsoft Entra ID tenant to see your restored data.
- The person who requested the restore as well as everyone who is subscribed to alerts and has access to the tenant will be notified by email when the restore is complete.
For more information about subscribing to alerts, see To set up email notifications for alerts.
Restore details
You can now review rich statistics for recent Entra ID restores by clicking the restore statistics button: 
This helps you quickly validate what was restored, identify any issues, and trace who initiated the restore and where data was sent.
- Restore session summary for each restore, including:
- Number of restored items
- Number of skipped items
- Number of failed items
- Restore start and finish time
- Total restore duration
- Snapshot time
- Overall restore status
- First error description (when available)
- User who initiated the restore
- Target restore destination tenant
- Recent activity view: UniView shows up to 20 restore sessions from the last 30 days.
- Details: For each restore session, you can download a CSV file with per-item details:
- Item name
- Object type
- Restore status (restored, skipped, failed)

NOTE The CSV link is available for 24 hours after it is generated.


