Opening a tower chassis
Scope / Background 
This article explains how to open a SIRIS tower chassis in order to access the hard drives.
Procedure
IMPORTANT Be sure to shut down the device before proceeding
Use a T-15 screw driver to remove the screws that hold the cover and the drives.

There are two screws that need to be removed. See Figure 1.
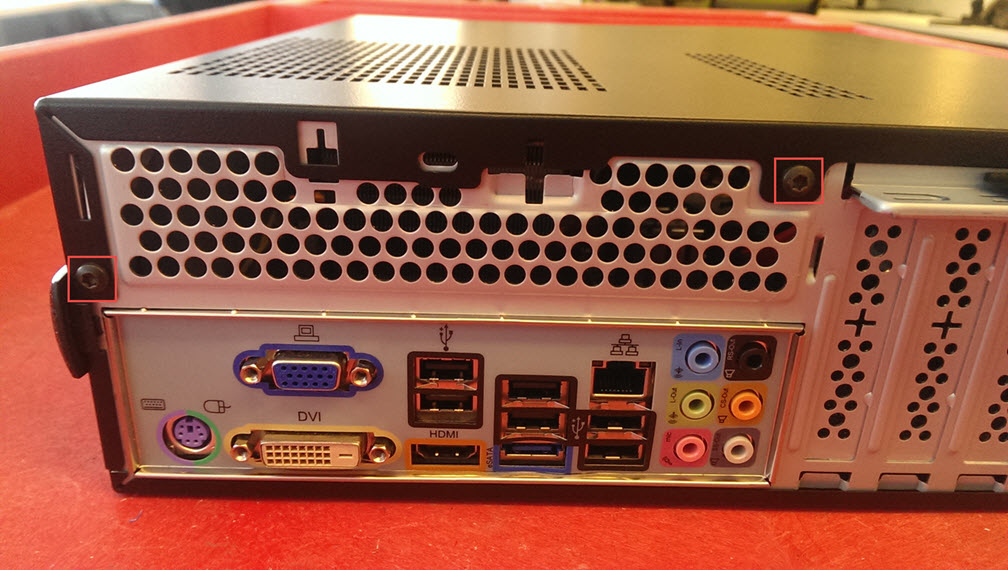
Figure 1 - Rear panel
Next, remove the two plastic tabs on the side of the unit. To remove the tabs pull the end slightly away from the unit and then turn them 45*, they will then come off. See Figure 2.
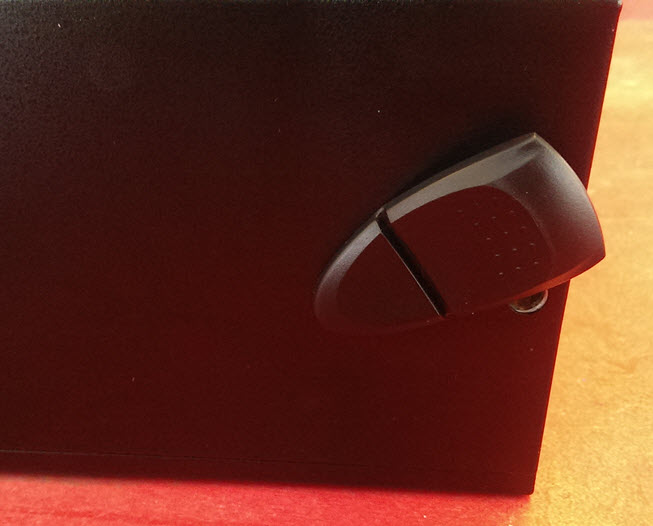
Figure 2 - Pull and turn the plastic tabs
Now, slide the cover back, as shown in Figure 3.
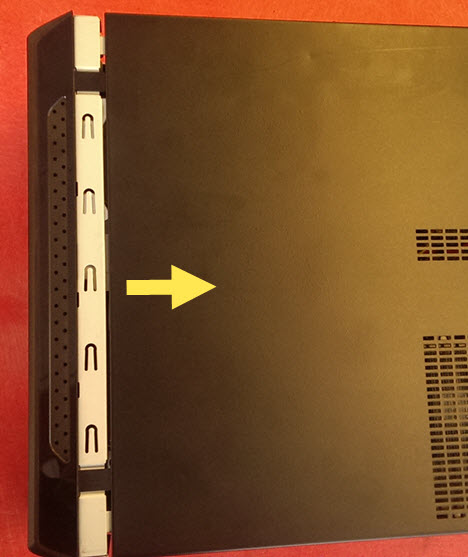
Figure 3 - Slide cover
Once you have removed the cover, you will see the drive carriage in the front of the unit, as shown in Figure 4.
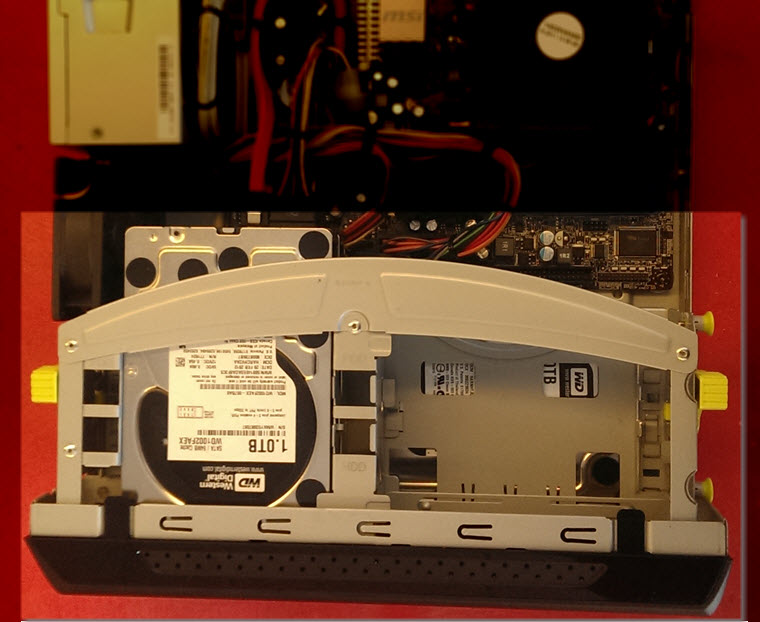
Figure 4 - Drive carriage
To remove the drive carriage you will first need to remove the front bezel, as shown in Figure 5.
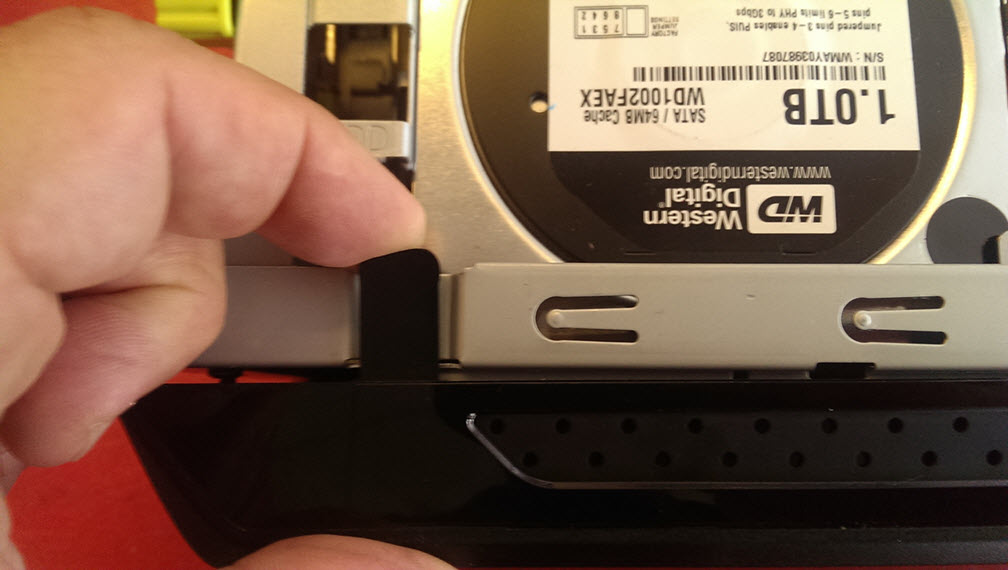
Figure 5 - Remove front bezel
Next, pull the two yellow tabs back, and this will release the drive carriage.
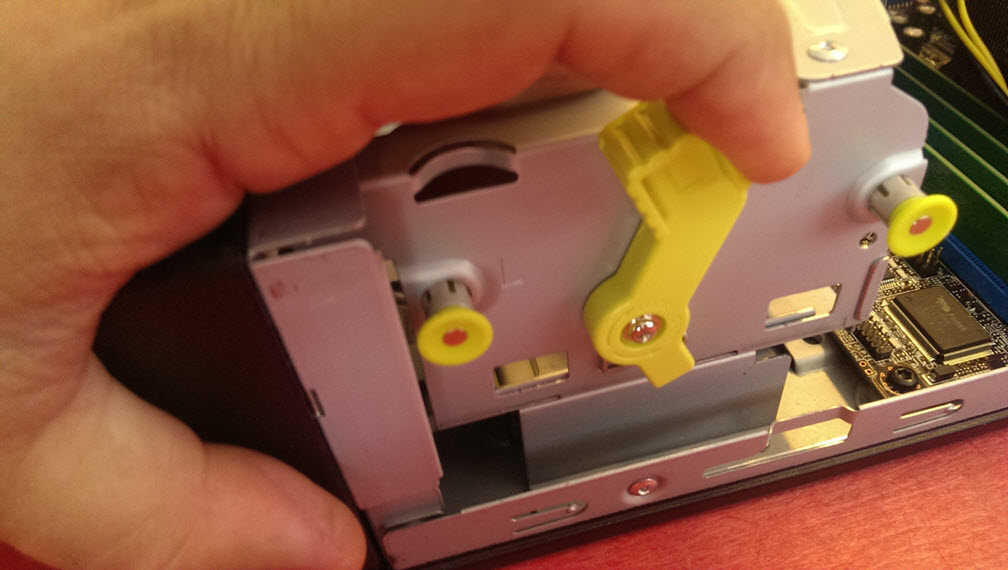
Figure 6 - Release the drive carriage
Use caution when lifting the carriage out, as the power and SATA wires do not have very much slack in them. Once the carriage is removed, the OS drive (A) is located on the bottom facing 90* from the array drives (B and C). See Figure 7.
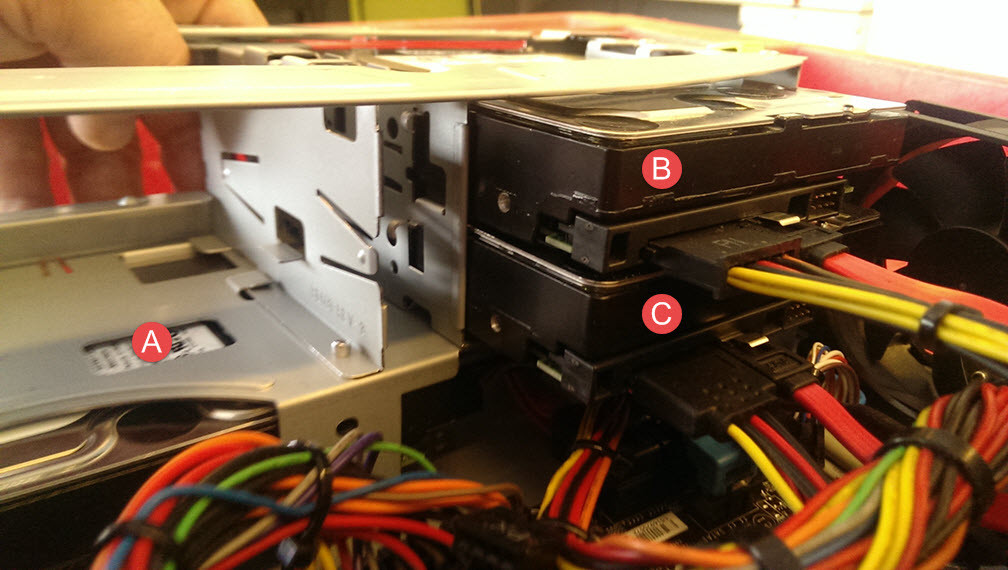
Figure 7 - OS Drive and Array Drives
To remove the array drives, unscrew the screws as shown in Figure 8.
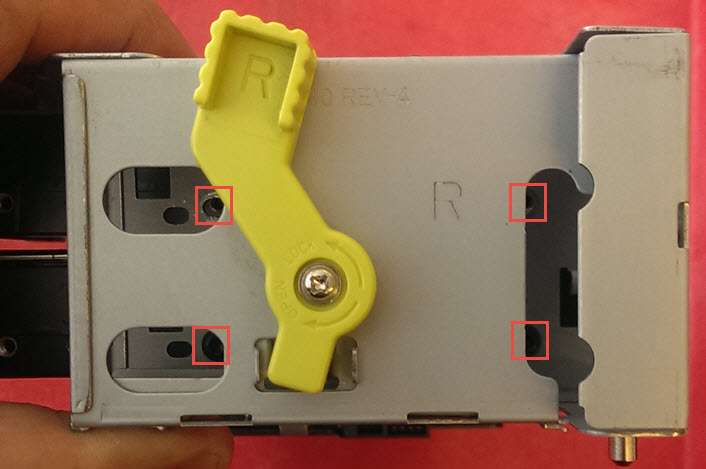
Figure 8 - Array drive screw holes
Figure 9 shows the screws on one side of the OS drive. There are two screws opposite the ones highlighted in the figure.
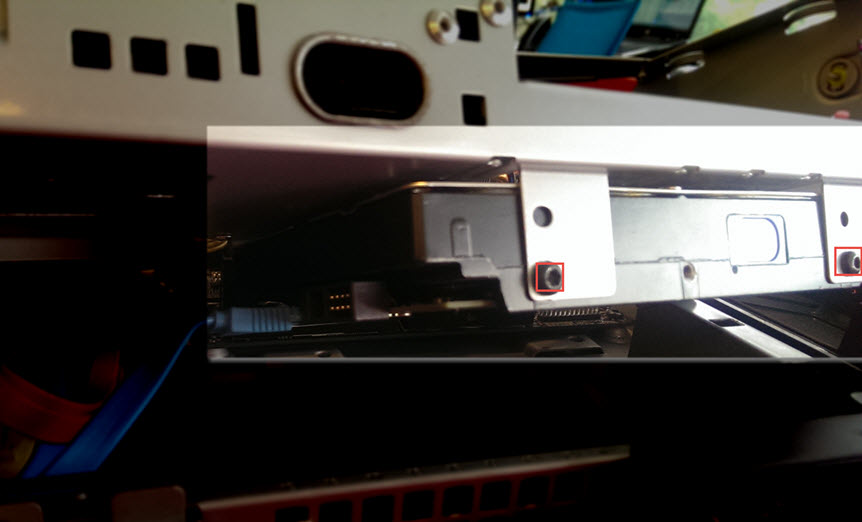
Figure 9 - Two of the Four OS Drive screws
If you have any issues with this process, please call support.


