Backing Up a Mac to a NAS Share on a SIRIS or Datto NAS
This article describes how to backup a Mac (Mac OS X, MacOS) computer to a NAS share hosted on a Datto SIRIS or Datto NAS.
Environment 
- Datto SIRIS
- Datto NAS
Description
Any NAS share can store a Time Machine backup generated by a Mac. This article provides steps on creating a new share, configuring its users and AFP settings, and enabling Time Machine on the Mac.
Prerequisites
- A Mac running OS X 10.5 Leopard or newer.
- A Datto SIRIS or Datto NAS
- Port 88 (AFP) must be open between the Mac and the Datto appliance.
- User accounts on the Datto device that will be used to access the NAS shares from the target Mac.
Create the NAS Share
Follow the steps below for creating and configuring a NAS share. These steps apply to both Datto SIRIS and Datto NAS:
- Access the GUI of your Datto appliance.
- Click File Share, followed by Network Attached Storage.
- If this is your first share, the Create Share Wizard will display. If there are preexisting shares, click Create Share.
- In the Create Share Wizard, use the following settings to create a NAS share, as seen in Figure 1:
- Enter the share name (i.e. Time Machine).
- Use the Datto default settings.
- Select NAS as your share type.

Figure 1: Create A New Share Wizard
- Click Next, followed by Continue to complete the share creation process.
- This will direct you to the Your Shares page. Navigate to your newly created share, and click its respective Configure Share Settings page.
Figure 2: Configure Share Settings
- Verify that the share is private under Make Share Public / Private. It should read as this share is currently set to private.
- Under Other Share Options, click Enable AFP/Time Machine.
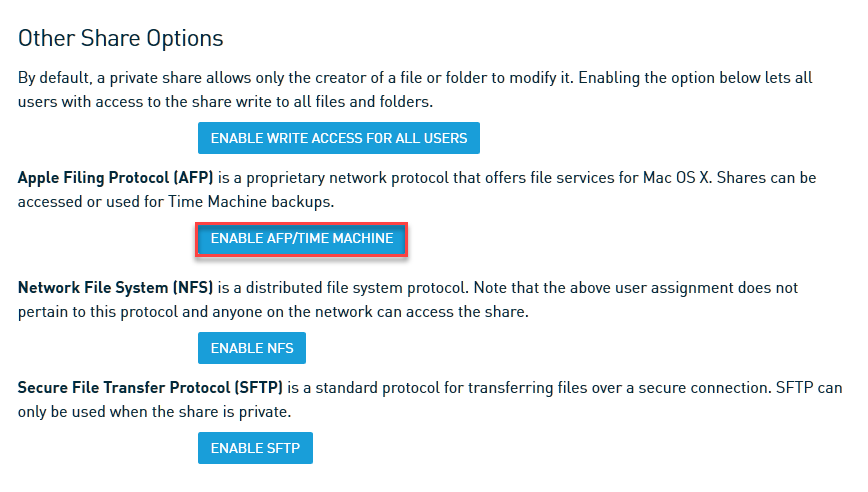
Figure 3: Enable AFP/Time Machine
- Under Add User to Share, and add at least one administrator to access and use this share. This will be used to access the share from the Mac.
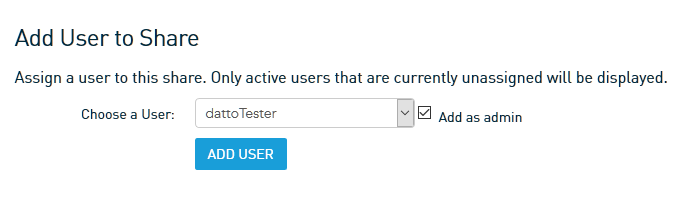
Figure 4: Add User to Share
Configure the Share as a Time Machine disk 
Perform the following steps on the target Mac.
- Open Finder, then press Command + K to connect to a server
- In the Server Address field, enter
afp://<IP of Datto device>/ - Click Connect.
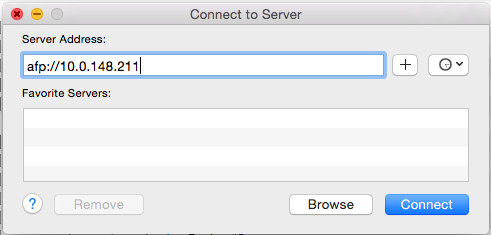
Figure 5: Connect to Server
- Enter credentials for the local user defined in the Datto NAS share's settings.
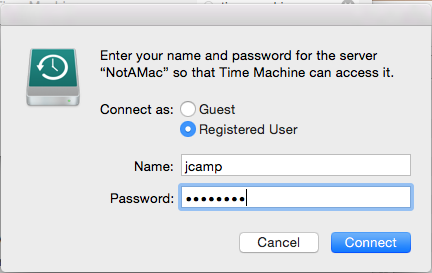
Figure 6: Entering NAS Share user credentials
- Open System Preferences and navigate to Time Machine.
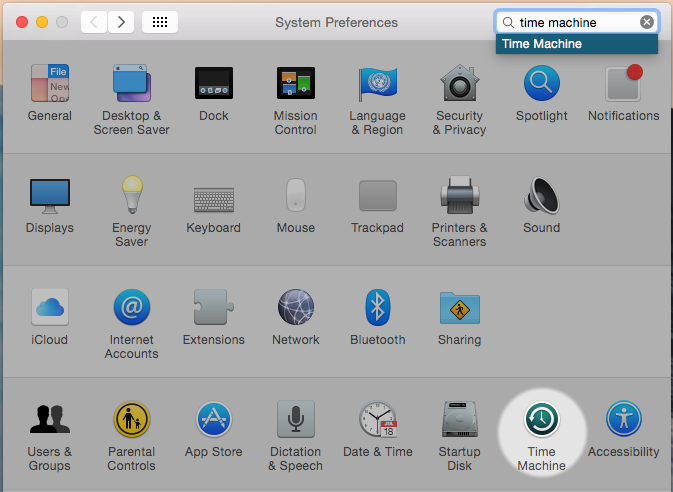
Figure 7: System Preferences
- Turn Time Machine on, then select the share name we created from the drop-down.
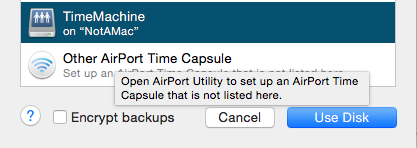
Figure 8: Configuring Time Machine
- Click Use Disk. Time Machine backups will run as long as the Mac can communicate with the Datto appliance across the local network.
Due to the way Time Machine writes backups to a sparse bundle, the size of this file will grow indefinitely. The storage taken up by the share will grow until there is no space on the Datto appliance. Once full, Time Machine will start deleting the oldest backups to create new ones.
Troubleshooting AFP
If you are unable to connect via AFP, perform the following steps on the Mac:
- Open Terminal, and log in as the root user:
sudo -i - Run the following command in Terminal:
defaults write com.apple.systempreferences TMShowUnsupportedNetworkVolumes 1
In the event that this does not work, contact Datto Technical Support.
Time Machine Logs
Time Machine logs show up in the system.log file as com.apple.backupd. The output looks like the following:
<agentName>.<DNS>.lan com.apple.backupd[4219]: Backing up to /dev/disk1s2: /Volumes/<volumeName>/<backupName>.backupdb


