Using the Datto BCDR Plugin for ConnectWise Automate
Using the Datto BCDR plugin for ConectWise Automate.
While Datto Backup for Microsoft Azure and Datto Endpoint Backup with Disaster Recovery devices may appear, they are not eligible for integrating with ConnectWise or Autotask at this time.
Environment
- ConnectWise Automate
- Datto BCDR
Description
This article explains how to install, configure, and use the ConnectWise Automate integration with Datto. This integration creates a read-only interaction with the Datto portal. You must log in to the Datto portal directly to manage your data.
Installing the Datto Plugins
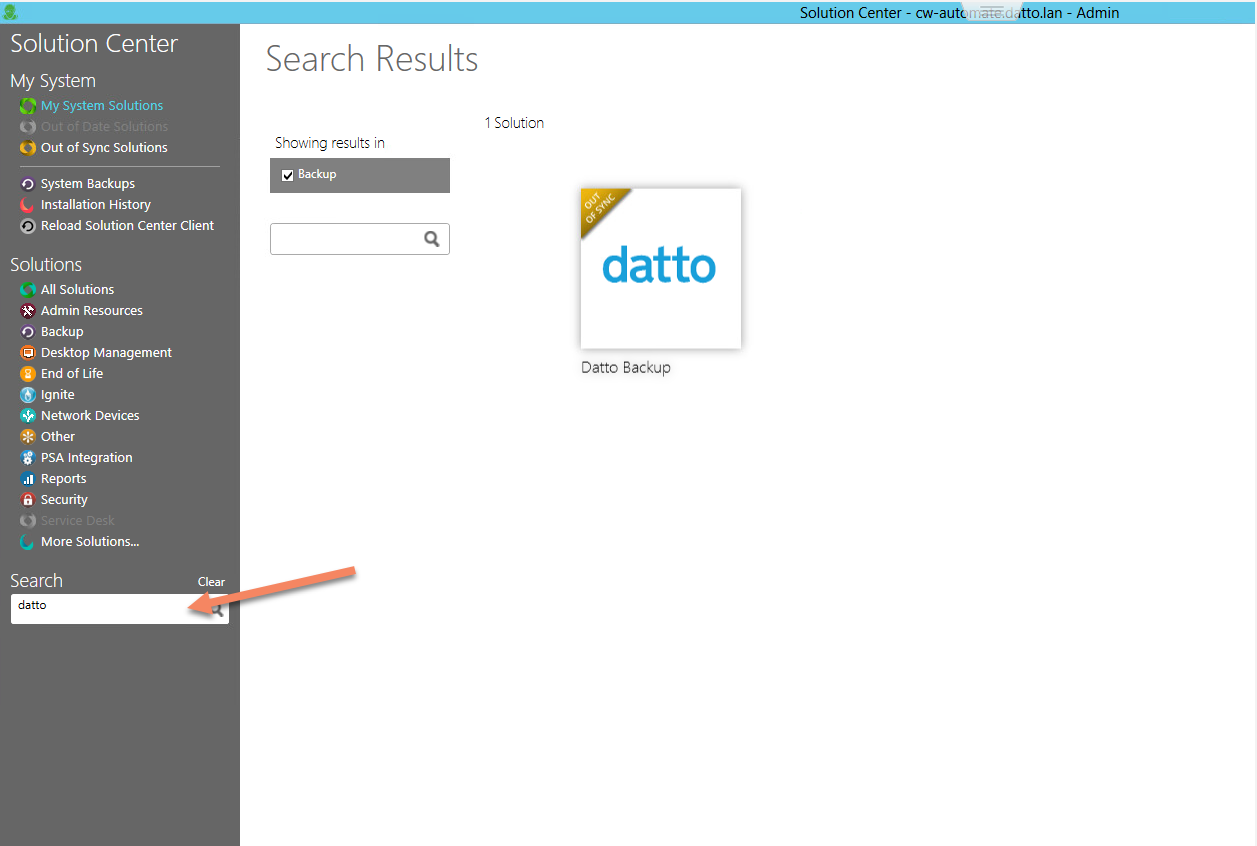
Datto now utilizes ConnectWise's Solution Center to download updates, and any new items that are available for your ConnectWise Automate system, for Datto's back-up and networking device plugins. To proceed, use the Solution Center to Install/update plugins. Search for Datto to get all the available Datto specific plugins, and select the appropriate plugin based on the Datto devices.
Configuring the Datto Plugin
Prerequisites
- The Datto REST API key and the Datto plugin must be already installed.
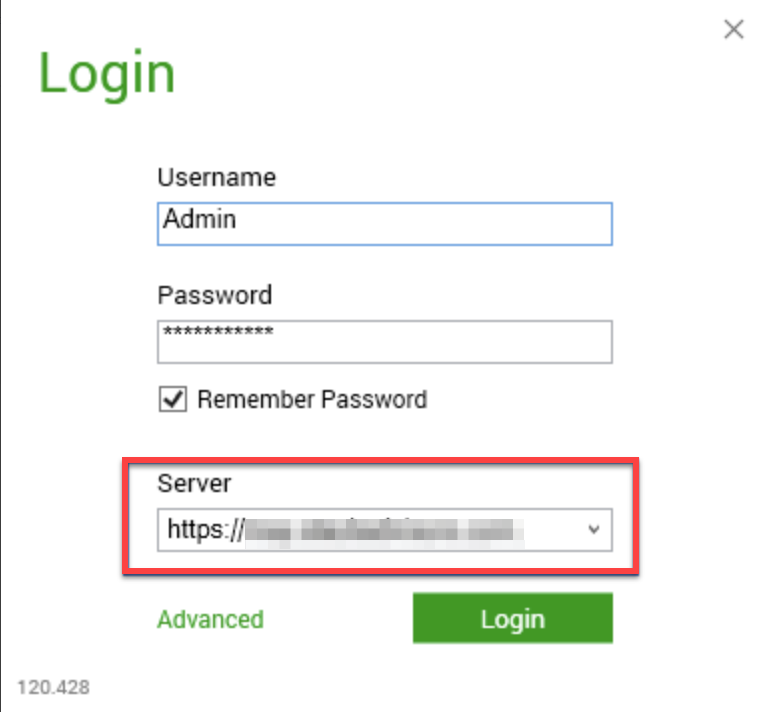
- On ConnectWise Automate v.12, you must add HTTP or HTTPS in front of the server address.
Connecting with the Datto API
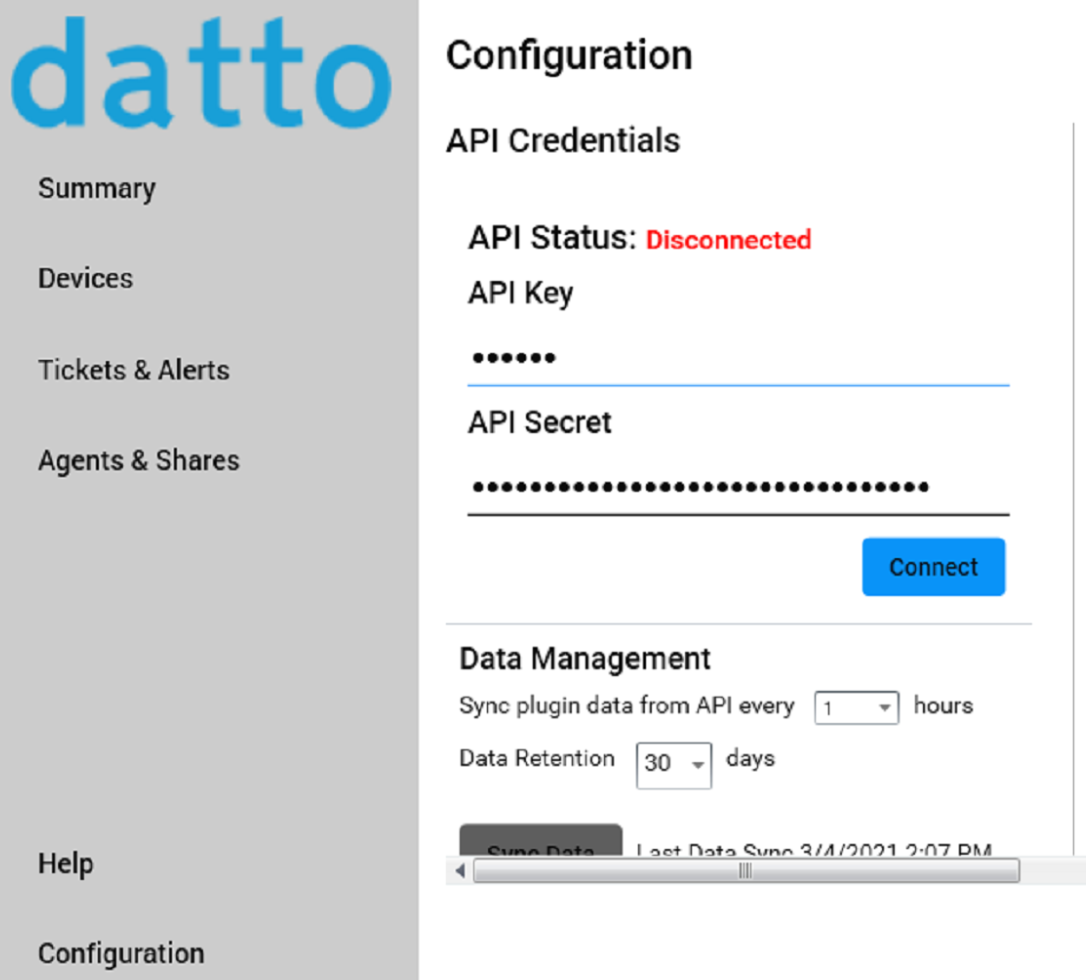
To make a connection with the Datto portal, enter your Datto API key in the plugin settings:
Click on Tools.
Click DattoBackup.
Click Configuration in the bottom left-hand corner of the window, then enter your Datto key in the API Key field.

NOTE The API Key field is for the Public API key. The API Secret field is for the API's Secret Key
Click Save. You should get a Connection Good status. If you cannot make a good connection, verify that your API key is valid and entered correctly.
Checking the version of my ConnectWise Automate Plugins
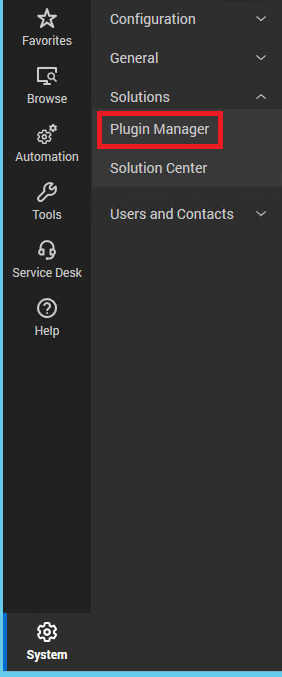
In ConnectWise Automate, click System in the bottom left-hand corner of the window, then choose Plugin Manager from the drop-down menu.

Mapping Devices to ConnectWise Automate
In order for the data grid, alerting, and ticketing information to display the proper organization and location for the Datto devices, you must first map them to a ConnectWise Automate location.
Click on Tools.
Click DattoBackup.
Click Configuration in the bottom left-hand corner of the window.
When you are finished mapping the devices you want, click Save.
Choose the device you want to map. Click on the organization column and begin typing a organization name The field will automatically fill, or you can use the drop-down menu.
Click the Location column, and enter a location name. The field will automatically fill, or you can use the drop-down menu.
When finished, click Save.
Other Configuration Settings
Refresh Time: defines the interval after which the plugin refreshes data from the Datto portal. By default, the refresh time is 6 minutes.
The refresh time can affect monitoring effectiveness if set too infrequently, or server performance if set too often.
Data Retention (days): defines the length of time the data from the portal is kept on the database. The default is 30 days.
NOTE Longer retention times lead to more data stored on the database. This can enlarge the overall size of the database and potentially cause ConnectWise Automate server performance issues.
Using the Datto Plugin
You must install and configure the Datto Plugin according to the steps above prior to use. The Plugin presents a series of informational tabs:
Summary tab:
The Summary tab's tiles display global Datto resource usage, as well as a data grid with a summary of the active Datto device alerts.
The organization and Location columns in the Alerts data grid may display Unmapped if the device associated with it has not been mapped on the Settings tab.
Devices tab:
The Devices tab lists all the devices in the left pane. When you select a device, the information in the right pane will update to display the new device information. The upper section will display all the device information, and the agents backing up to that device will display below.
The Datto device may display Unmapped if it has not been mapped to a ConnectWise Automate location on the Settings tab.
Agents tab:
The Agents tab is a data grid displaying each Datto agent and all its related information.
Alerts tab:
The Alerts tab is a data grid that displays device-level alerts.
Help tab:
The Help tab points directly to Datto's Knowledge Base.


