Replacing the OS drive on SIRIS 4 / 4X Professional and SIRIS 4 / 4X Enterprise
NOTE Do not perform an OS drive swap if there is a disaster recovery scenario in progress. Before performing an OS drive swap, contact Datto Technical Support. A Datto technician must complete the back-end steps of this process.
NOTE These instructions pertain to SIRIS 4 series devices. Click here for SIRIS 3 series instructions.
Environment 
- Datto SIRIS 4 / 4X Professional
- Datto SIRIS 4 / 4X Enterprise
Description
SIRIS 4 Professional 
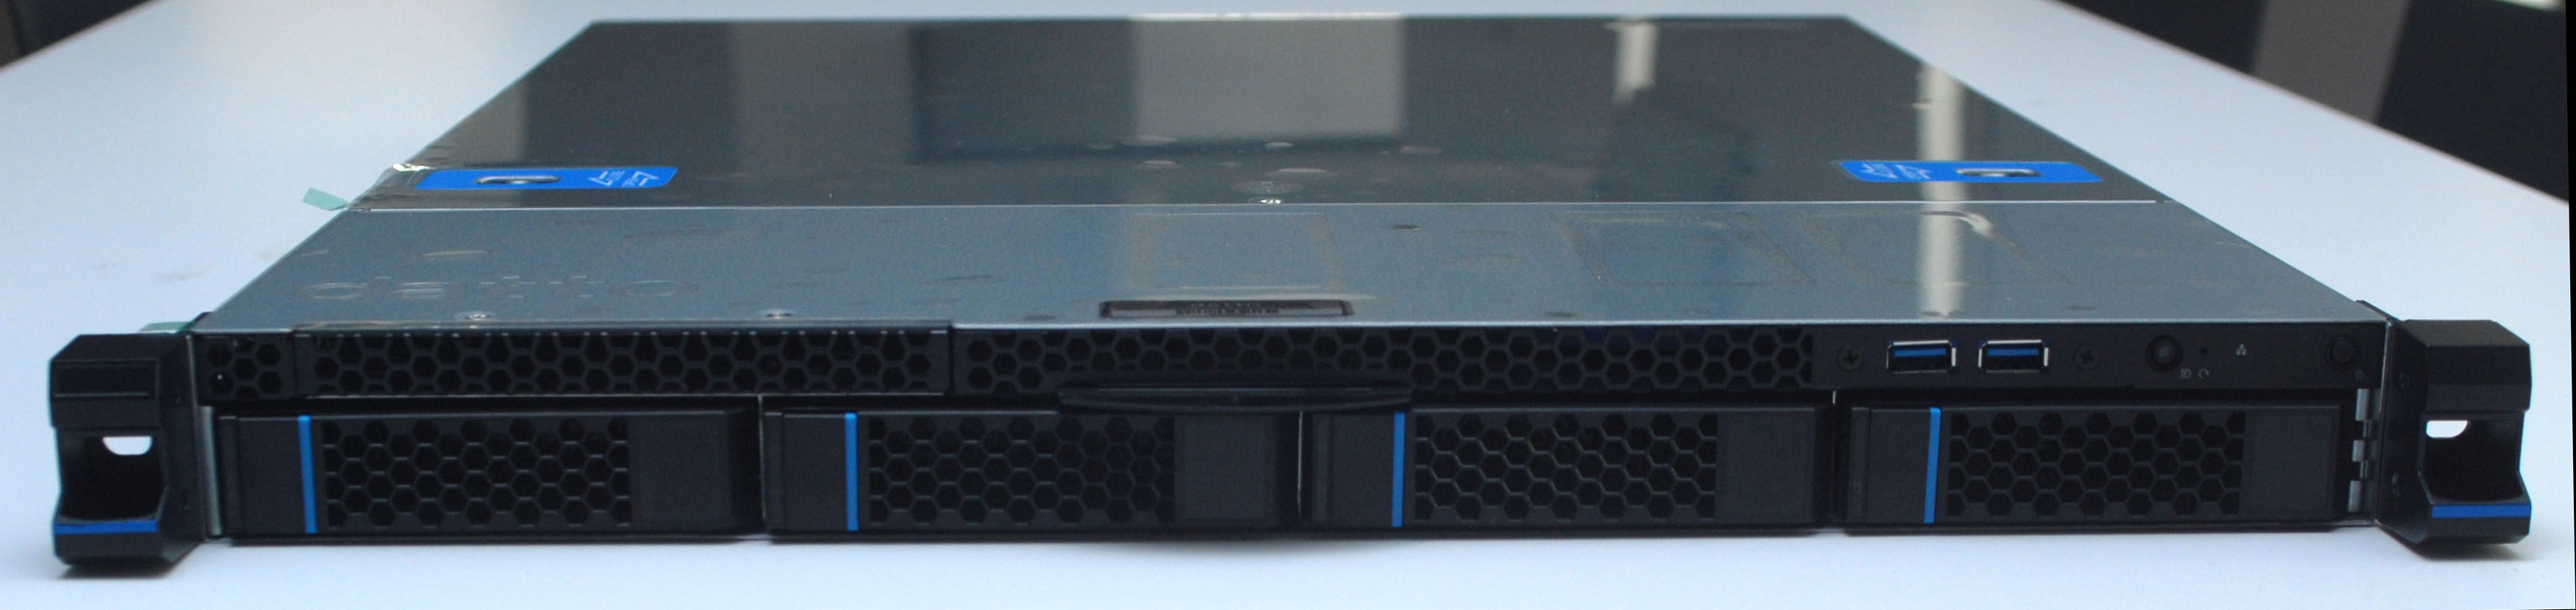
Figure 1: SIRIS 4 Professional, front view
- Remove the back panel by removing the center screw and then pushing down the buttons within the blue stickers. Slide the rear panel back.
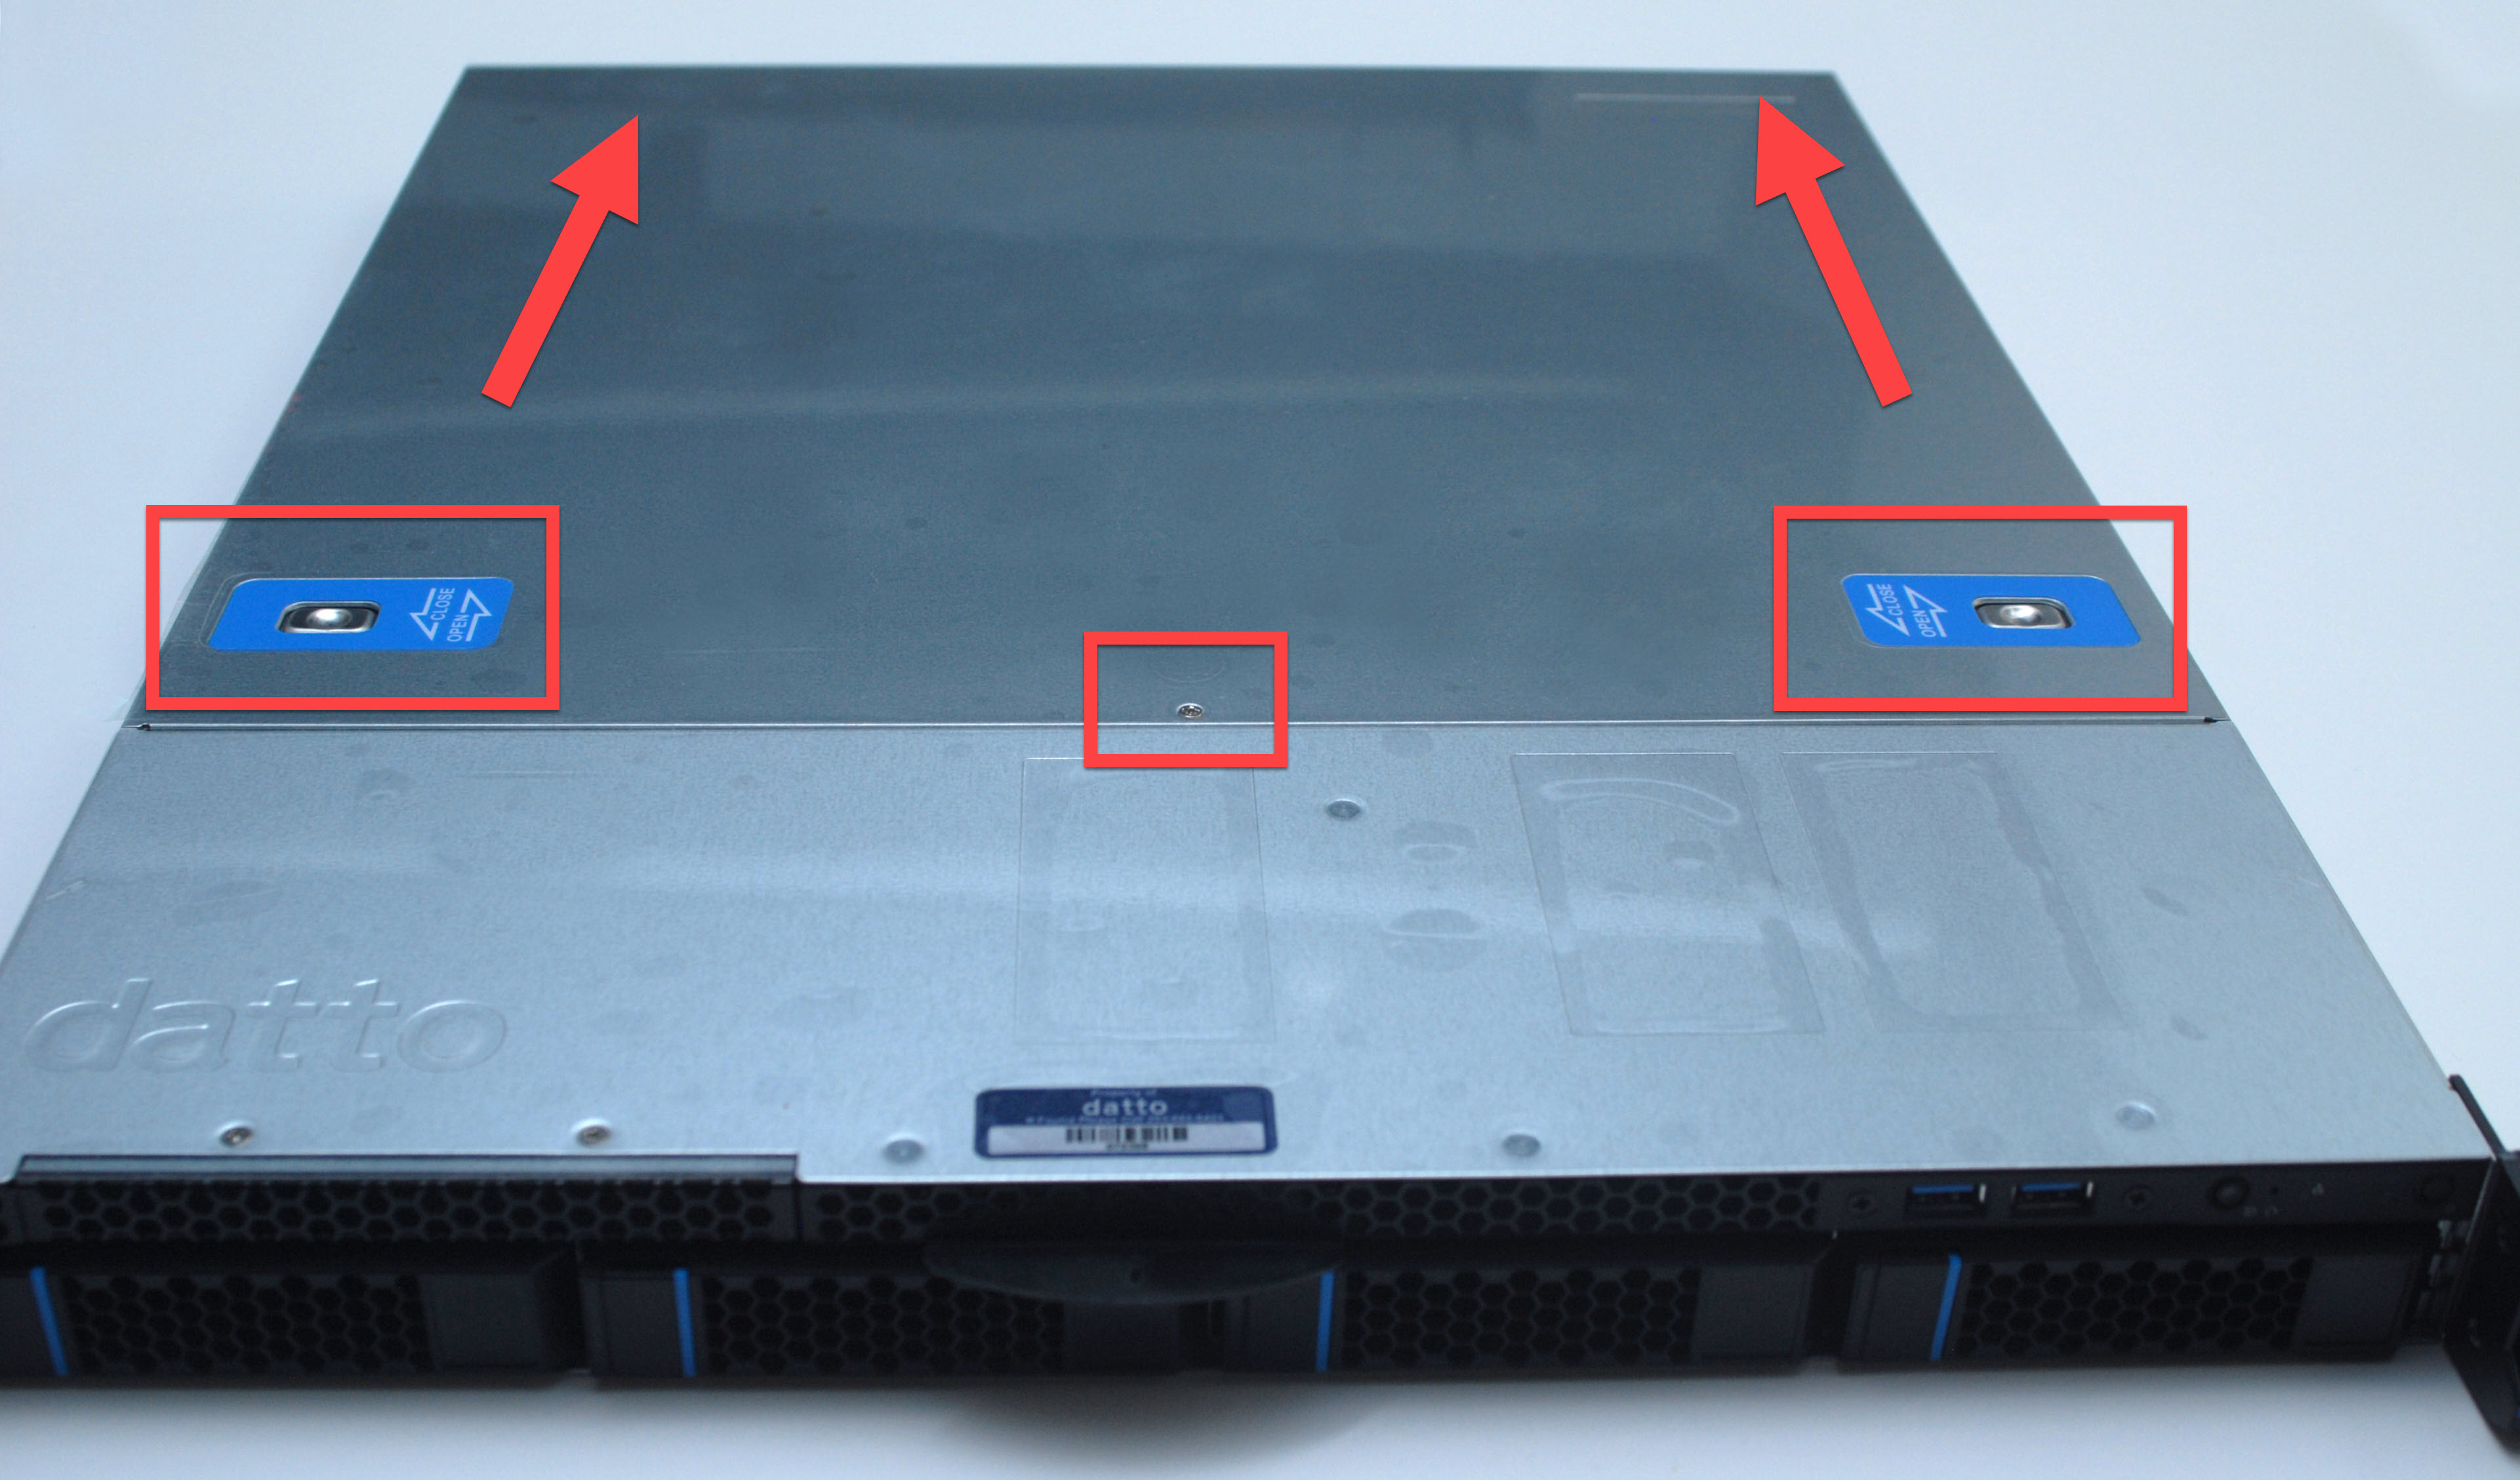
Figure 2: Push the blue buttons and slide the lid back
- Remove the screws on each side and push back the front panel to lift and remove it.. The OS drive is located on top of the drive bays, toward the front.
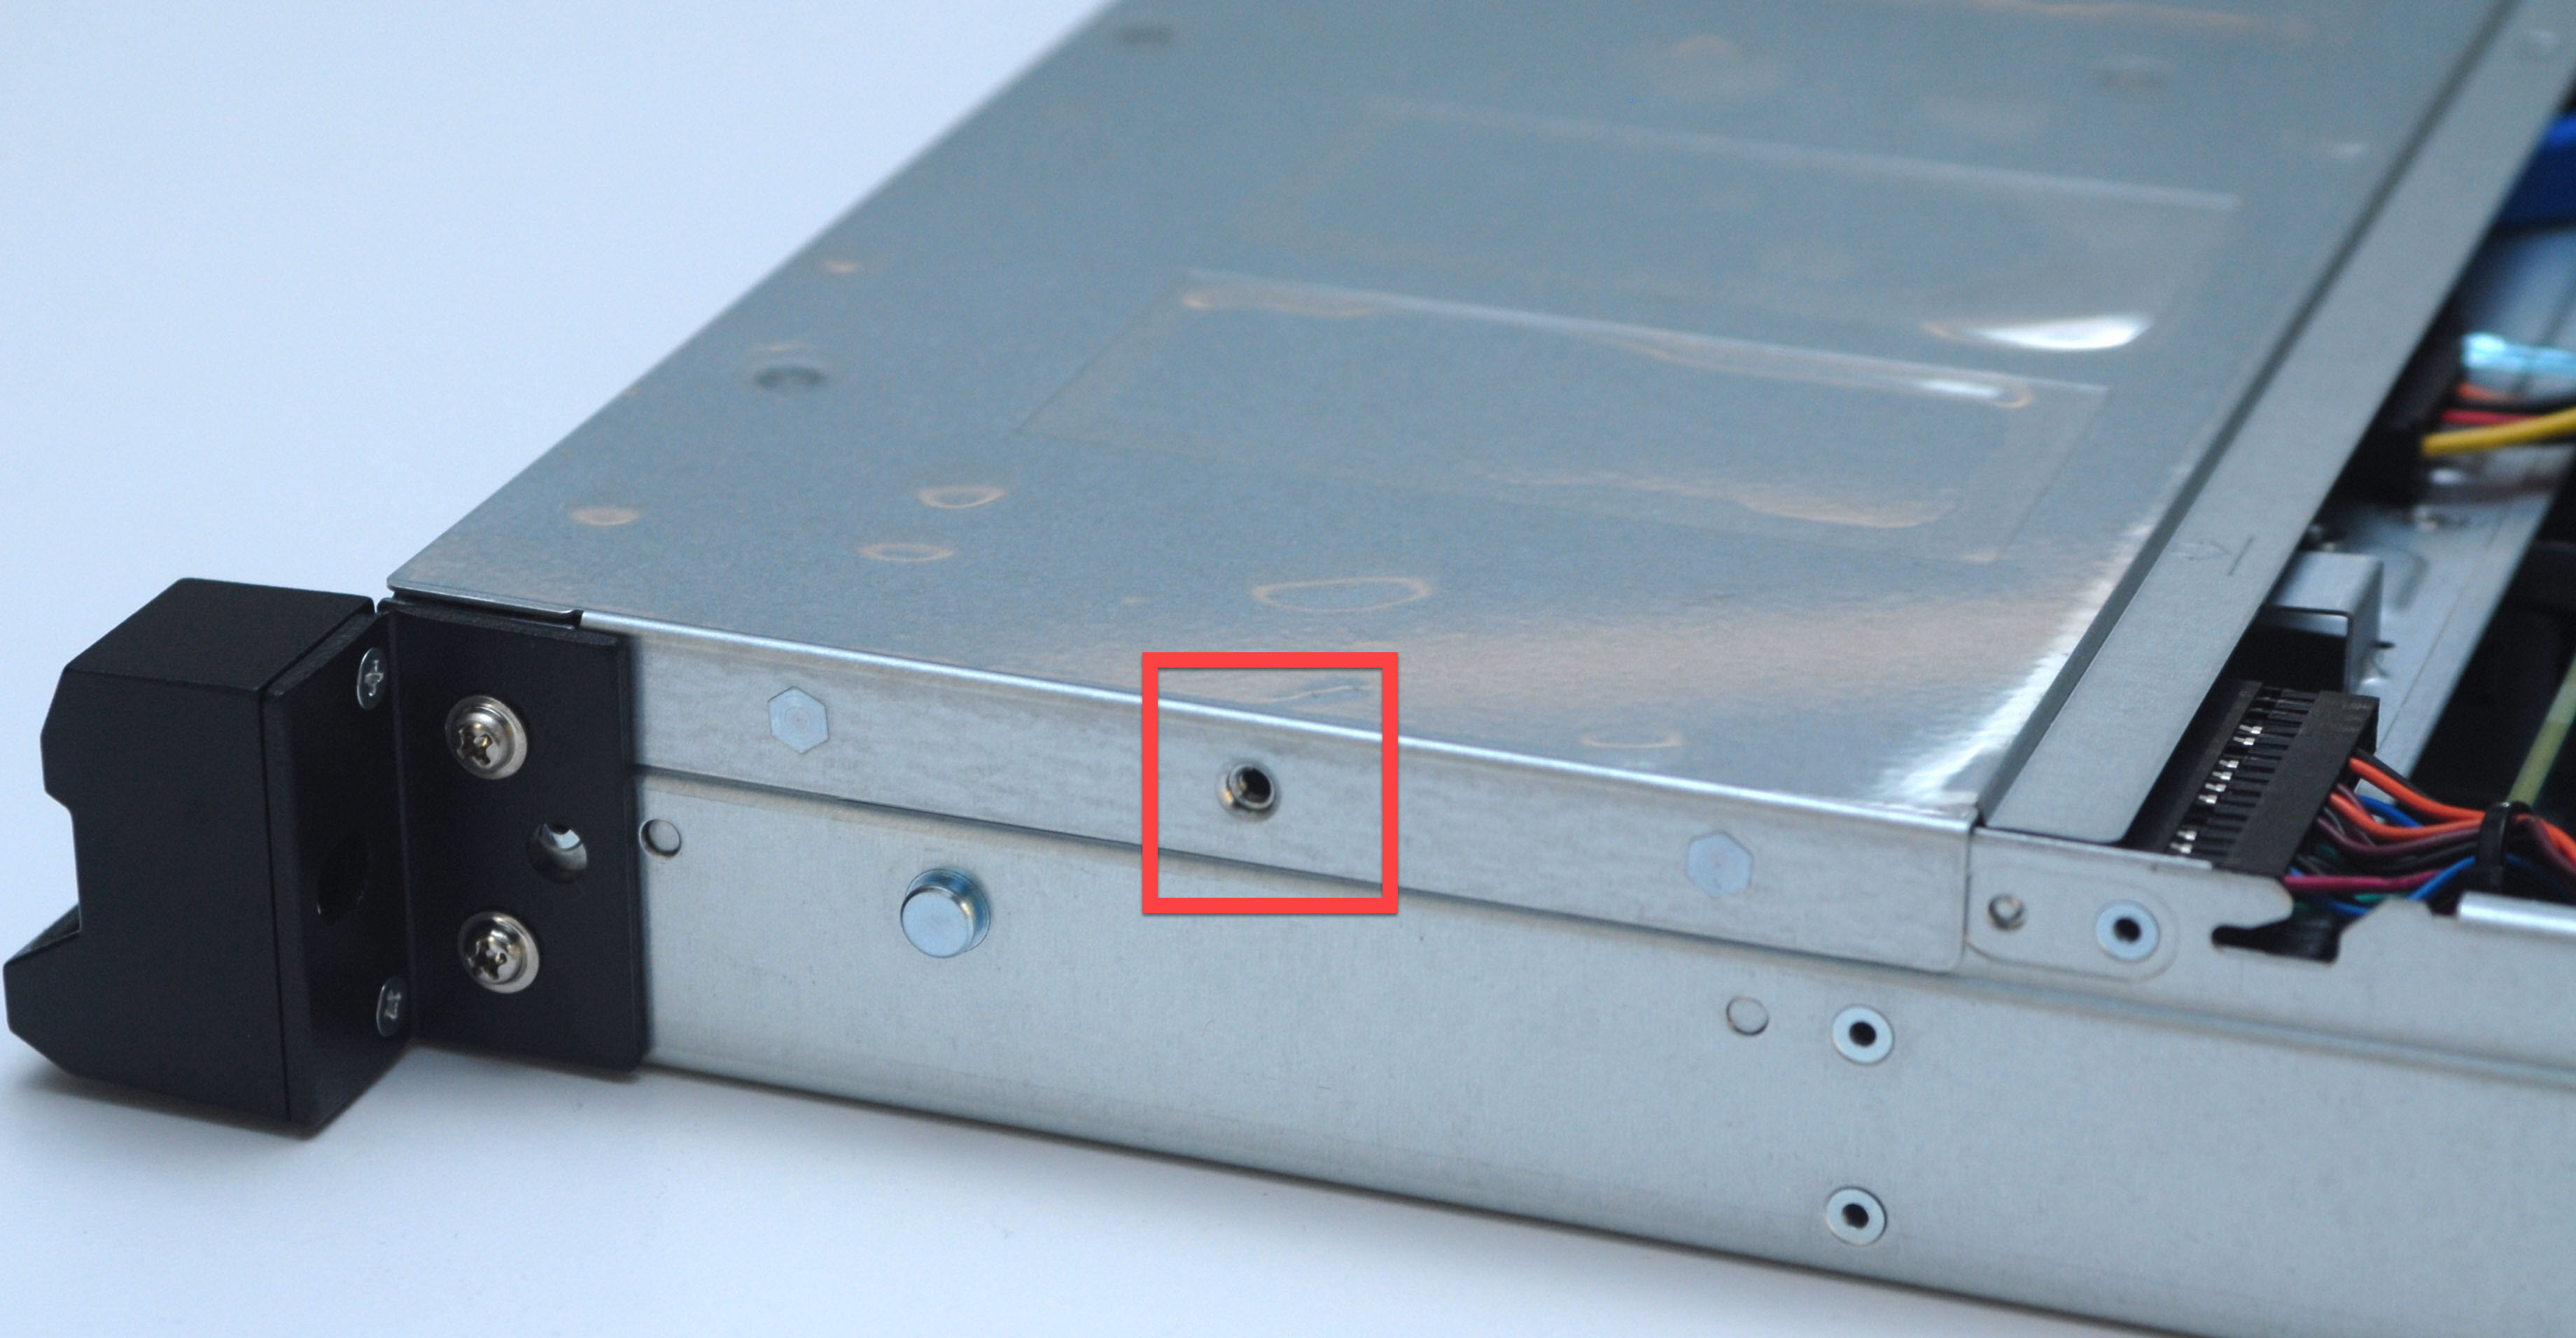
Figure 3: Remove the two side screws securing the front panel
- The Kingston drive is the OS drive. To remove, push the blue tab inward and upward, then remove the connectors from the back.
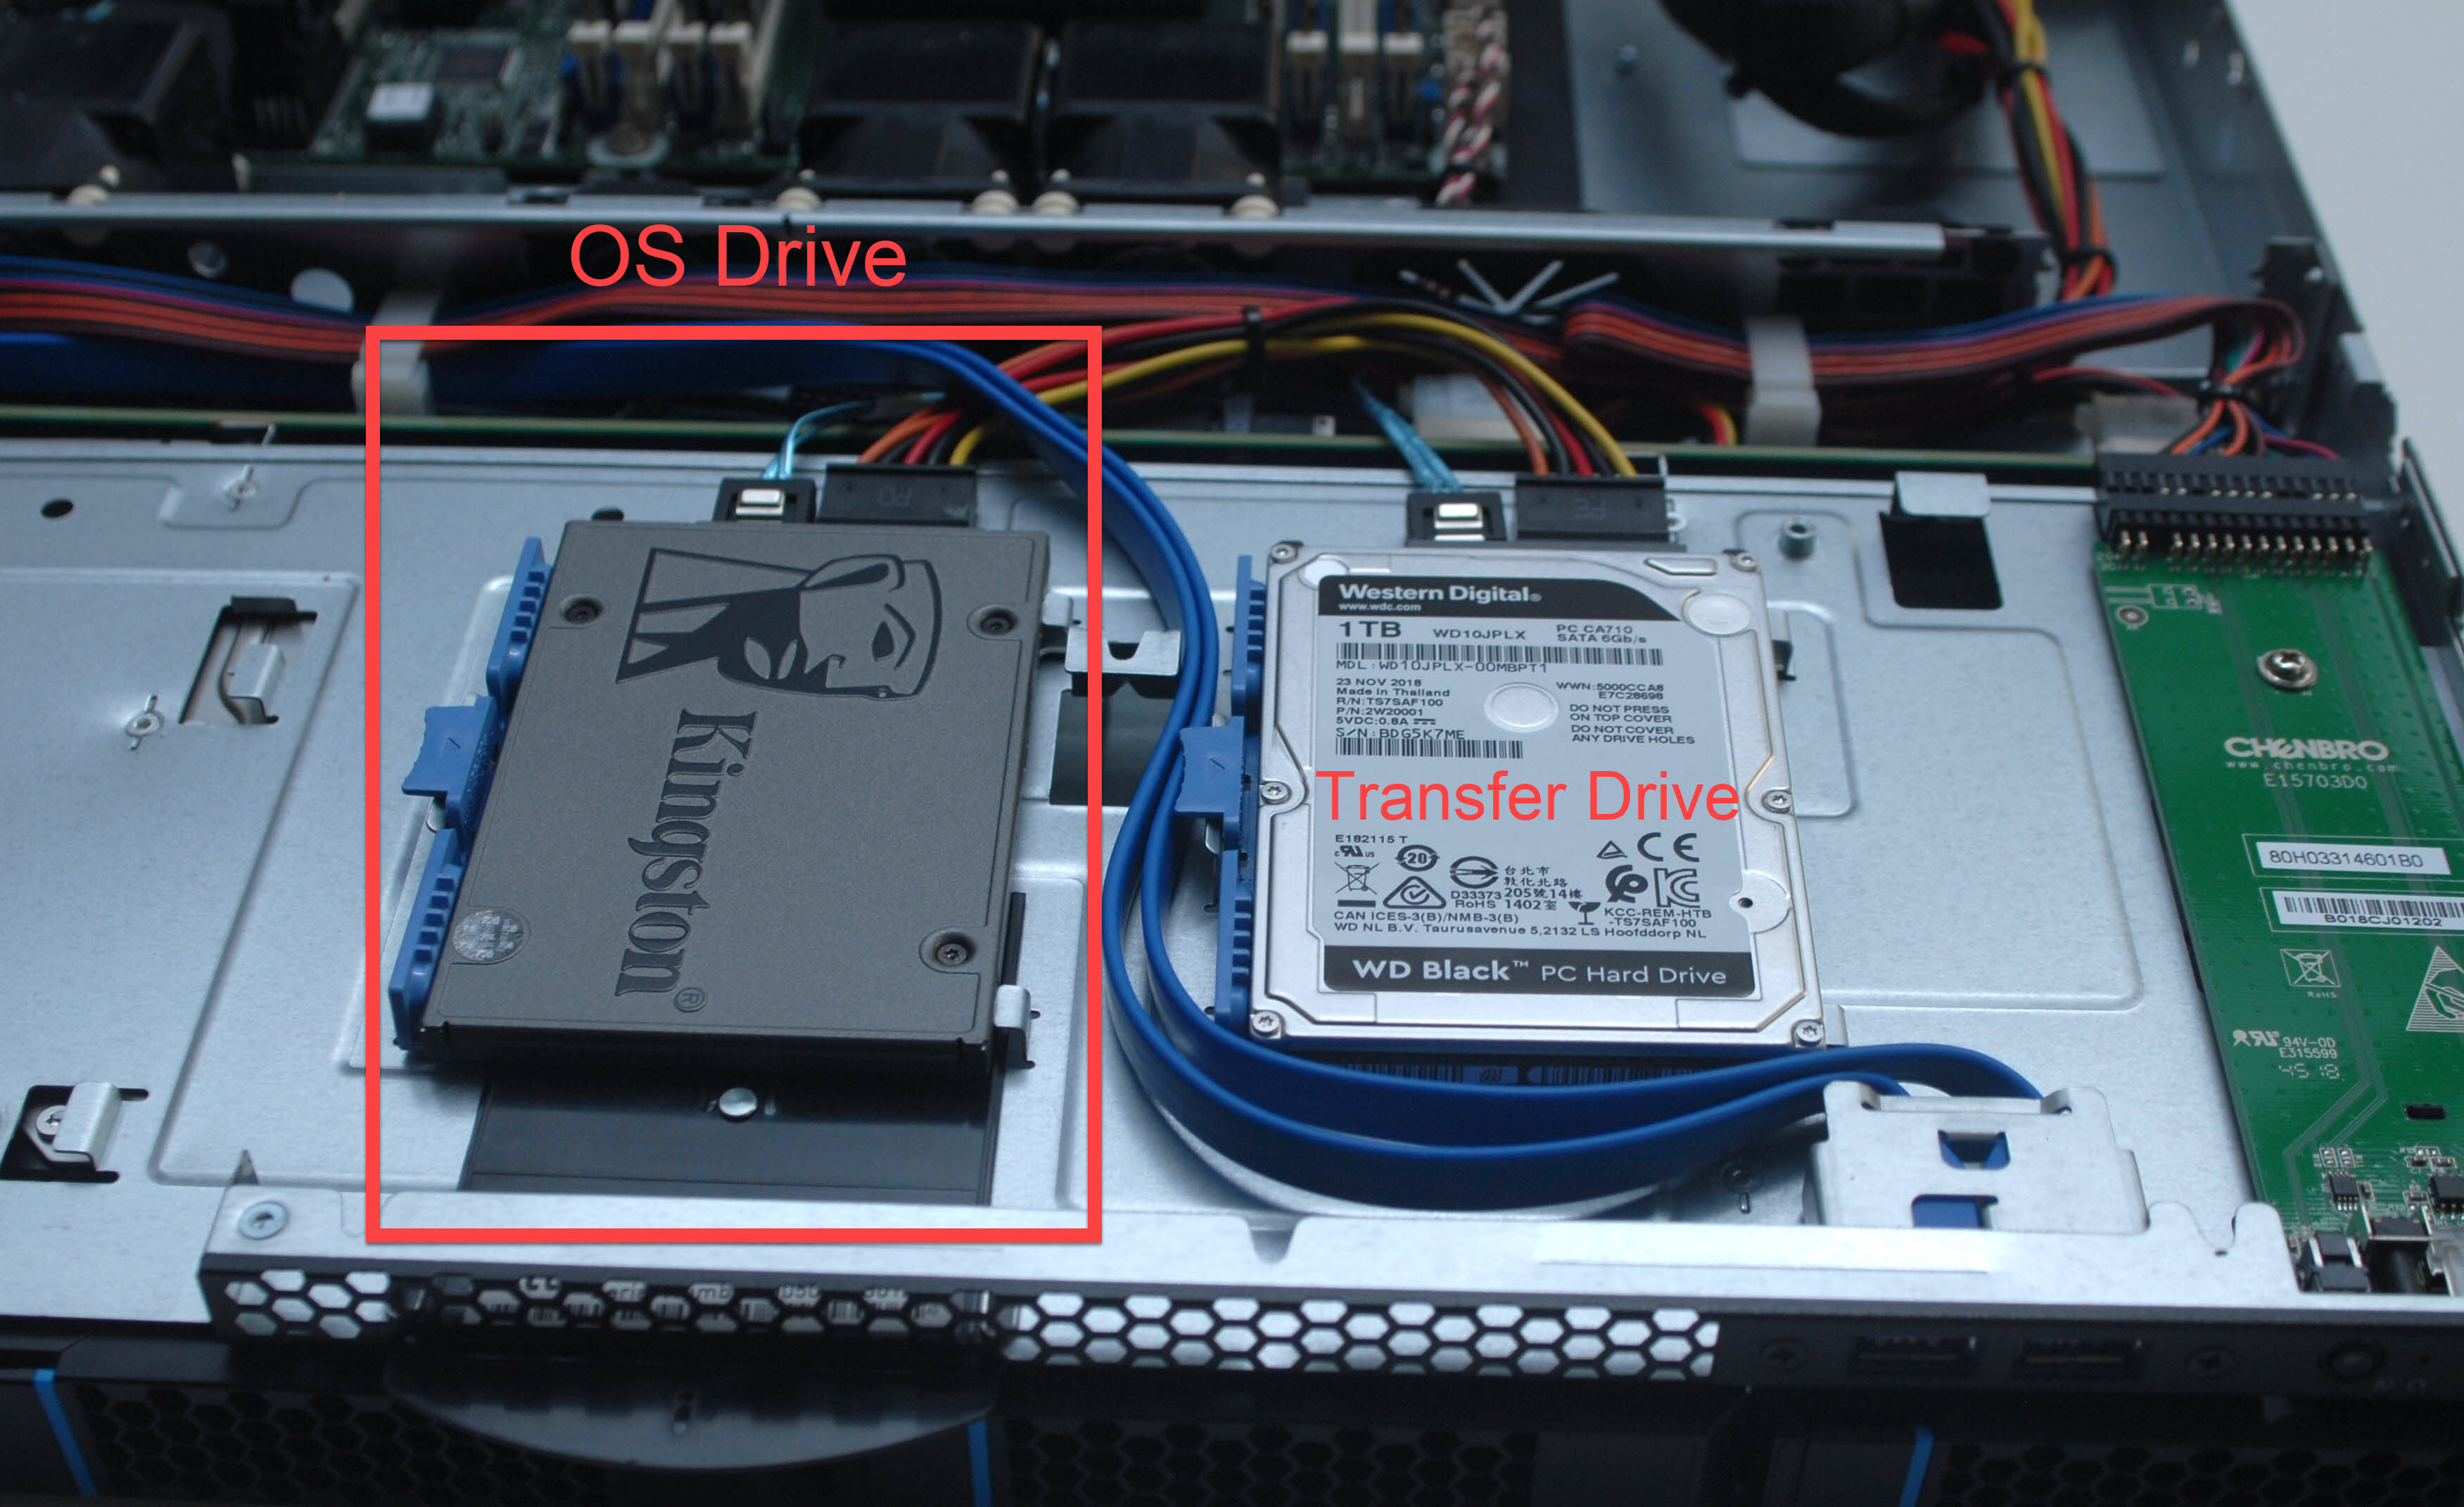
Figure 4. Removing the OS drive
- Once the OS drive is swapped and inserted back into the slot, replace the top panels on the device. You can now power the device on. The Datto technician will complete the swap process.
SIRIS 4X Professional
- Open the chassis by following the same procedure as for the SIRIS 4 Professional, above. The OS drive is the SSD located near the center of the motherboard.
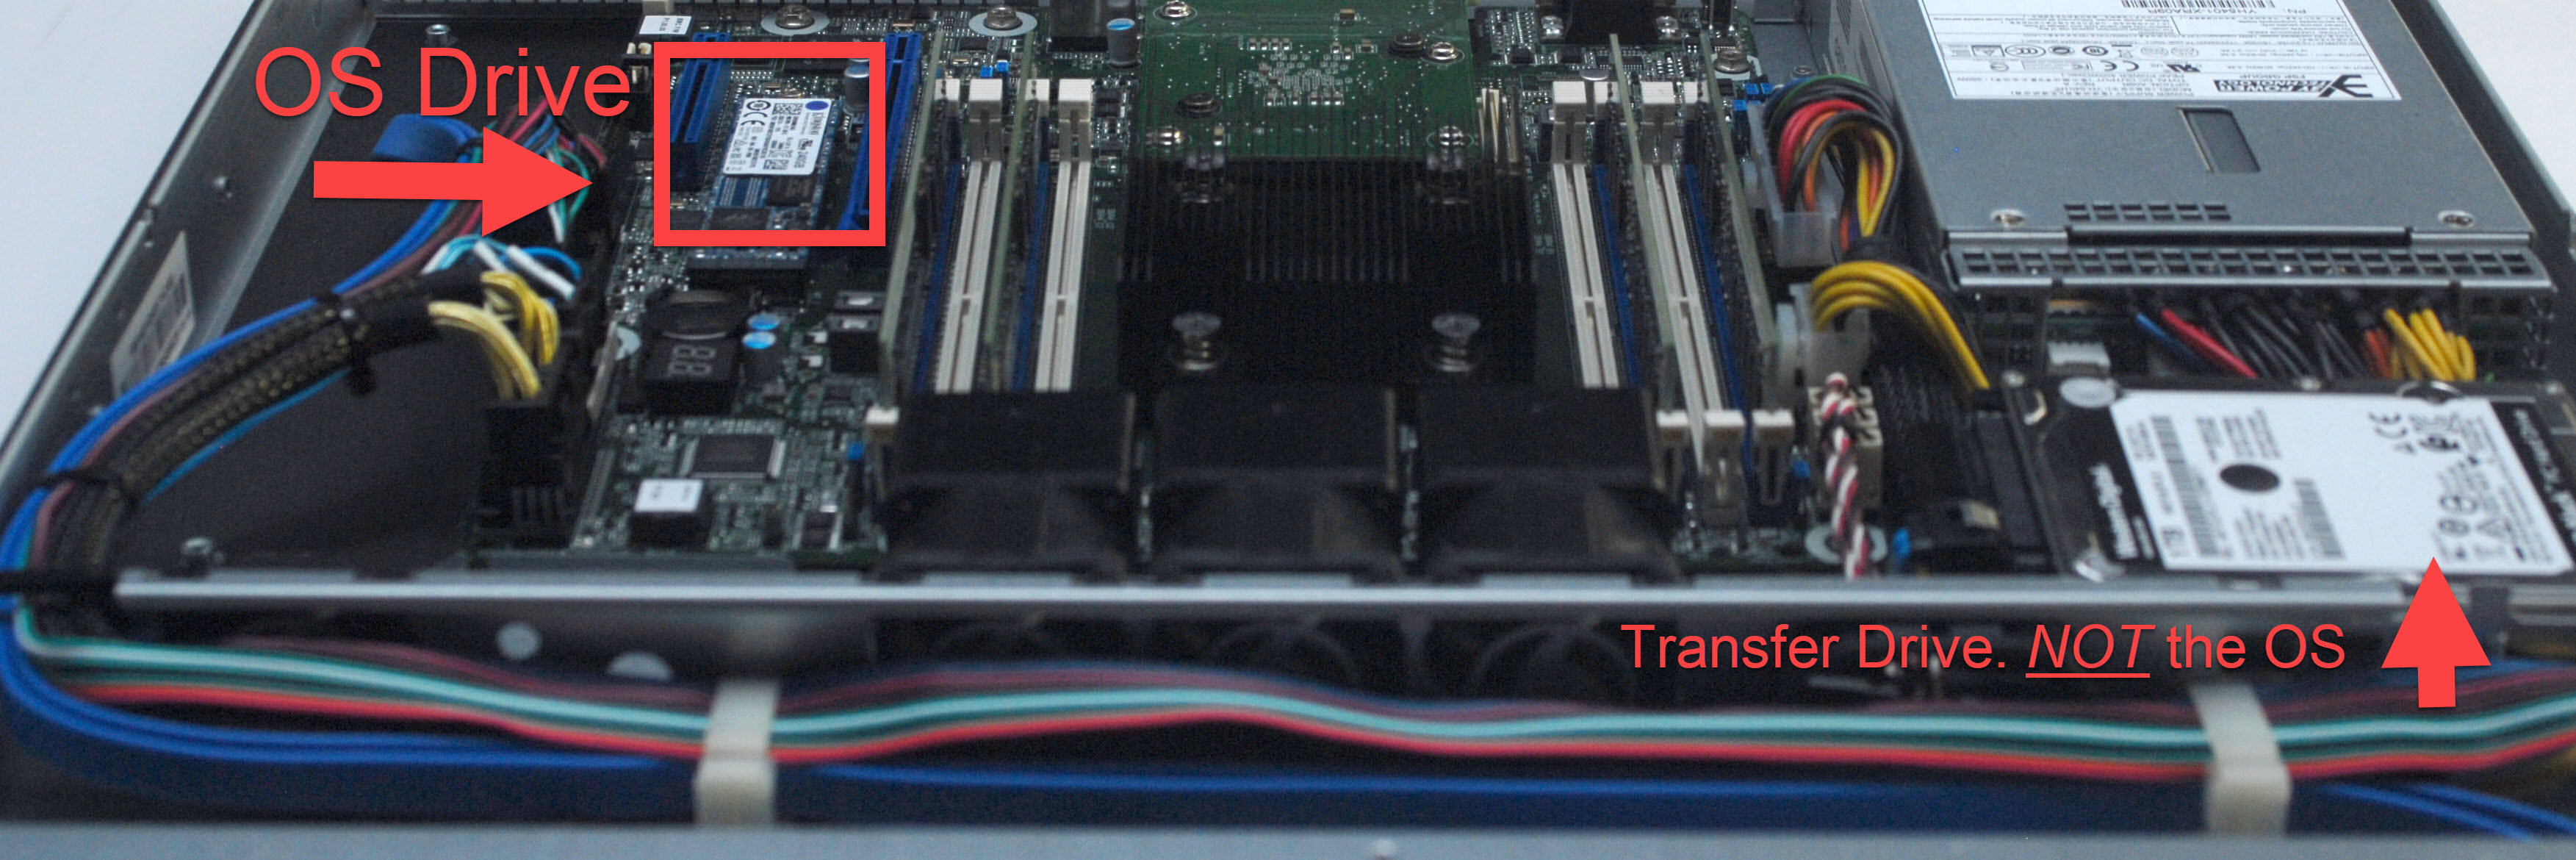
Figure 5: The OS Drive and transfer drive locations
- The OS drive is held to the motherboard by a single Phillips-head screw.
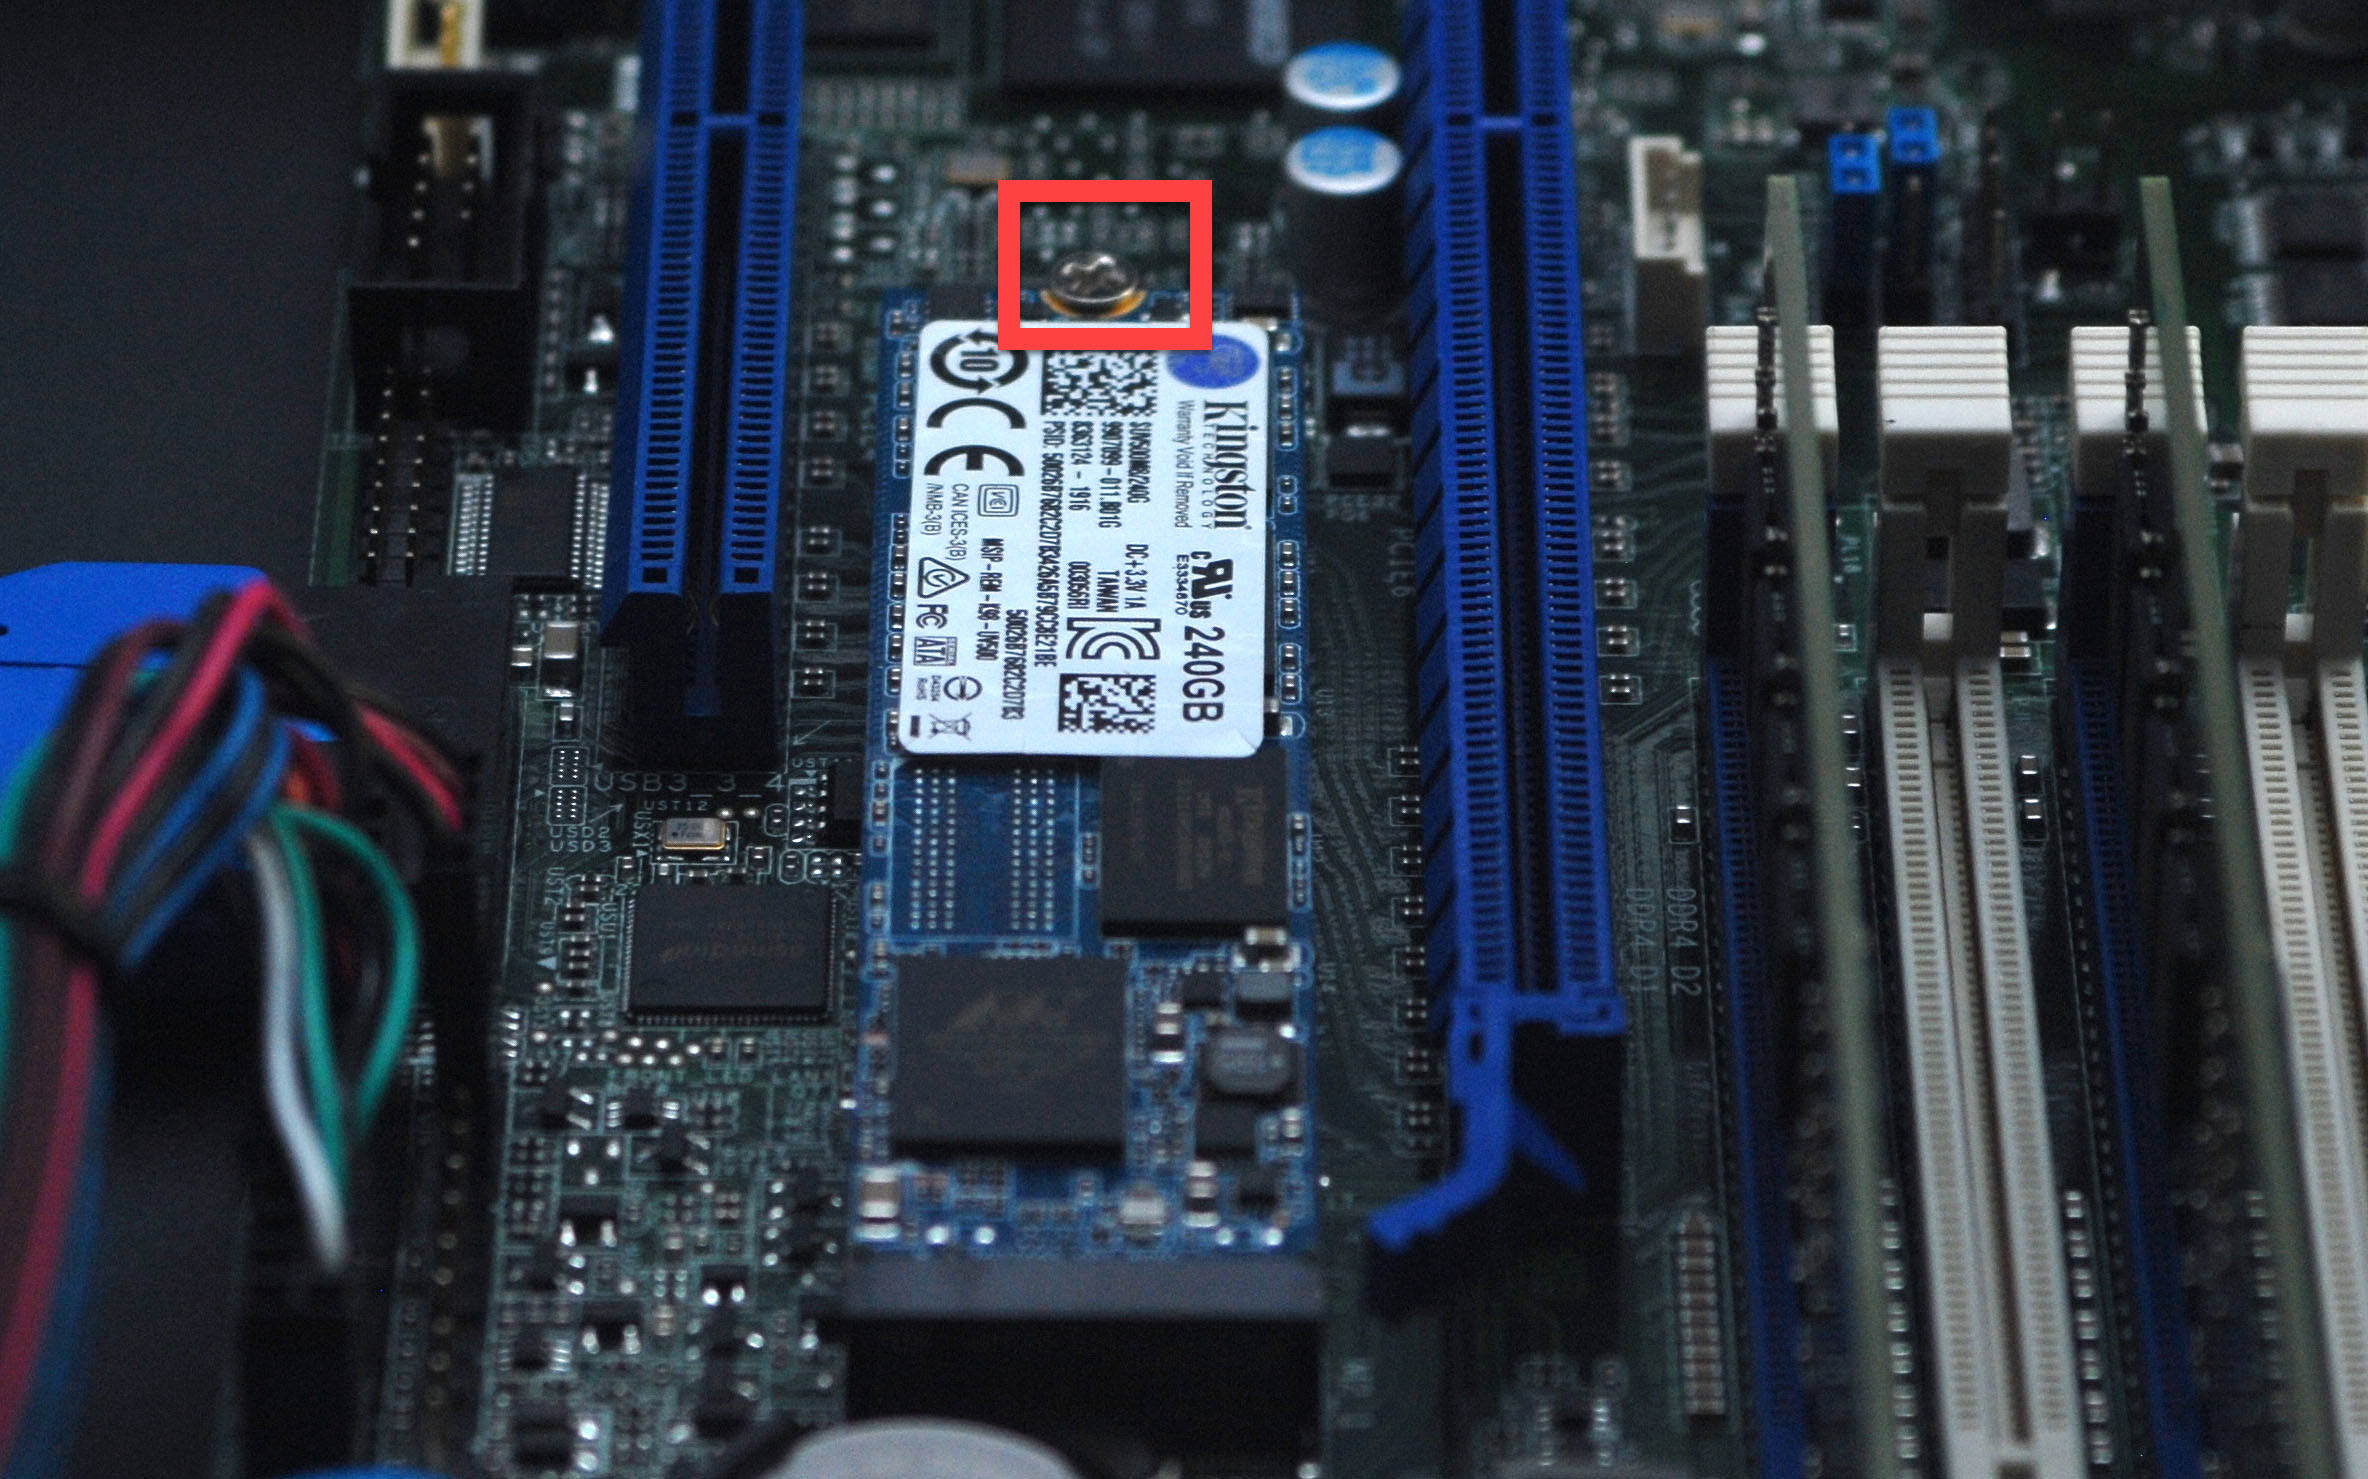
Figure 6: Remove the screw to release the OS drive
- Once the drive is swapped and fastened into place, power the device on. The Datto technician will complete the swap process.
SIRIS 4 Enterprise and SIRIS 4X Enterprise
- There are two vertical bays on the back on the device. The caddy that contains the OS drive is in the bay closest to the power supplies. Pull out the drive caddy and swap the drive.
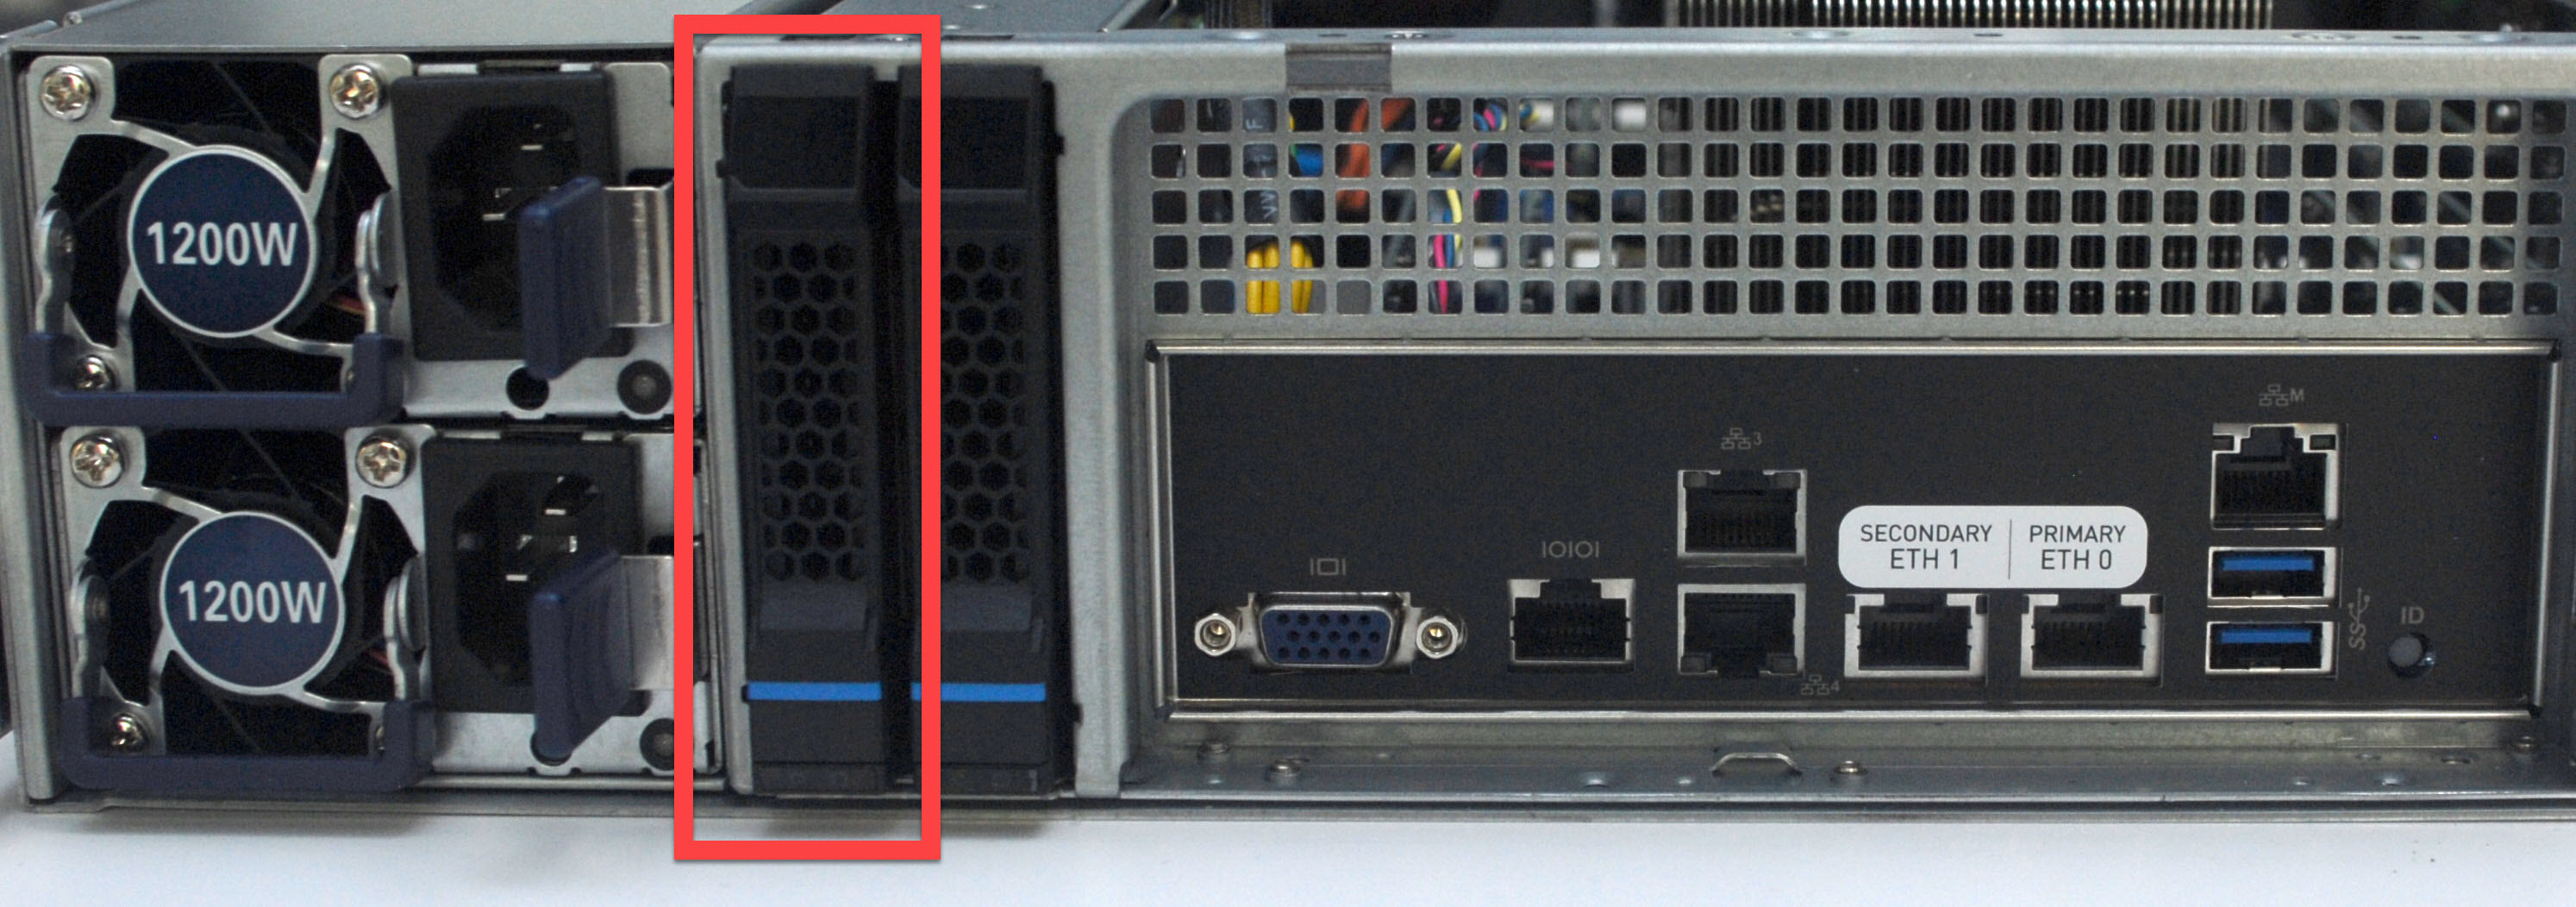
Figure 7: SIRIS 4 Enterprise OS drive location
- Once the drive is swapped and the caddy is reinserted, power the device on. The Datto technician will complete the swap process.


