How to move from ShadowSnap to the Datto Windows Agent
This article describes the process to switch an agent on a protected machine from the ShadowSnap Agent to the Datto Windows Agent (DWA).
Be advised that ShadowSnap is no longer supported.
Environment
- ShadowSnap Agent
- Datto Windows Agent
- Datto SIRIS
- Datto ALTO
Description
You can now switch a protected machine that is using the ShadowSnap Agent, to the Datto Windows Agent, without having to start a new backup chain. This new functionality lets you take advantage of the latest features in DWA while continuing your current backup chain without interruption.
IMPORTANT Before switching, verify that your protected Windows machine is fully up to date and meets all requirements for the Datto Windows Agent
Procedure
You can move your ShadowSnap protected Windows machines to the Datto Windows Agent as follows:
- Uninstall ShadowSnap and ShadowProtect
- Install DWA
- Repair Agent Communications and take a backup
This procedure will require multiple reboots of the protected machine. Details on each of the steps are outlined below.
NOTE If the IP has changed from the IP showing in the protect tab, navigate to Configure Agent Settings, rename the agent, and enter the correct IP before removing ShadowSnap.
- We recommend using Revo Uninstaller Pro because it ensures all files and registry entries that are associated with the installation of ShadowSnap and ShadowProtect get entirely removed. The trial version is free to download.
- An alternate but less-comprehensive method to remove ShadowSnap and ShadowProtect is using the Add/Remove Programs wizard located in the Windows control panel.
NOTE If using the Add/Remove Programs wizard to uninstall the software does not completely remove all files associated with ShadowSnap and ShadowProtect, you will be asked to use Revo Uninstaller to completely remove all files.
Downloading and installing Revo Uninstaller
- Download and install Revo Uninstaller.
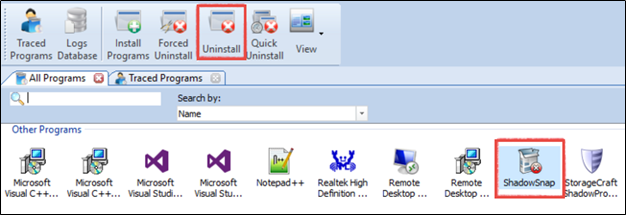
- Launch the program. Locate ShadowSnap and ShadowProtect in the Revo UI.
Removing ShadowSnap
- Revo Uninstaller will perform a full registry backup and create a System Restore point.
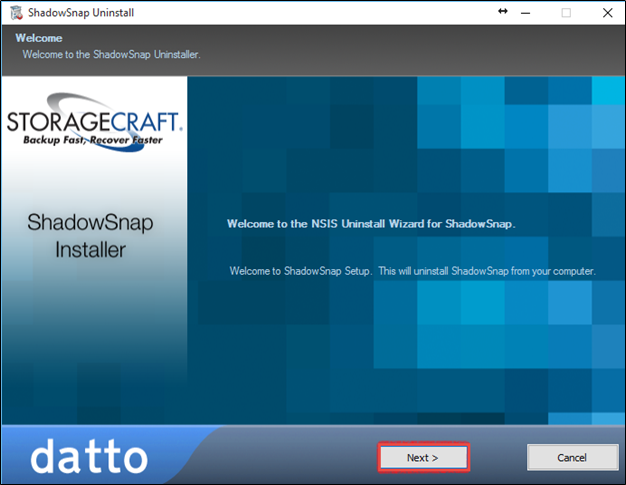
- The ShadowSnap uninstaller will launch. Click Next and follow the prompts to uninstall the software.
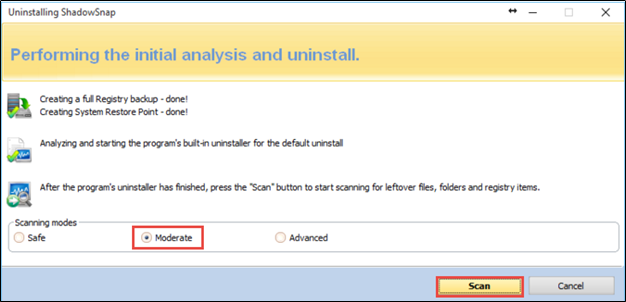
- When the uninstaller finishes, allow Revo to scan for any leftover files or folders. Select Moderate mode, and click Scan.
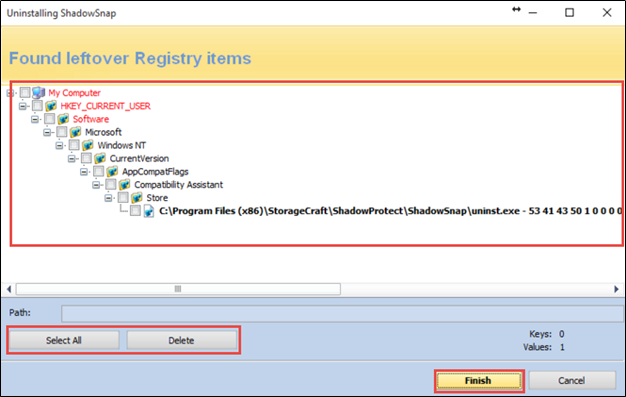
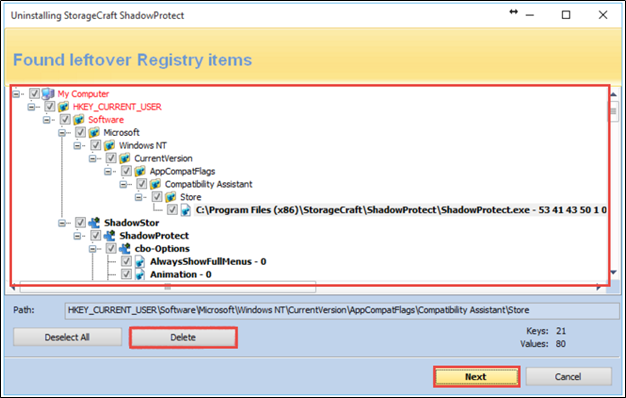
- Review the leftover registry items. Click Select All and Delete.
- When prompted, click Yes and then Finish.
Removing ShadowProtect
ShadowProtect is the software that resides on your protected Windows machine that works with ShadowSnap to create backups that are sent to your Datto device. ShadowProtect should be removed as follows:
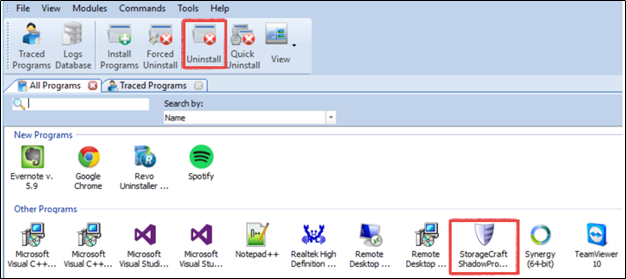
- Click the Uninstall button in the Revo GUI, and select StorageCraft ShadowProtect.
If you see the following error message, click OK:
"ShadowSnap is installed in the same location as StorageCraft ShadowProtect! Leftovers will be found from both applications! Carefully check the ones you want to remove!"
- Revo Uninstaller will perform a full registry backup and create a System Restore point.
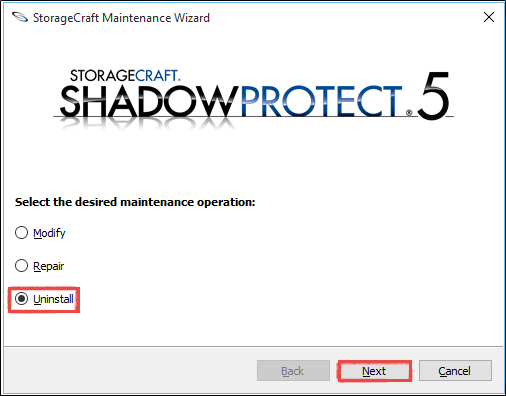
- The StorageCraft Maintenance Wizard will launch. Select Uninstall, and then click Next.
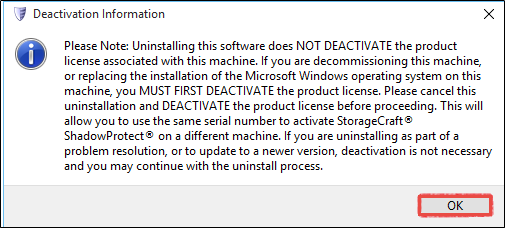
- Click OK when the Deactivation Information window populates. This window notifies you that the uninstallation does not deactivate the product key or license.
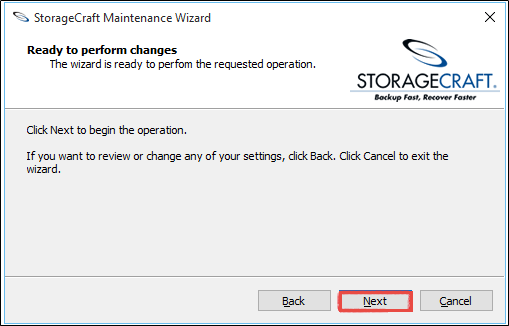
- Click Next.
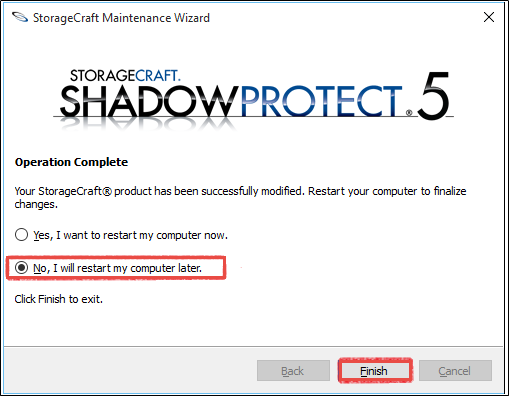
- After the uninstaller runs, select No, I will restart my computer later. Click Finish.
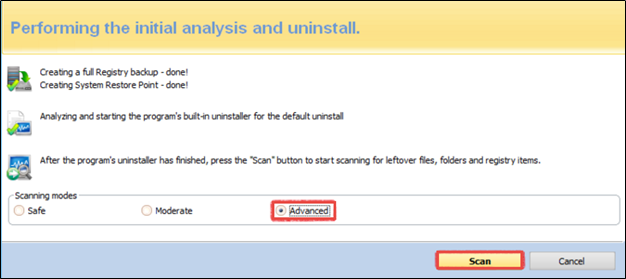
- Allow Revo to scan for any leftover files or folders. Select Advanced mode, and click Scan.
- Review the remaining registry items. Click Select All and Delete.
- Click Next. When prompted, click Yes and then Finish. If Revo finds any other leftovers after the cleanup, review the files, and remove them by clicking Select All and Delete.
- Reboot the production machine to complete the uninstall.
Download the latest Datto Windows Agent software from the Datto Downloads page.. For more information on how to install DWA, see Installing the Datto Windows Agent.
Repair communications with the same IP/Hostname the Datto device was paired to when using the ShadowSnap Agent.
- Click the Protect tab in the GUI
- Click Configure Agent Settings for the agent that was previously using ShadowSnap.

- Scroll down to the Advanced section and select Repair Agent Communications, then click the Repair Agent Communications button.

The device will take approximately 15 to 20 seconds to repair communications. You will receive a notification in the UI when the process completes. Once you complete the above steps, the next backup will be a differential merge.
If you converting to DWA 2.0.13 (legacy DWA installer is only available from the KB link above) the first backup will be a FULL.
Once the differential merge (or full backup in the case of legacy DWA) is complete, your backup chain will continue as normal.
