S6-D drive replacement
This article explains how to physically replace the OS drive or array drive(s) on the S6-D model of devices.
NOTE Before removing any drives contact Datto technical support. There may be back end procedures needed before the drives are physically removed and replaced.
Environment 
- S6-D2
- S6-D4
- S6-D6
- S6-D8
- S6-D10
- S6-D12
- S6-D16
- S6-D24
Description
You are able to replace the OS drive or an array drive on the SIRIS 6-D devices. For layout identification, refer to the SIRIS 6 Desktop (2 through 24) specifications.

The array drives on the Datto SIRIS 6 desktop models are hot swappable. It is recommended to pause backups while pause backups while performing a swap to limit the amount of I/O activity. Support will need to assist in the replacement of the array drive, please contact support once you are ready to begin the replacement.
-
Remove the magnetic faceplate of the device.
-
Press the release on the top of the drive bay to access the latch and pull the tray from the device.
NOTE Technical support can assist in identifying the problematic drive. -
Insert the new drive and tray into the empty slot.

-
Shut down the appliance gracefully through the Remote Web.
-
Disconnect power, network, and any peripheral cables.
-
Place the unit on a clean, static‑safe surface.
-
Using the screwdriver, remove the nine rear/side chassis screws.
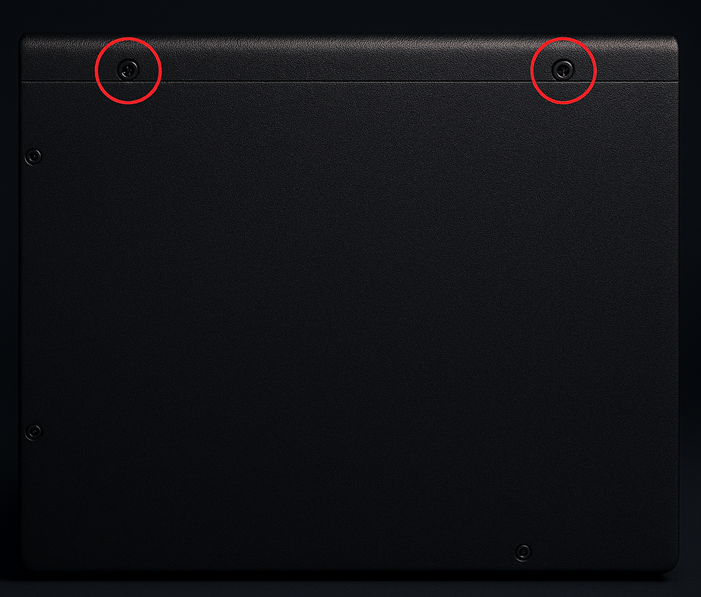
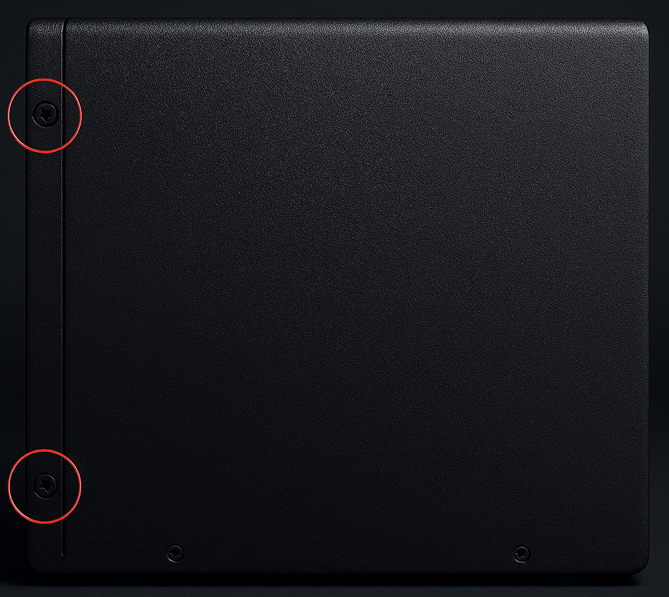

-
Slide and lift the cover off according to the chassis design. Set the cover aside.

-
Identify the OS SSD mounted directly to the motherboard. The OS drive is the small, rectangular SSD with a label, typically secured by a single mounting screw.
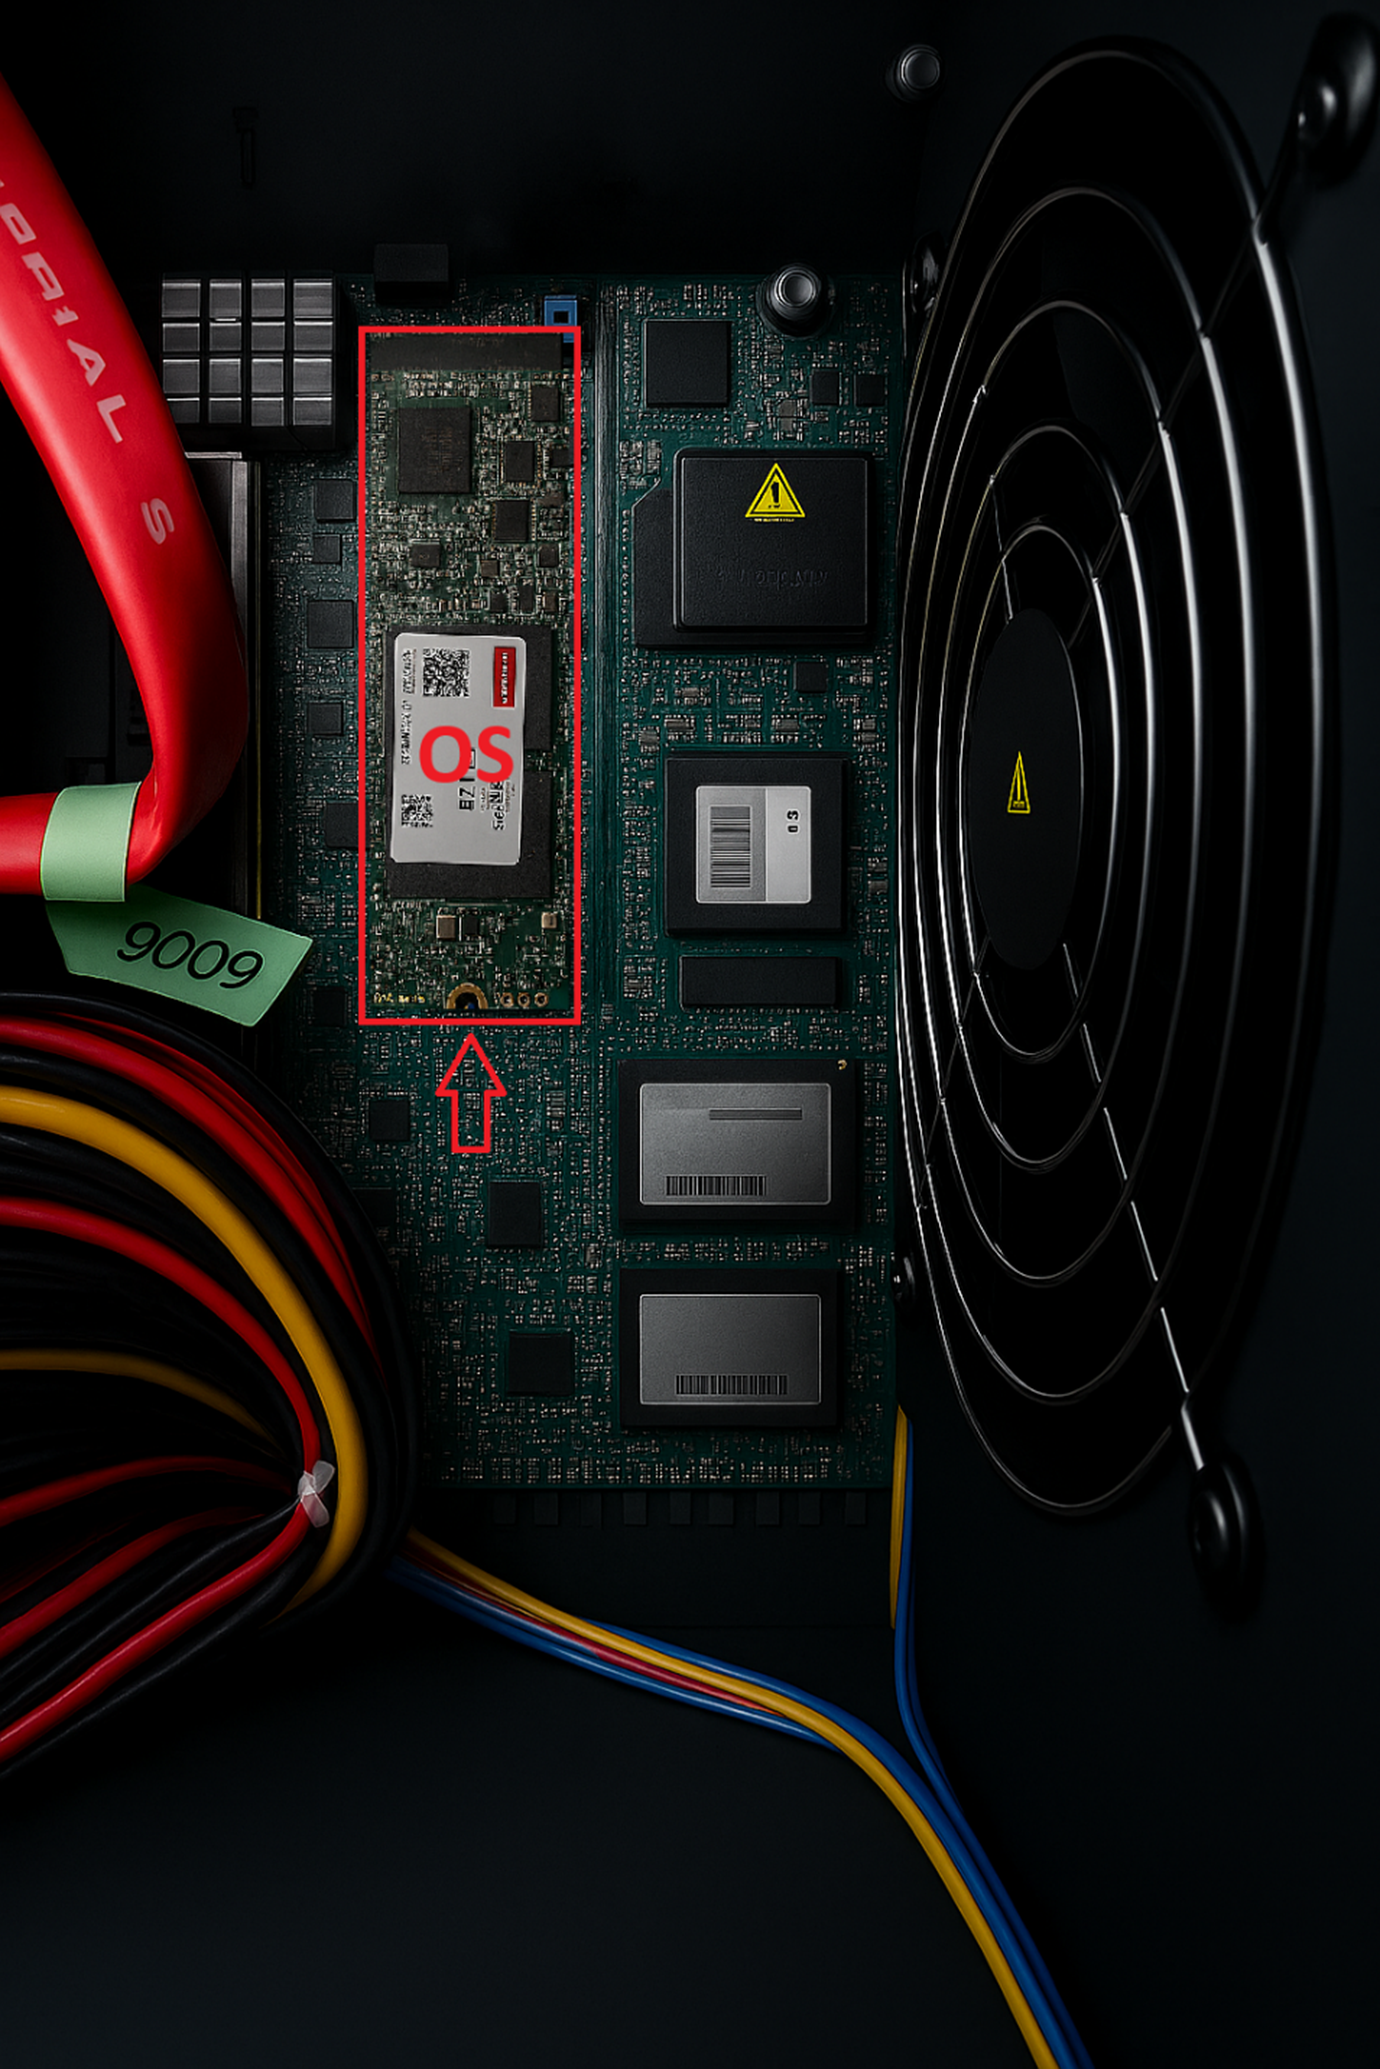
NOTE Avoid cable routing nearby to prevent strain during removal.
-
Using a Phillips screwdriver, remove the SSD mounting screw.
-
Gently slide the SSD out of its socket at a slight angle and place the removed SSD in an ESD‑safe container.
-
Align the replacement SSD with the socket and insert the SSD at the same angle used during removal.
-
Press down gently and secure with the mounting screw. Ensure the SSD is flush and firmly seated.
-
Reinstall the chassis cover and secure all chassis screws.
-
Reconnect the power, network, and any disconnected peripheral cables.
-
Power on the appliance and confirm the system POSTs normally.


