Replacing a SIRIS Professional OS Drive
This article walks through how to swap an OS drive for an older SIRIS Professional device. For SIRIS 3, see Replacing the OS Drive on the SIRIS 3 Professional / Enterprise and SIRIS 3 XP For SIRIS 4, see Replacing the OS drive on SIRIS 4 / 4X Professional and SIRIS 4 / 4X Enterprise
IMPORTANT Before replacing the OS drive, contact Datto Support so that they can take any necessary steps before the swap. You should also contact Support again once the new drive is in place to ensure the device is running correctly.
Environment 
- Datto SIRIS Professional
Description 
Tools Required: Â
- PH1 cross head screwdriver
- Monitor and keyboard for accessing the device after replacing the OS drive
Swapping the OS Drive 
- Power down the device and remove all power, peripherals, and Ethernet connections to the back of the device.
- Slide the device forwards out of the rack until you hear a click. The click indicates the rack mounts have locked into place. Locate the two tabs on the top of the device, push them both down at the same time and slide the top cover to the rear of the device.

- Looking at the front of the device, the OS drive is located in the top left corner, in a cold-swappable bay. Locate the power and SATA cables and disconnect these from the drive.

- Once the drive is disconnected, press the drive bay's release latch and then slide the bay forwards and out of the chassis.

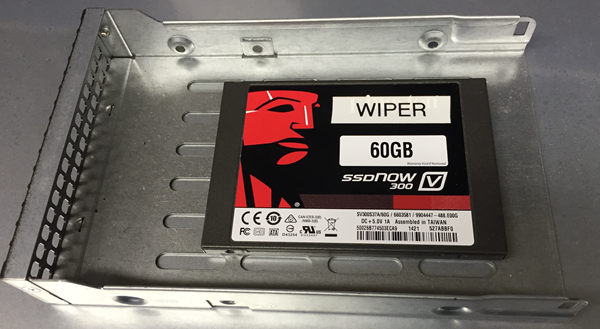
IMPORTANT You should label the old OS drive to avoid confusing it with the new drive.
- Remove the four screws securing the OS drive to the drive tray. Use the screws to secure the new drive to the drive tray.

- Return the OS drive tray to the chassis, making sure it clicks back into place.
- Reconnect the SATA and power connections to the drive.
- Slide the top cover back onto the chassis.
- Return the device to the rack. You will need to press both of the release catches on either side of the rack mounts, then gently push the device backwards into the rack.

- Connect a keyboard and monitor, along with the power and Ethernet cables.
- Contact Datto Support to begin checking in the device.


