IPMI on SIRIS 3 devices
This article explains how to configure, access, and use the BIOS Setup Utility to access a SIRIS 3 device through IPMI.
Environment 
- Datto SIRIS 3 Business
- Datto SIRIS 3 Professional
- Datto SIRIS 3 Enterprise
Description
The IPMI port is a standalone management port located on the rear of the Datto appliance, and is not part of the LAN array. It is located above the USB ports of these Datto devices:
- ALTO XL
- SIRIS 3 Business, Professional and Enterprise
Configuring IPMI 
Before you can access your device's management interface, you must configure IPMI networking and administrator passwords through the SIRIS GUI. See the Network Configuration User Interface article for details.
If you are unable to configure IPMI via the GUI, you can perform the following steps.
Set Up the IP Address
To configure IP and MAC addresses, enter the BIOS Setup Utility by pressing F2 on boot.
NOTE If this is your first time configuring IPMI, contact Datto Technical Support for your appliance's BIOS and IPMI passwords.
Enter the BIOS password. You will then see the main page of the setup utility.
Select Server Mgmt, and press Enter. From there, select BMC Network Configuration.
Select Configuration Address source, and press Enter. In this screen, you can change IP settings and toggle Static and DHCP services.
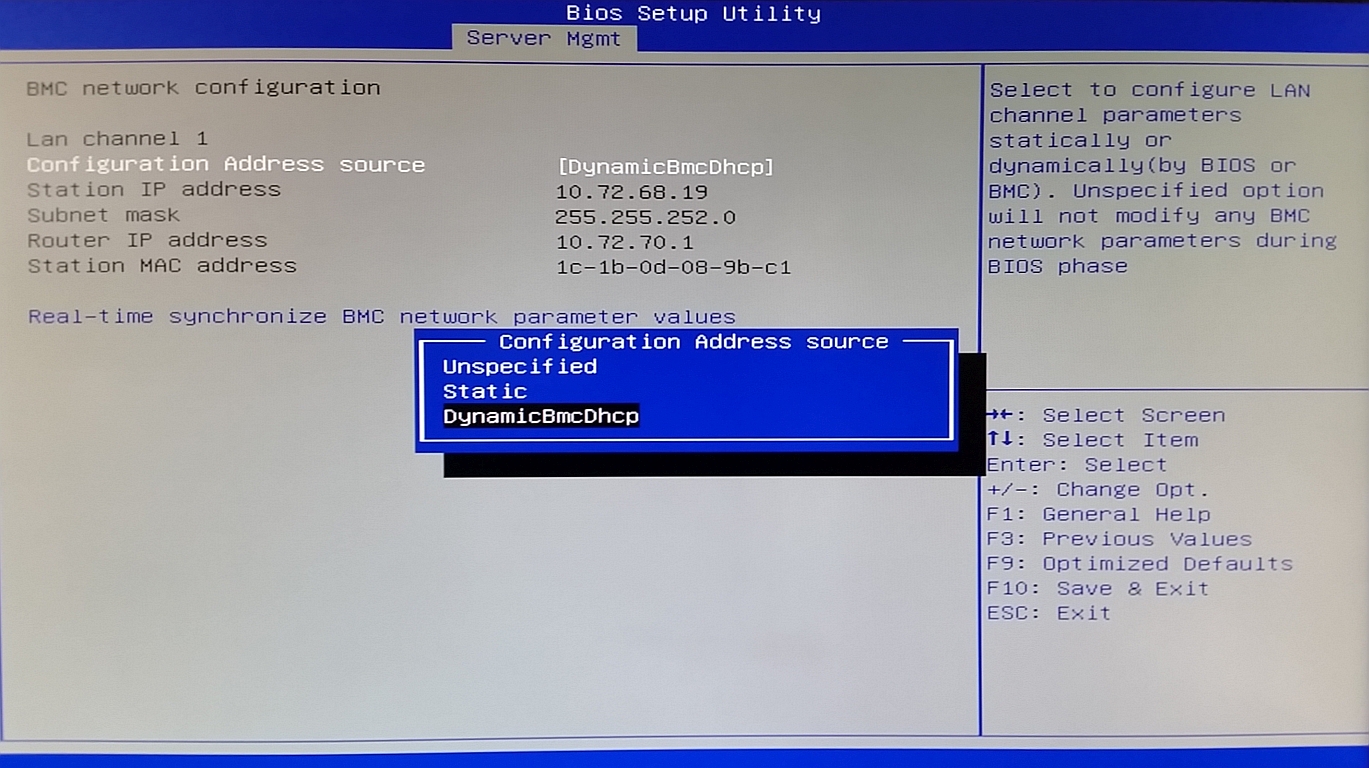
Provide a static, reserved IP address for the management console.
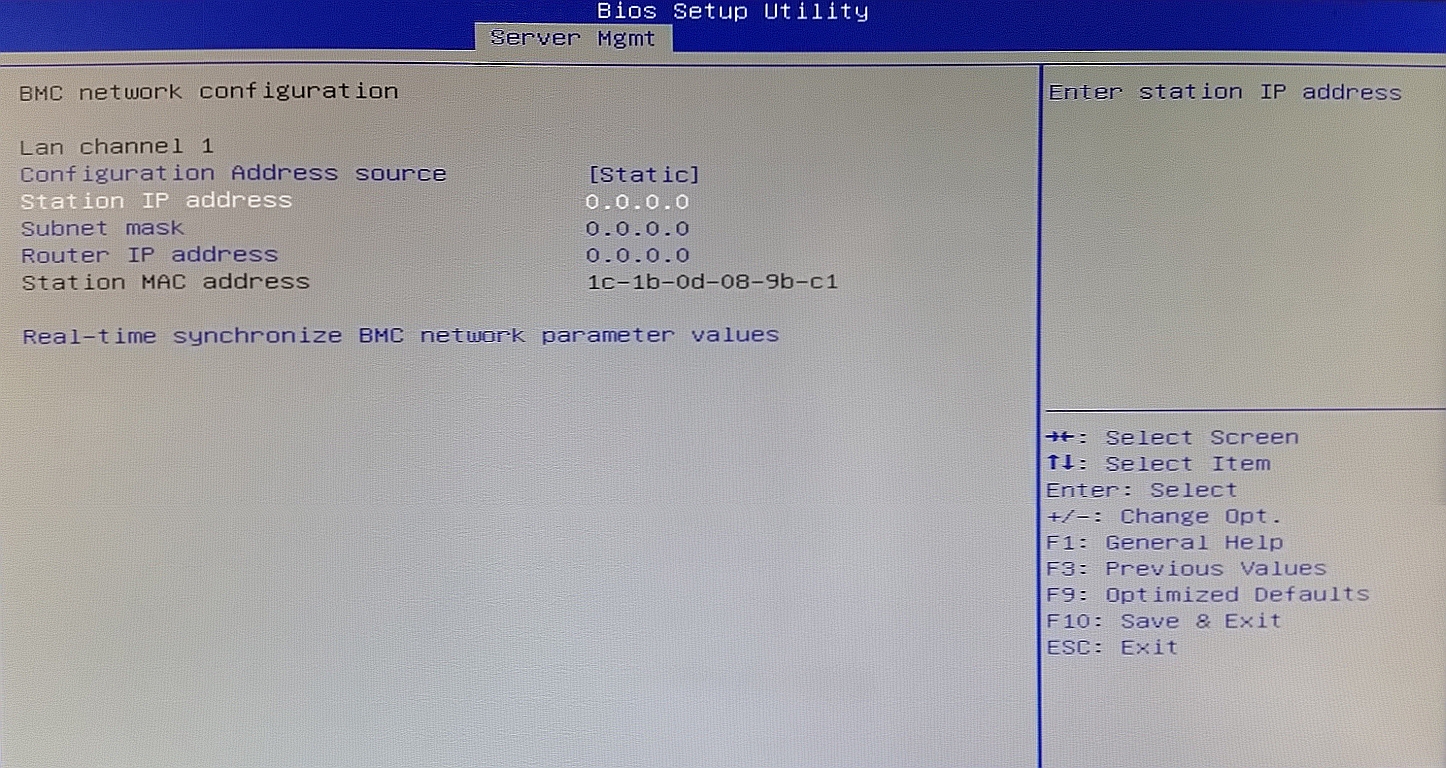
Press F10 to save and exit.
Login to IPMI
Now that you have an IP address defined for the dedicated IPMI port, you can now connect to your appliance to manage it via IPMI. To connect, follow the steps below.
Go to a computer that is connected to the same LAN as the Datto device, and open a web browser.
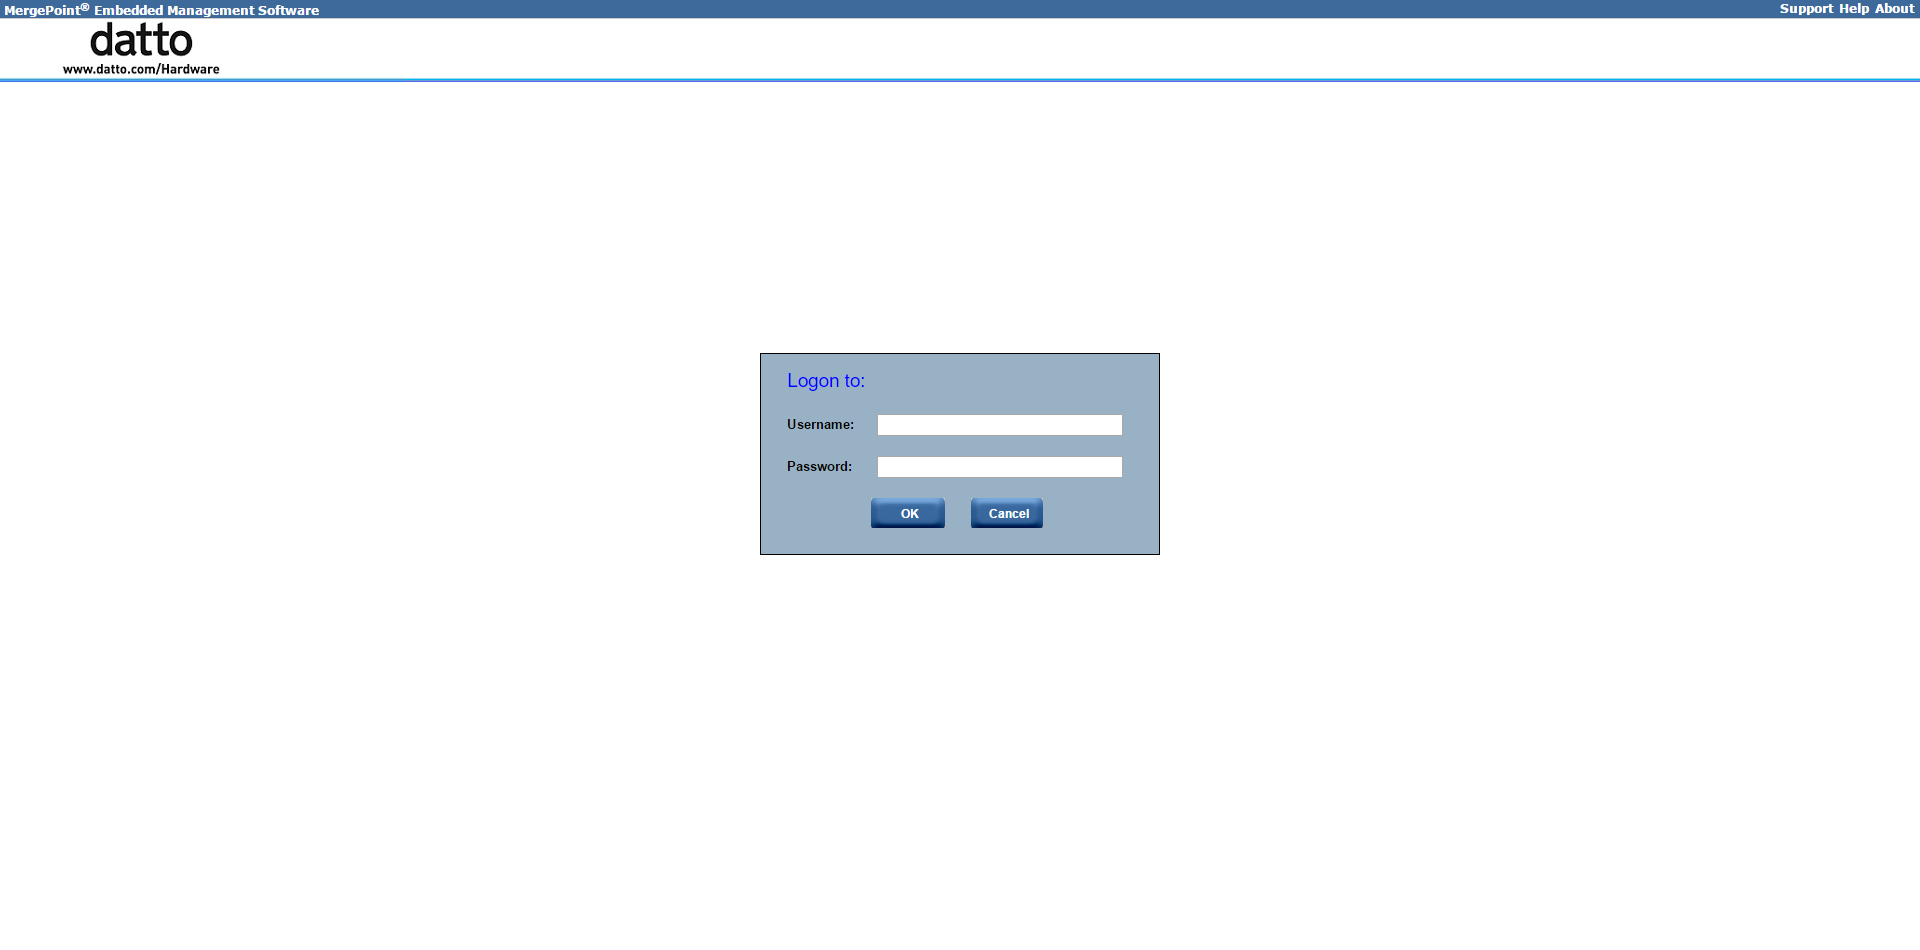
In the address bar of your web browser, enter the IP address you configured earlier.
When you get the login page, enter your credentials:
- Username: admin
- Contact Tech Support for the password
- You are now remotely logged into the Datto device's management interface. Here you can control power, monitor system health, and add virtual media such as CD, DVD ROM, floppy disk images.
Change User Password
When you initially set up IPMI on your Datto device, Datto Technical Support can supply you with the default user name and password to access IPMI on your system. For enhanced security, the default password is now temporary and will be updated automatically to match the first 16 characters of the backup-admin password for your Datto device. Your backup-admin password is automatically changed every two weeks, and so the corresponding IPMI password will change as well.
This change makes resetting your password an optional security step as it will eventually change automatically.
For security reasons, change your password right away. Follow these steps to do so:
From the left-hand menu, click Configuration, and select Users.
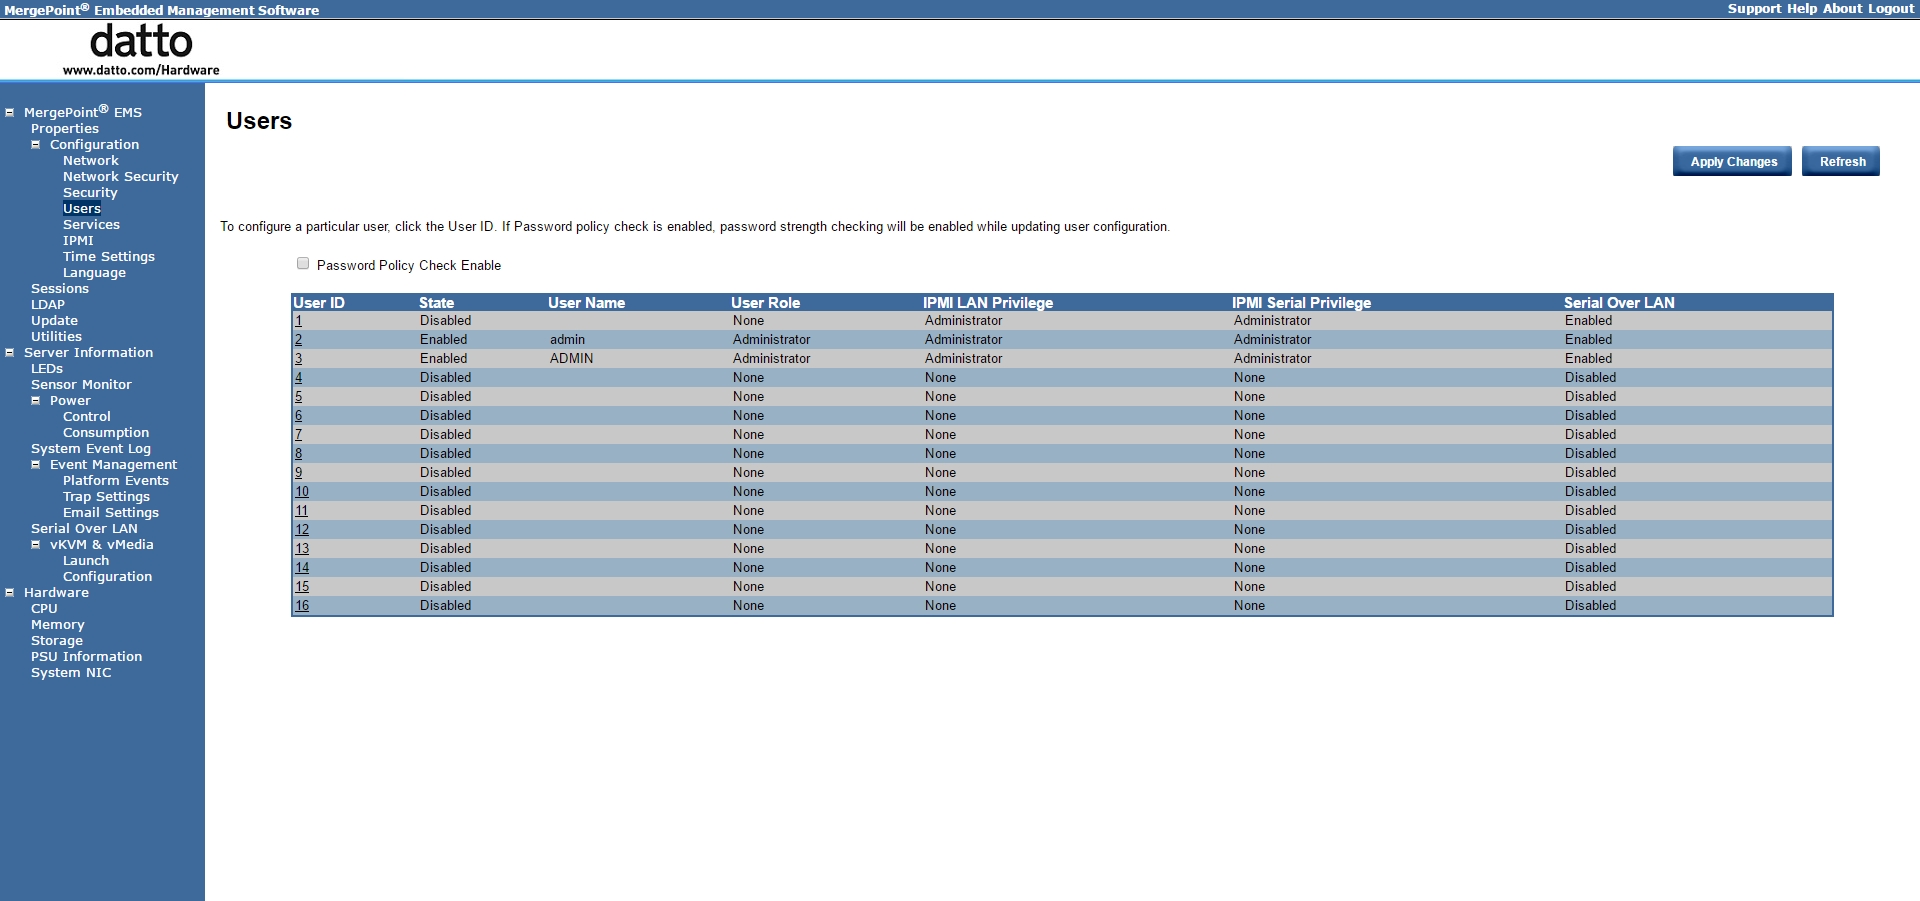
- Select the admin user by clicking the UserID value.
- Select the Change Password check-box, and enter your new password. Then, click Apply Changes.
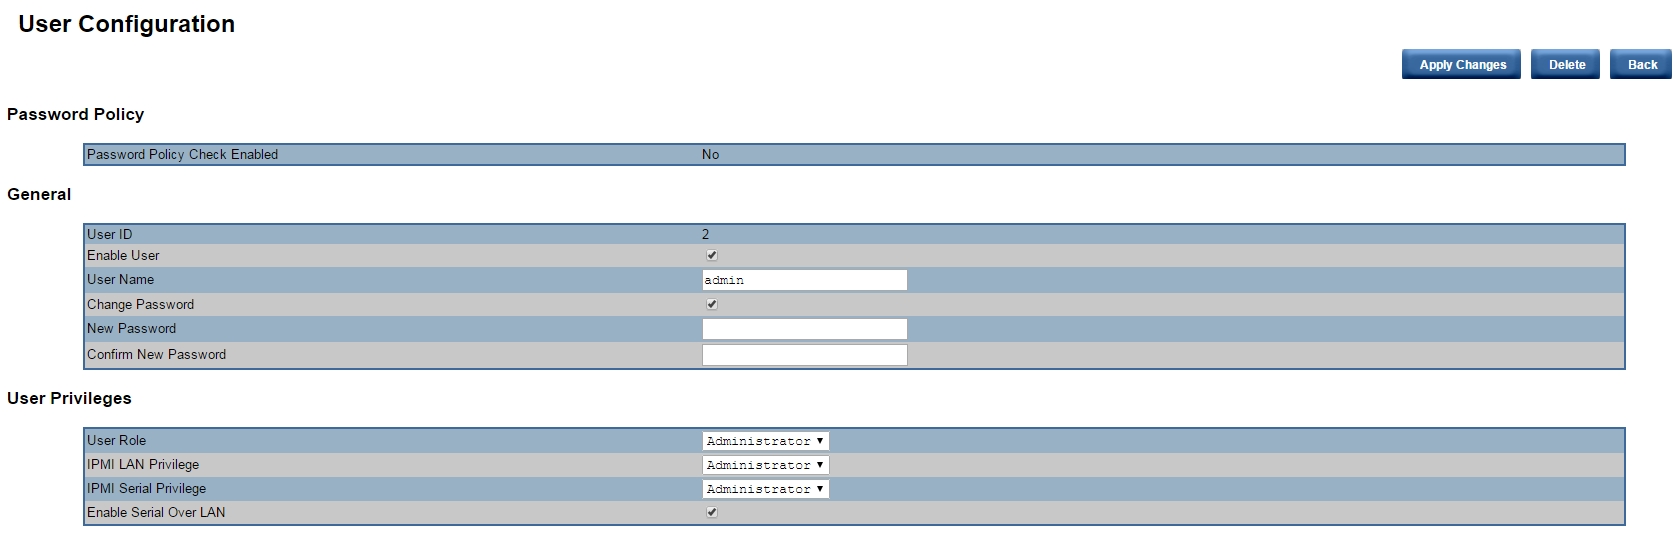
- When you get the message Modified user successfully, click OK.
- Once you've changed the administrator password, disable any other administrator accounts. To do so, go through the same process to modify the anonymous user, and un-check the box that says Enable User. Click the Apply Changes button to finish the process.
Launching Remote Console
The IPMI interface allows you to launch a remote console session into the Datto appliance. To use this console, you must have Java installed on your workstation. To launch a session, follow these steps:
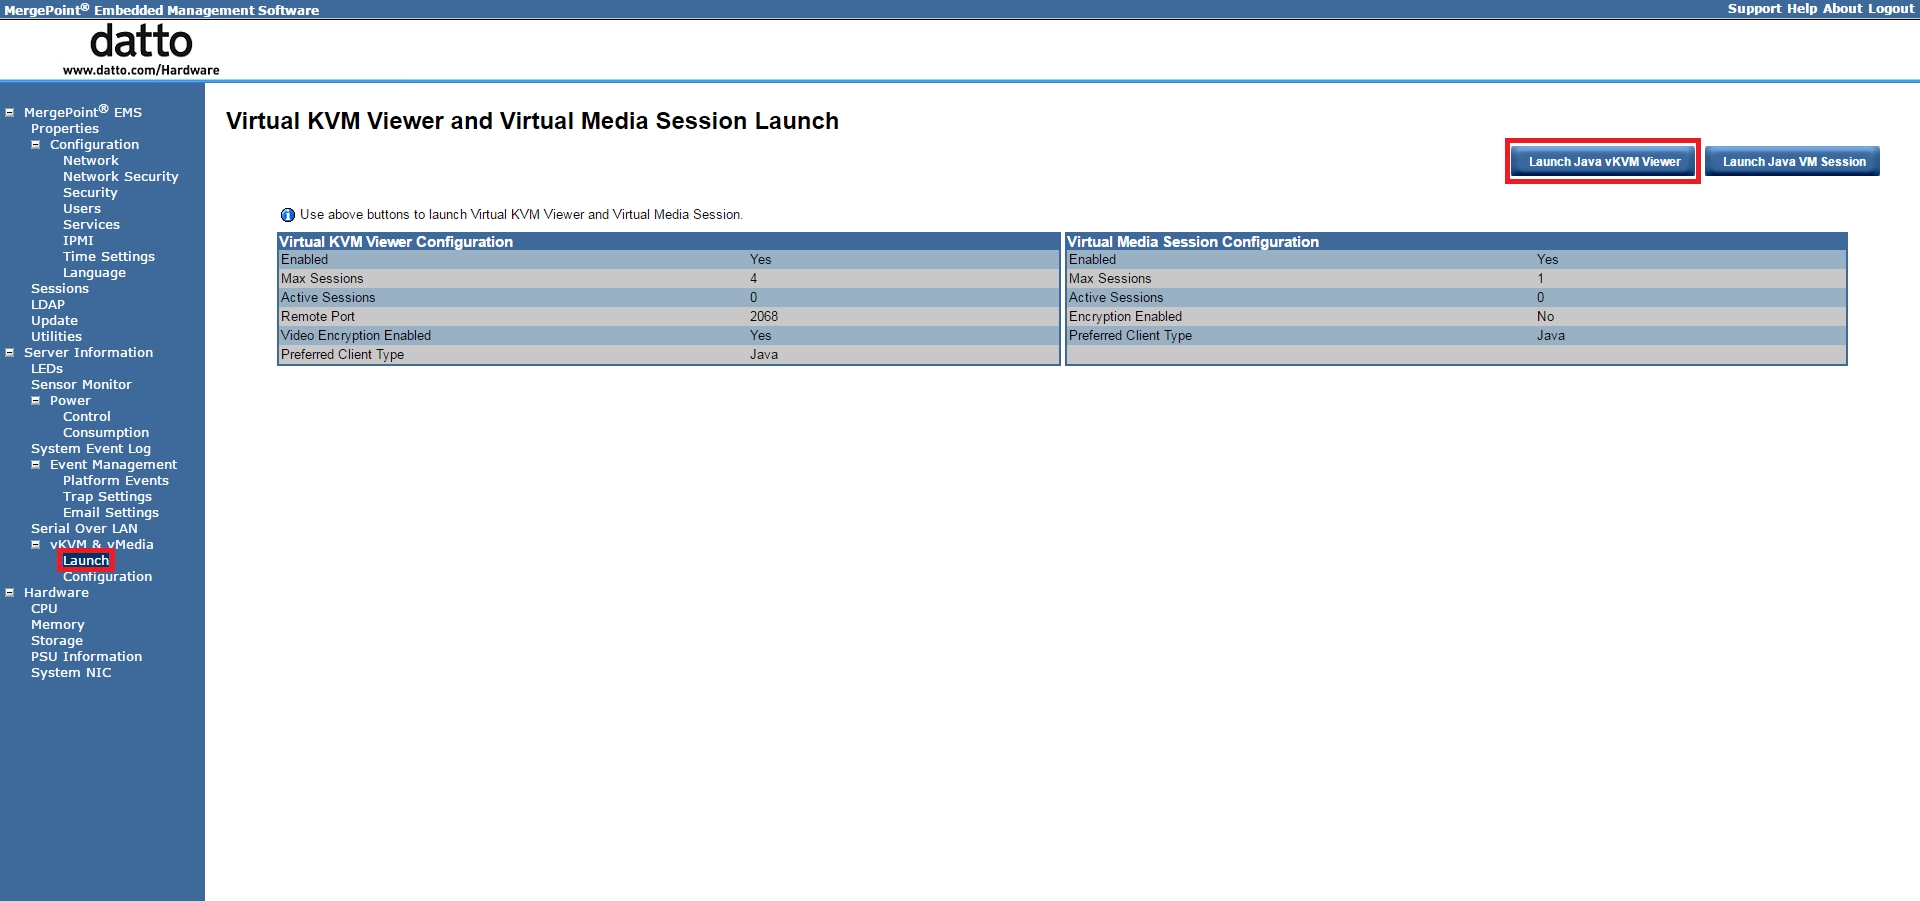
Click the Launch button in the vKVM & vMedia category. Then, click Launch Java vKVM Viewer.
A remote control applet will download. Click Keep (or Save) to download and keep the file.
Click the viewer.jnlp file to launch the console.
Accessing the Datto Appliance Command Line
NOTE The Video Viewer Console Window is a Java applet. If there are any issues with the following steps, start by troubleshooting your Java installation.
If you would like to access the command line of the Datto appliance through IPMI, follow these steps:
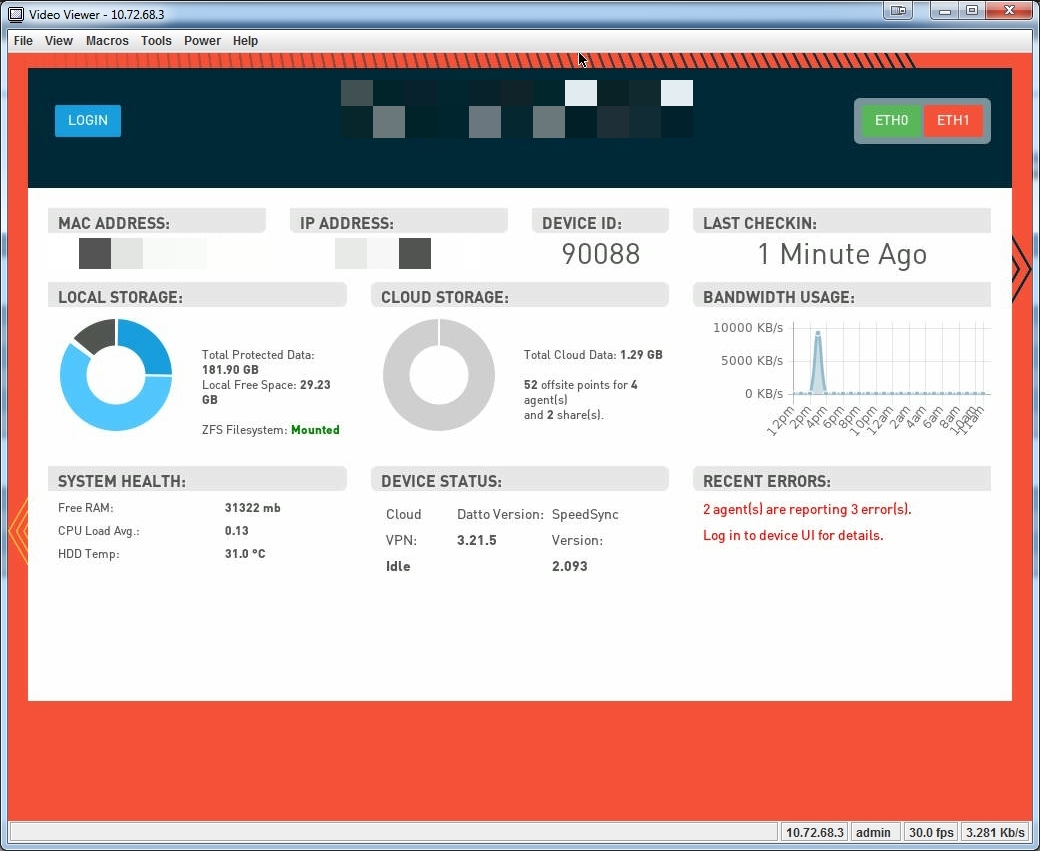
Go into the Macros menu, and click Ctrl-Alt-F?. Then, select Ctrl + Alt + F1.
You will then see the Datto OS command line.
When you are finished using the command line, click CTRL + Alt + F7 to get back to the GUI.
Server Power Control
Another great feature of the Setup Utility is the ability to control power options, even if the device is fully powered down. To access this feature, click the Power menu.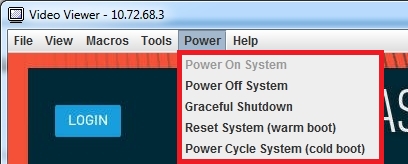
The power control options are as follows:
- Power On System: powers on the system
- Power Off System: powers off the system
- Graceful Shutdown: closes all running processes and gracefully shuts down the system
- Reset System (warm boot): immediately reboots the system
- Power Cycle System (cold boot): immediately reboots the system with a complete power off and power on


