Network Configuration
This article describes the Network Configuration page of the Datto Remote Web.
Environment 
- Datto ALTO
- Datto SIRIS
Description
Network settings for Datto BCDR devices are configured and administered on the Remote Web's Network Configuration page.
Accessing network settings 
Navigate to the Datto Partner Portal, and log in to your portal account.
Click the Status tab, and then select BCDR Status from the drop-down menu.
Look for your appliance's name. You can also navigate to it by using the search bar.
Click the Remote Web icon to initiate a remote session with your appliance.

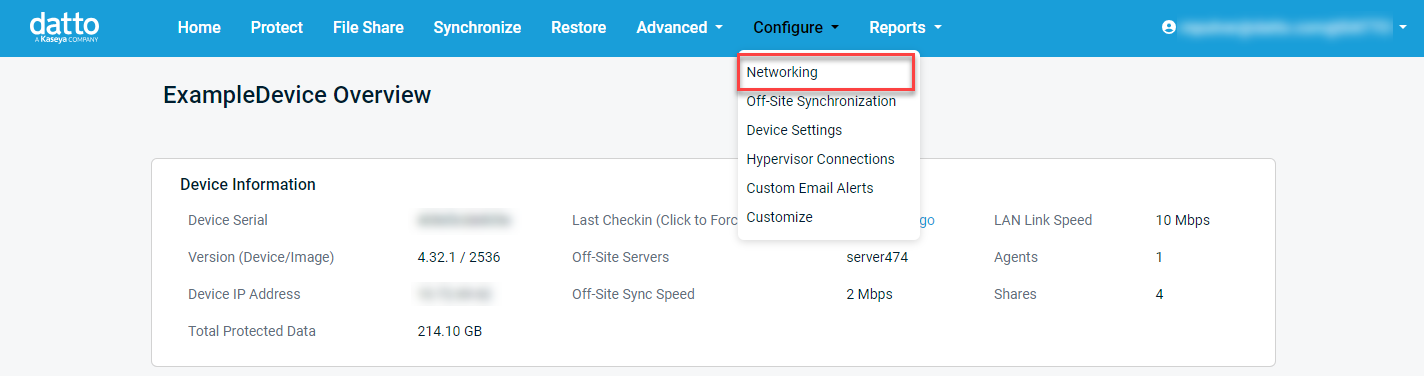
In the Remote Web, click the Configure tab and select the Networkingoption from the drop-down menu.
For more information on the individual sections or configuring the settings available on the page, select the settings below:
This table shows the status of connections to the Datto device's Ethernet ports.

This table provides a summary of the following connectivity stats:
- Ping size: MTU packet size. Datto appliances require a 1500 byte MTU. See BCDR networking and bandwidth requirements for more information.
- Resolve Device Hostname: queries the configured DNS server to see if the device's hostname resolves
- Connection to off-site Storage: the status of the device's connection to the Datto Cloud.
- Port 22 outbound: allows SSH access to the device.
- Port 80 outbound: allows connections to the device via HTTP. This port must be open for the device to work correctly.
- Port 443 outbound: will enable connections to the device via HTTPS. This port must be open for the device to function correctly.
- Device web 443: reports connectivity to device.dattobackup.com. This port must be open for the device to function correctly.
- BMC: reports connectivity to Datto's Bare Metal Restore servers.
- Speedtest server: reports connectivity to Datto's Speedtest server.
- Heartbeat: reports connectivity to Datto's check-in servers.
- Software Update Server: reports connectivity to Datto's software-update servers.
- Time services: reports connectivity to NTP servers. Access to an NTP server is required to synchronize to correct time zone.
To check connectivity from your Datto device to the network, click the Run Outbound Connectivity Check button.

NOTE If any items have red circles indicating no connectivity, you'll see a link to troubleshooting resources at the bottom of the tile.
IP Settings
This section lets you configure the NICs on your Datto appliance. You can use any NIC as the primary NIC and configure the additional NICs for specific purposes. See Device Auxiliary NIC Settings to learn more about auxiliary NIC uses.
- IP Mode lets you switch each NIC between DHCP, Static, Link local, or Disabled..
- Datto recommends leaving the IP Mode set to DHCPfor typical operation.
- DHCP: Uses DHCP to assign an IP. You cannot change network settings while DHCP is selected.
- Static: If your network requires a static IP address, you can configure one here. This setting allows you to manually set the IP Address, Netmask, and Gateway values.
- Link-local: The device will generate a Link Local IP address, also known as Stateless Autoconfig, or Automatic Private IP Address (APIPA). This can be useful on secondary NICs when performing operations such as a Round Trip".
- Disabled: The interface will not be used, and will not have an IP address. VLAN interfaces created on this interface will continue to operate.
- Datto recommends leaving the IP Mode set to DHCPfor typical operation.
IMPORTANT If you change network settings for the primary NIC, you may accidentally close the connection to the device through the Remote Web. You may need to connect a monitor, keyboard, and mouse directly to the device to restore connectivity.
- Jumbo Frames: Click this radio button to enable Jumbo Frames functionality on a per-NIC basis. Jumbo Frames are Ethernet frames that transmit at higher than the standard maximum transmission unit (MTU) of 1,500 bytes. With Jumbo Frames enabled, your Datto appliance will attempt to generate Ethernet frames with an MTU of 9,000 bytes.
Enabling Jumbo Frames without first configuring your network and attached machines to support it WILL cause issues. Both the switch and the protected machine must support Jumbo Frames, and have this feature turned on. Your environment must also employ gigabit networking. Support for Jumbo Frames and their maximum transmission unit may vary from vendor to vendor.
VLANS
A Virtual Local Area Network (VLAN)(external link), allows you to group a subset of devices that share a physical LAN into their own virtual network. You can use this section to add VLANS to your configuration. To add a VLAN you simply choose a network interface and specify a Port VLAN ID.
Bonded interfaces
Bonded Interfaces allow you to combine multiple Network Interface Cards (NICs) to act as a single interface. You can now choose from three different Bond Modes. Round Robin is the default mode and is what Datto devices used previous to having the option to choose different modes. For more information, see Enabling NIC Bonding.
Datto recommends providing at least one remote DNS server (such as Google's 8.8.8.8.). If the local DNS Server is involved in a disaster scenario, your Datto device will be able to use the remote DNS Server to resolve dattobackup.com, allowing you to perform a remote recovery.
In a domain environment, you can enter the FQDN for the DNS Search Domain so the Datto device can protect machines using DHCP by their hostnames.
This setting sets the hostname of the Datto device.
Datto recommends using a hostname for the Datto device that helps identify the customer, company, or network on which it is deployed because this Datto device's hostname appears in the Datto Partner Portal's Device List.
This optional field is where you can join the Datto device to a domain.
Datto provides the option to join devices to a local domain explicitly for deployments using the NAS feature with domain authentication credentials. Datto suggests leaving your appliance in Workgroup mode if you are not using the NAS feature. This precaution helps prevent the device from depending on the local domain during disasters.

Steps to join a Datto device to the local domain
Enter in the local domain with domain administrator-level credentials.
NOTE The Optional Password Server field may be needed to join the domain, depending on the networking configuration. This can be used to specify the Primary Domain Controller or authentication server.
Click the Join Domain button to join the Datto to the local domain.
Automatic Network Rollback is a feature that prevents network disconnects of your Datto BCDR device by rolling back the network connection to the previous settings if you lose connectivity upon changing them.
After you make a change to your network interface settings, a task is started that checks for network connectivity, if after three minutes, your network connection has not been re-established, your device will automatically revert to the previous settings in order to re-establish your network connection.
Changes to any of the Interface Settings on the Network Configuration page for your device will trigger the three minute timer. If connectivity is lost and cannot be re-established within three minutes, the previous settings will be used to re-establish the connection.
For SIRIS devices with IPMI, you can change the device's IPMI settings through the user interface. These settings allow you to enable or disable IPMI, configure the IPMI network settings, and change the passwords for admin users.
For enhanced security, the IPMI admin password is now temporary and will be updated automatically to match the first 16 characters of the backup-admin password for your Datto device, so there should now be no reason to change the password via the Datto Device GUI. For assistance with your IPMI or backup-admin password, contact Datto Technical Support.
NOTE Your backup-admin password changes periodically, so the corresponding IPMI password will change as well. Please be sure to get the current password from the Datto Partner Portal as needed.


