
Restoring Thick-Provisioned VHD Exports to Citrix Hypervisor (XenServer)
Topic
This article describes the process for restoring a thick-provisioned VHD export to Citrix Hypervisor (XenServer).
Environment
- Datto SIRIS
- Datto ALTO
- Citrix Hypervisor (XenServer)
Description
Prerequisites
Follow the steps in the Export Image article to obtain and copy the machine's recovery point to the hypervisor as a VHD or VHDx file.
NOTE If any of the protected host's volumes are larger than 2 TB, you must do a VHDx image export. VHD virtual disks do not support volumes larger than 2 TB.
When creating your virtual machine:
- If both boot.vhd and C.vhd are present in the export, select boot.vhd as the first drive, and attach C.vhd as the secondary drive.
- If only C.vhd is present, use C.vhd as the first drive.
NOTE Although image files on Datto appliances are dynamic, sparse or thin-provisioned, when a VHD image file is copied from the device by using copy-paste or tools that do not accommodate dynamic/sparse/thin provisioning, the VHD image file will be copied with thick provisioning. As a result, images exported to Citrix Hypervisor (XenServer) will be thick-provisioned.
Procedure
NOTE You can also use Citrix Hypervisor (XenServer) to perform restore to a Xen host environment. Documentation from Citrix is available here(external link).
- In Citrix Hypervisor (XenServer), click File > Import. This will load the Import Wizard.

Figure 1: Citrix Hypervisor (XenServer) import wizard
- Browse to the location where you copied the the VHD file(s) and click Next.
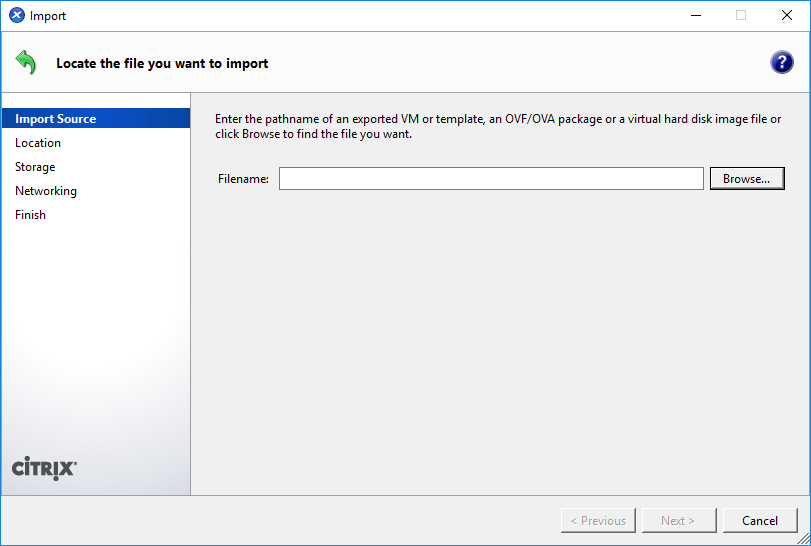
Figure 2: Import Source
- Complete the VM Name, Number of CPUs, and Memory fields. Once configured, click Next.
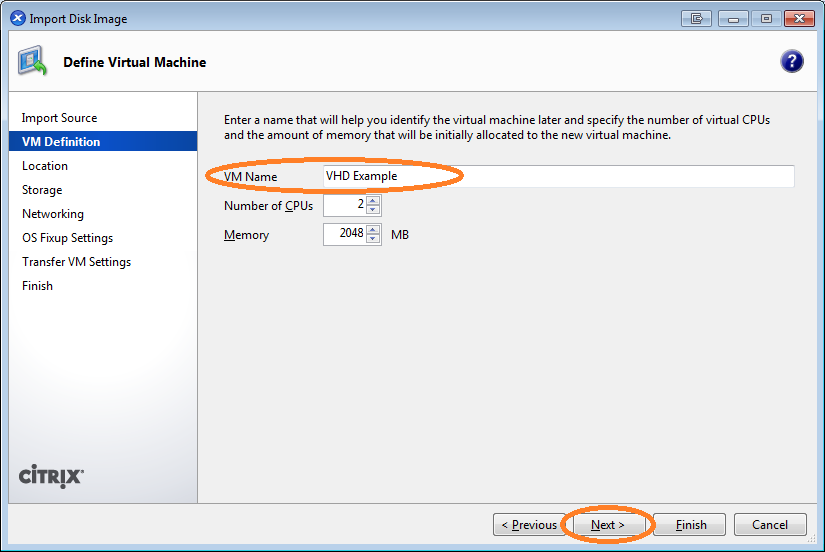
Figure 3: Define Virtual Machine
- Confirm the location is correct, and then click Next.
- On the Select target storage page, click Next.
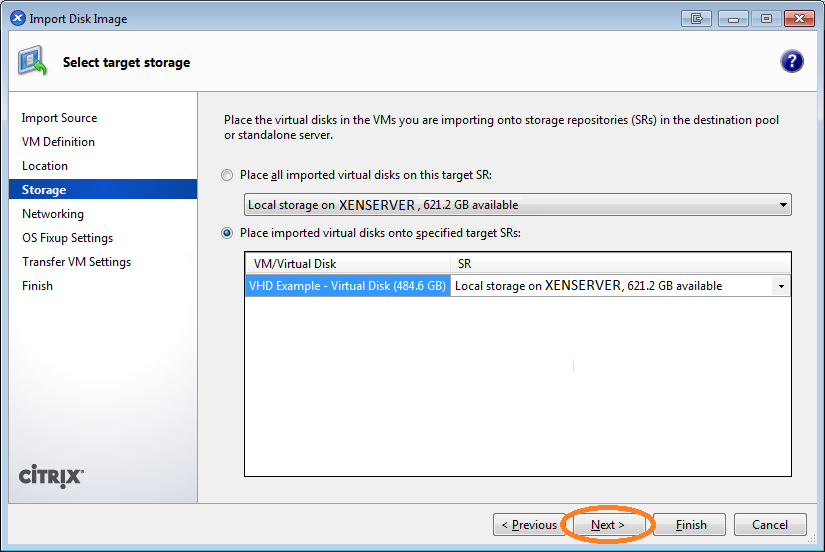
Figure 4: Select target storage
- Choose the virtual network interface for the VM and click Next.
- On the OS Fixup settings page, click Next.
- In the Network interface field, select which of the Citrix Hypervisor (XenServer) NICs to provide the VM access to. Then select Automatically obtain network settings using DHCP or enter static settings in the Use these network settings field. Click Next when finished.
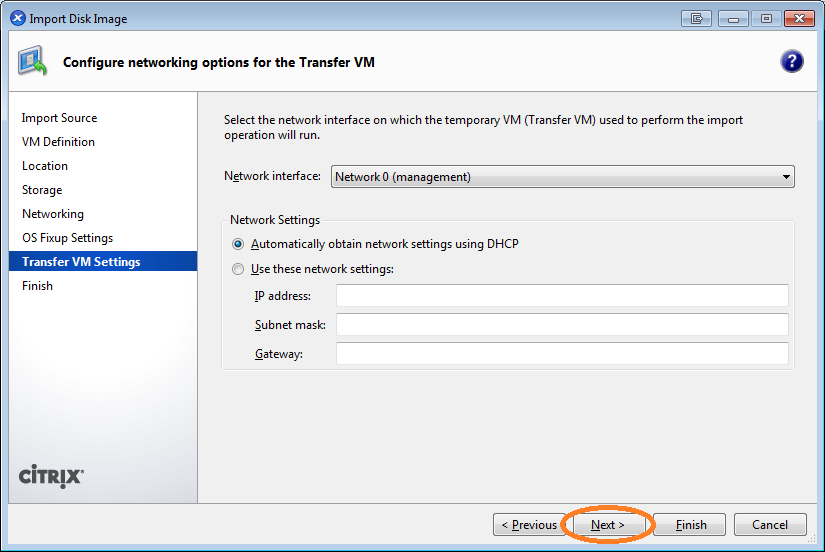
Figure 5: Transfer VM settings
- On the Finish screen, confirm that all settings for the imported virtual machine displayed are correct, and then click Finish.


