Connecting to Cloud Networks with Datto VPN Keys
This article discusses how to connect to a Datto cloud network with OpenVPN 2.5.7 by using VPN keys. You can access your VPN keys as a preconfigured script for Windows, Linux or Mac OS available for download from the Recovery Launchpad. Refer to Adding an organization VPN to a network for more information.
Environment 
- Datto Partner Portal
- Recovery Launchpad
Description 
Prerequisites

This article assumes you have already created a cloud network and added an Organization VPN to a network for your virtualization.
The machine you wish to connect to the offsite VLAN must have a different networking configuration from the VLAN. If they match, it will cause communication problems with the offsite network.
An OpenVPN client that supports layer 2 bridging (TAP), such as OpenVPN 2.5.7 or earlier is required. Newer versions utilizing layer 3 (TUN) are not supported at this time.
Connecting to cloud networks with your Datto VPN keys 
Download the OpenVPN client (OpenVPN 2.5.7 or earlier):
Open the new Recovery Launchpad and create and download a VPN key (once created, keys will remain available for 8 hours).
Right click on the OpenVPN config file on the machine that you'd like to have connected to the cloud network, and select Start OpenVPN on this config file.
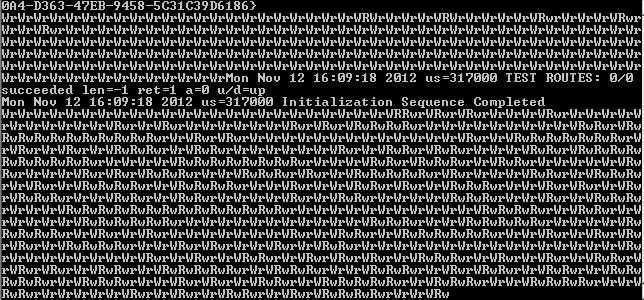
Once the software launches, you will see a pop-up box that displays multiple lines of read and write code. You can minimize the pop-up box to access other network connections such as terminal or VNC.

Do not close it, or it will stop the connection.
Troubleshooting 
If you experience any connection issues or errors here are some items to check:
Ensure you are using an OpenVPN organization that support layer 2 bridging (TAP), such as OpenVPN 2.5.7 or earlier.
Ensure the offsite subnet you are connecting to is different than the local subnet.
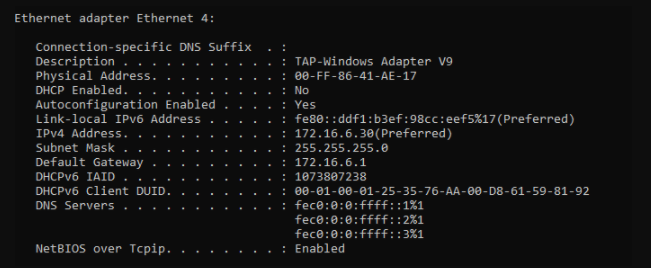
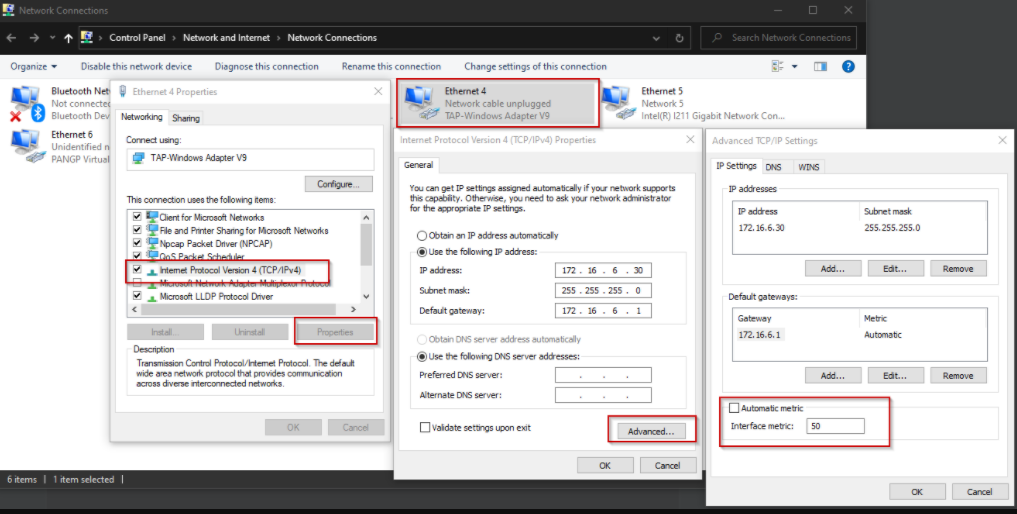
The openvpn connection will create a virtual ethernet “tap†adapter on the machine you are connecting from. Double check the adapter’s settings via network and sharing center and/or ipconfig /all. If you have connected to an openvpn network previously and set the adapter to static, it may have the previous address still configured. It also may have failed to grab a dhcp address if there is no dhcp server available on the offsite vlan.

Ensure your main LAN interface has a lower metric than the openvpn tap adapter. This is an issue that occurs more often with wifi connections, but can occur when wired as well. To get a list of metric values run
Get-NetIpInterfacefrom a powershell window.
Use the “InterfaceAlias†column along with network and sharing center, or ipconfig /all to identify your tap adapter and main connection. In the above two images “Ethernet 4†is the tap adapter with a metric set to 80.
The metric can be set with an admin powershell window:
Set-NetIPInterface -InterfaceIndex $Index -InterfaceMetric $metric
EXAMPLE PS C:\windows\system32> Set-NetIPInterface -InterfaceIndex 17 -InterfaceMetric 50


