Replacing the SLOG drive on SIRIS 5-(2 through 4)
This article explains how to replace the SLOG drive on a Datto SIRIS 5-2,3 or 4TB model device.
NOTE Before removing your SLOG drive, contact Datto Technical Support. A Datto technician will need to run back end procedures to start, monitor and complete the process. Never remove either card if there is a disaster recovery scenario in progress.
Environment 
- Datto S5-2
- Datto S5-3
- Datto S5-4
Description
Use either of these processes to remove and replace the SLOG drive (SSD) on your Datto SIRIS 2,3, or 4TB device. The procedure varies depending on the chassis used for the device, select the model to proceed.

The SLOG drive is hot swappable on this device, there is no need to power down the device to perform the swap.
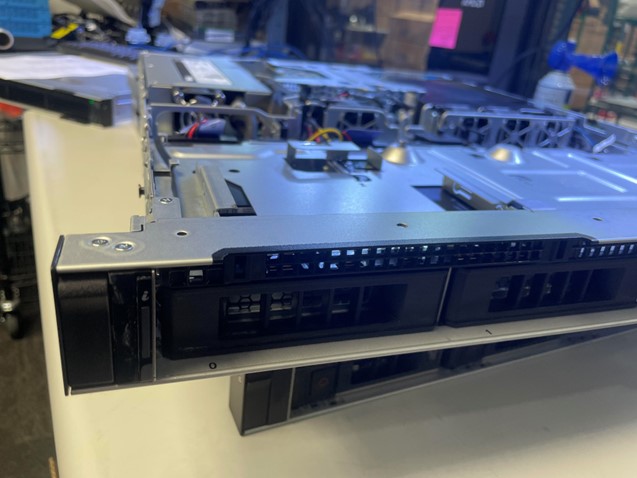
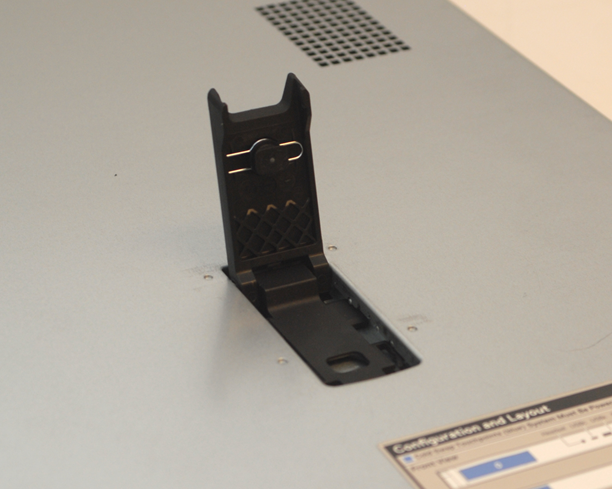
For the middle-left slot, press the release button to open the drive carrier release handle.
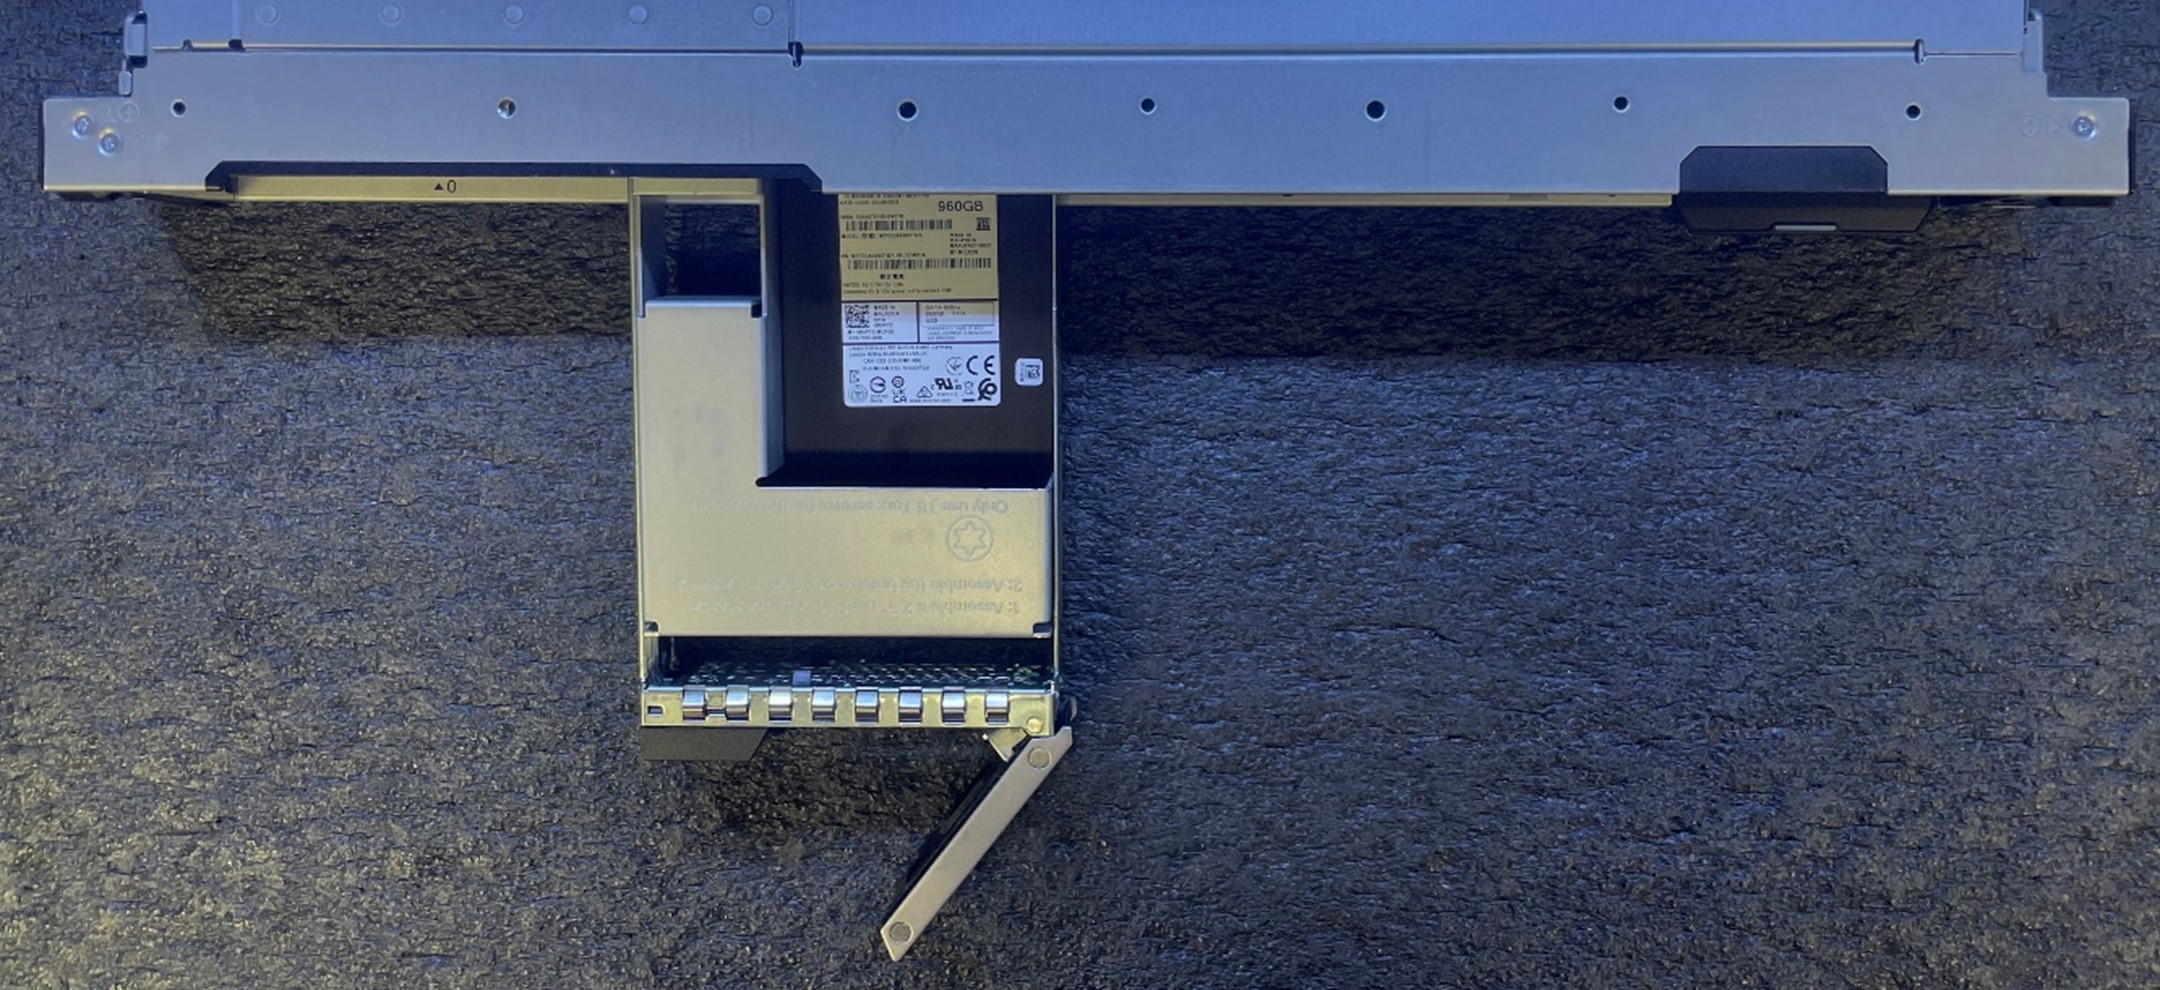
By holding the handle, pull to slide the drive carrier out of the drive slot.
Insert and slide the new drive carrier into the drive slot.
Power off the device.
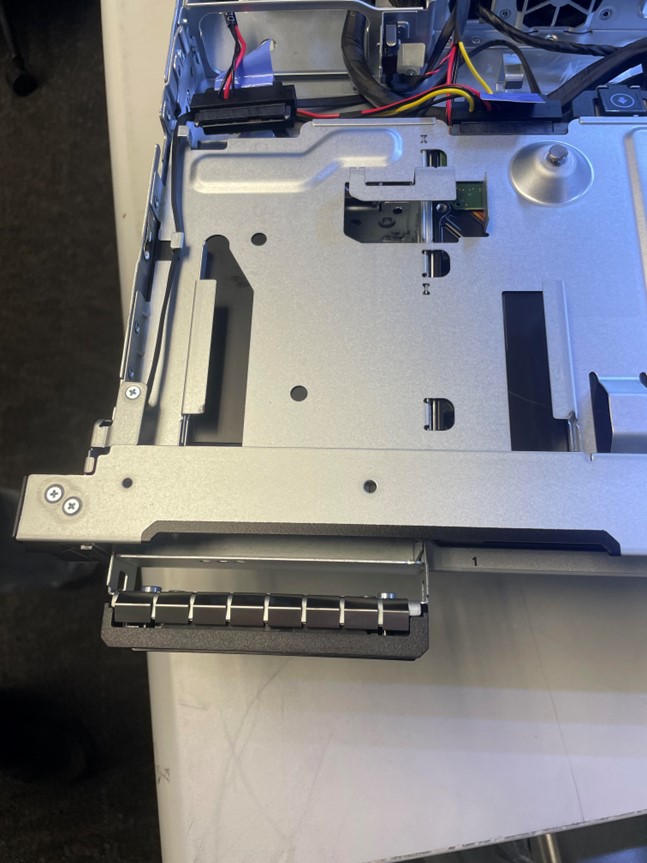
Use a Phillips head screw driver to unscrew the top latch and lift the latch to disengage the cover. Remove the cover by sliding back and up.
Disconnect power and data cables from drive on left labeled HDD 0.
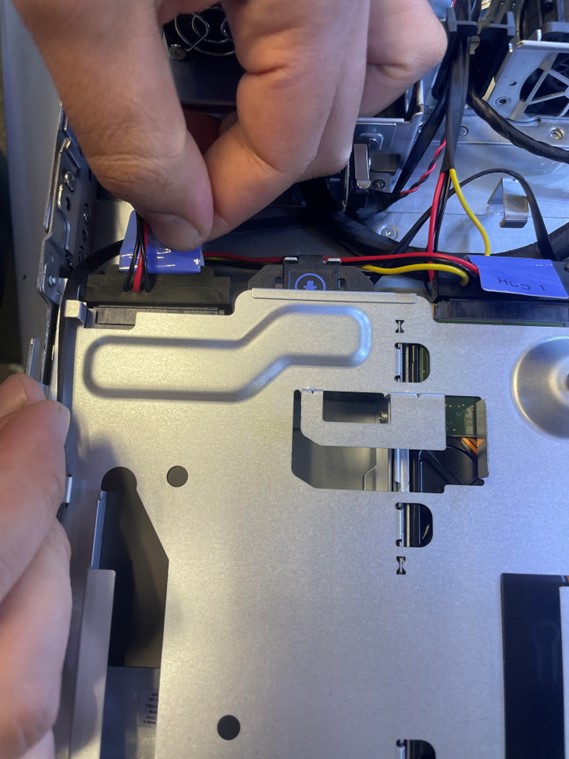
Depress the locking lever and push drive forward out of the chassis to remove.
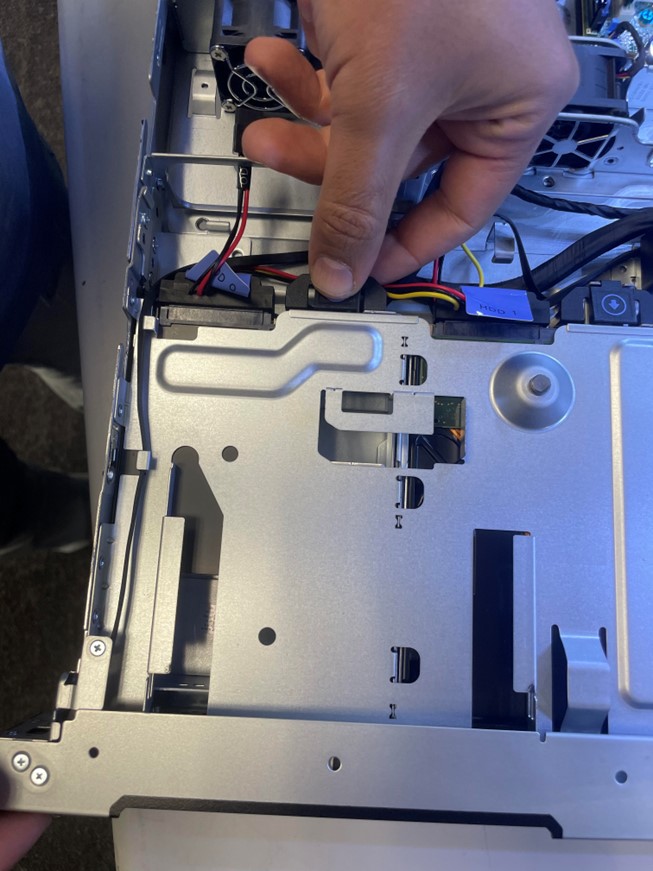
Insert the replacement SSD into drive bay.
Connect power and data cables for HDD 0 to the drive.
Secure the cover back on the device and power it back on.
The remaining steps will need to be completed by Datto Technical Support.
Power off the device
Use a Phillips head screw driver to unscrew the top latch and lift the latch to disengage the cover.
Remove the cover by sliding back and up. Two M.2 cards will be visible:
- The OS drive is on the upper left, in the slot labeled "M.2 PCIE/SATA SSD0" .
- The SLOG drive in the lower right, in the slot labeled "M.2 PCIE SSD1".
Only remove the card that you need to replace as instructed by Datto Technical Support.
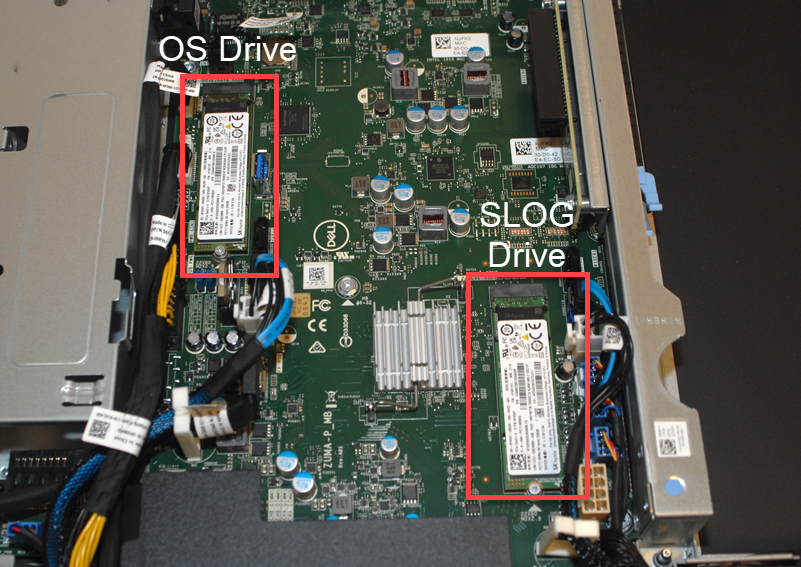
Be careful to remove the correct card for your replacement scenario as they look identical.
To remove the M.2 PCIe SSD card, remove the single screw that secures the SSD card to the system board. Lift and pull out the SSD card from its connector on the system board.
Insert the replacement M.2 PCIe SSD card into the card slot on the system board and replace the single screw that secures the card to the system board.
Secure the cover back on the device and power it back on.
The remaining steps will need to be completed by Datto Technical Support.


