Datto Endpoint Backup for PCs Bare Metal Restore: Performing the restore
This article describes the procedure for performing a Datto Endpoint Backup for PCs Bare Metal Restore (BMR).
Environment 
- Datto Utilities
- Datto Endpoint Backup for PCs Bare Metal Restore
Description
Prerequisites 
This article assumes that you have already booted the target machine into the Datto Utilities environment. If you have not already done this, see the Imaging a USB Drive with Datto Utilities and Booting a Target Machine with Datto Utilities articles.
IMPORTANT Review the Bare Metal Restore: Getting started article for important pre-deployment considerations and instructions before attempting this process.
Procedure
The Datto Utility uses DHCP to automatically connect to your network, so no network configuration should be required. However, If network settings need to be adjusted for any reason, you can click the Configure Networking button in the top right corner of the page and make any needed changes before proceeding.
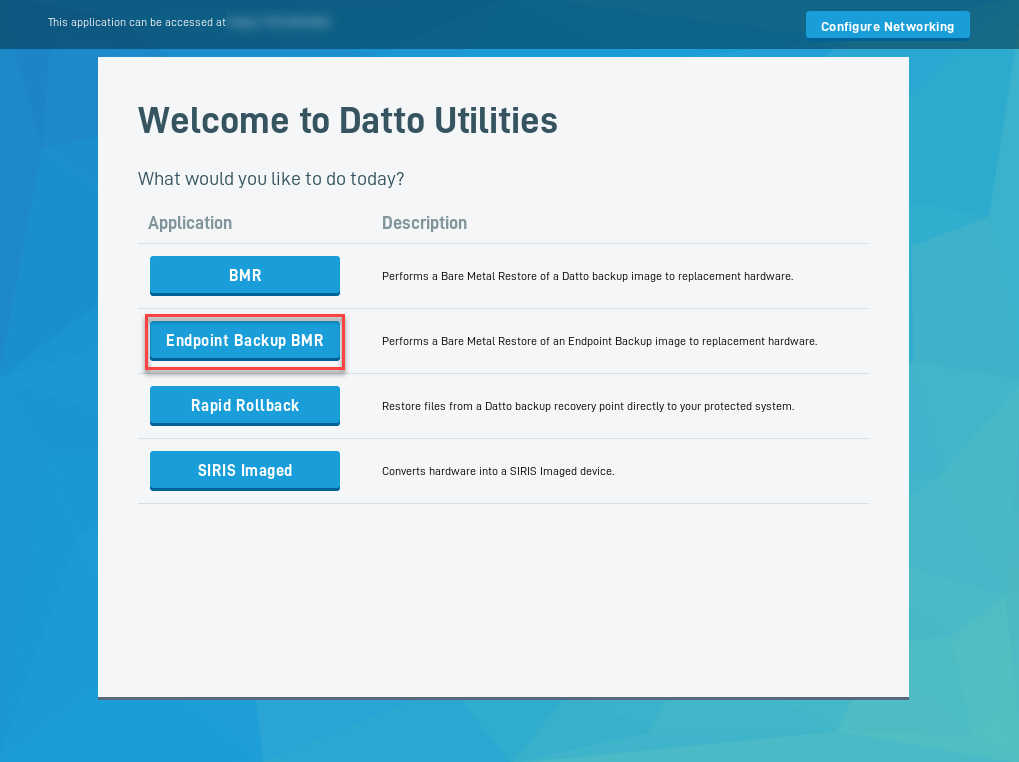
From the Datto Utilities Welcome Screen, click the Endpoint Backup BMR option.
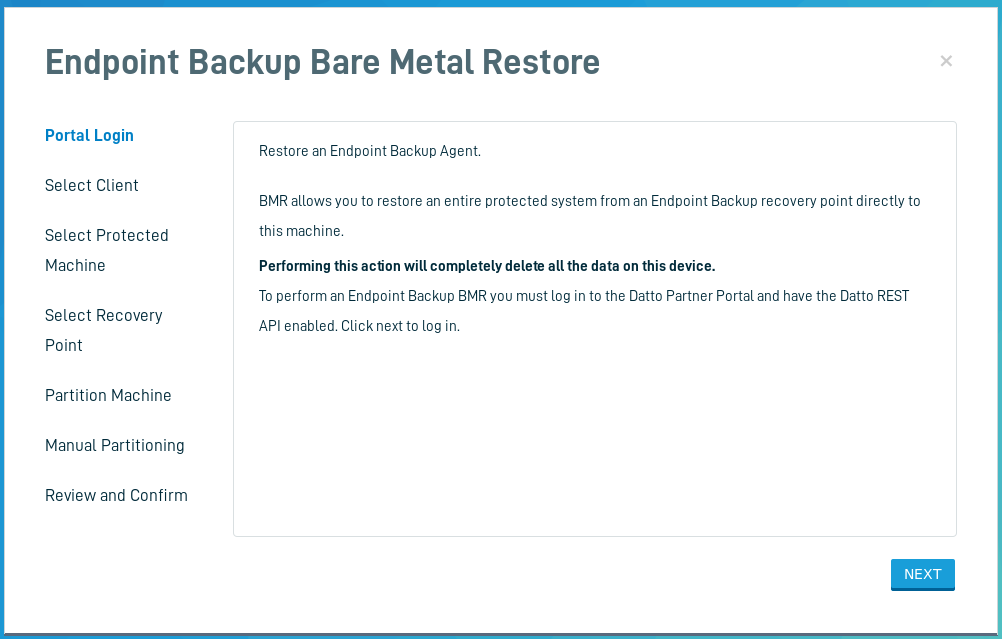
To perform a Datto Endpoint Backup BMR, you will need to log in to the Datto Partner Portal from the BMR environment and have the Datto REST API enabled. Click NEXT towards the bottom right of the utilities environment.
The Log In prompt will appear in a new browser tab. Enter the credentials of an administrator with access to the reseller account containing your backups. Then, click Log In .

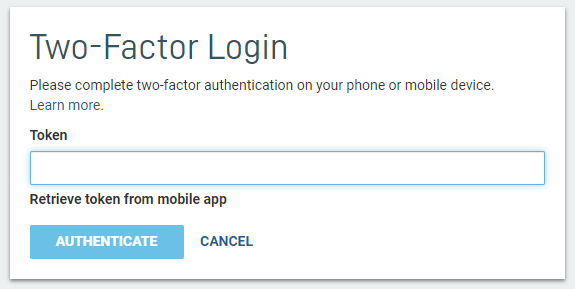
Enter your MFA token when prompted and then click Authenticate.
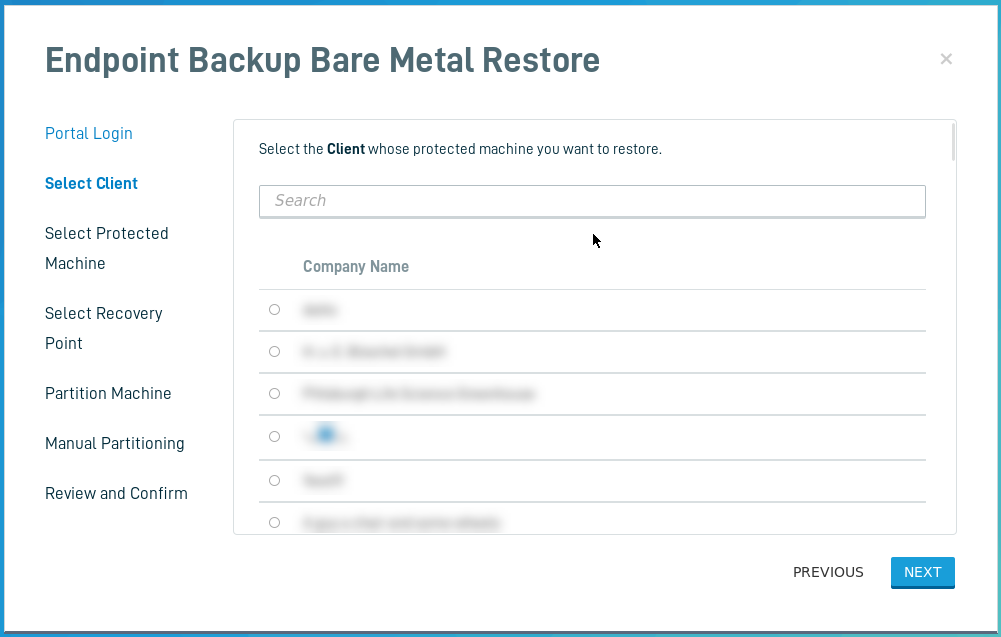
Select the organization whose protected machine you would like to restore, then click Next to continue.
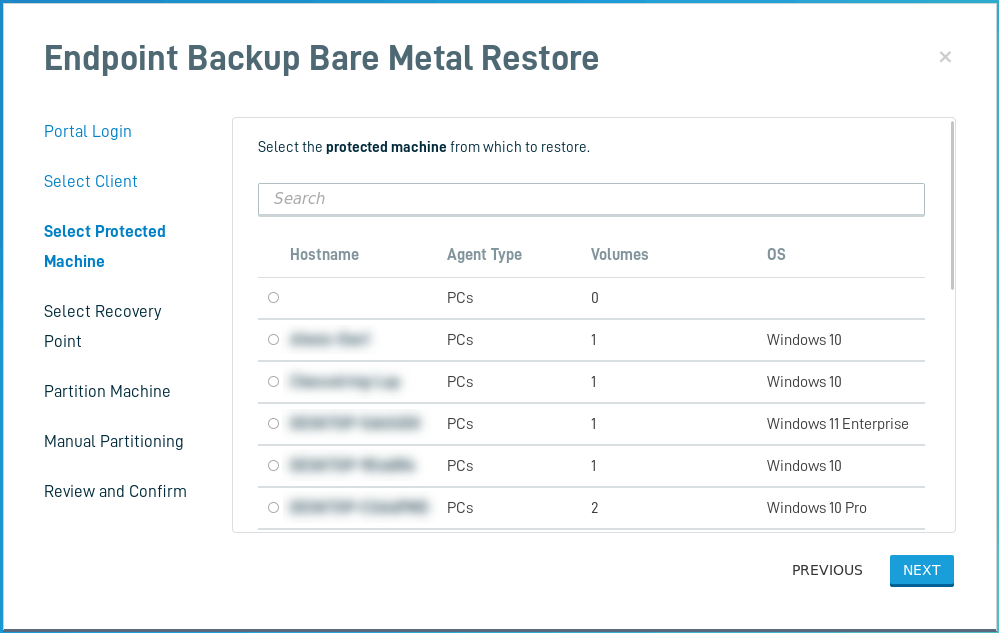
Select the Protected machine to restore from, then click Next. You must select the backup data for the target machine you are restoring.
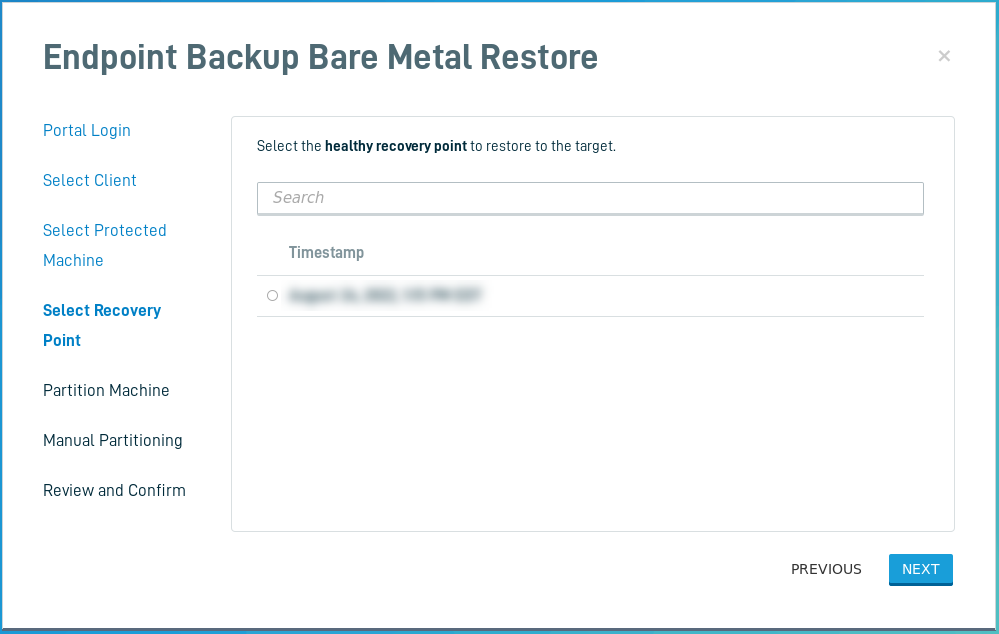
Select the date (healthy recovery point) that you want to restore the target machine to, then click Next.
Click Automatic Partition (Recommended). The automatic partitioning will attempt to find the 'best fit' where partition sizes will closely match the used space of each of the volumes. Then if there is excess free space on the disk being restored to, it will be divided evenly among the partitions being written to that drive.
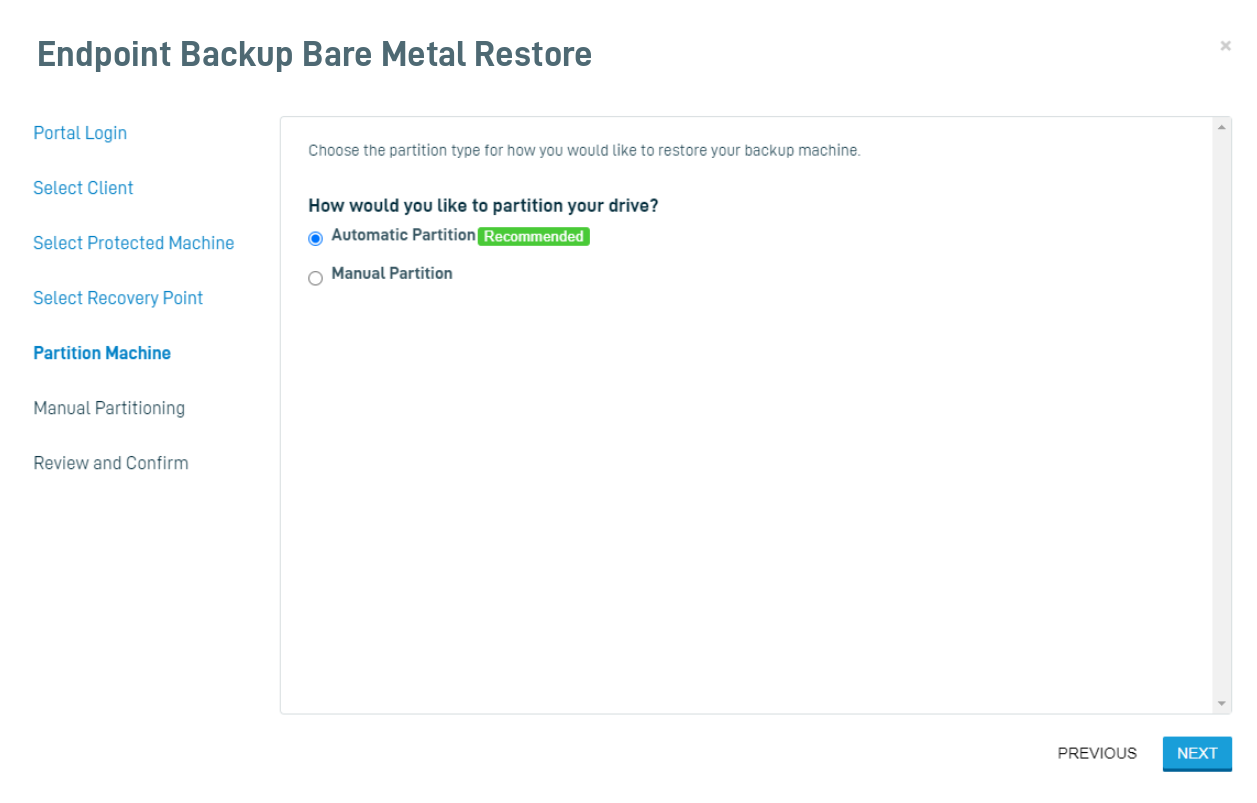
Alternatively, if you need to partition the target machine manually, click Manual Partition and proceed to the Advanced Partitioning article.
Review and confirm your restore configuration. Then, click CLONE DATA.
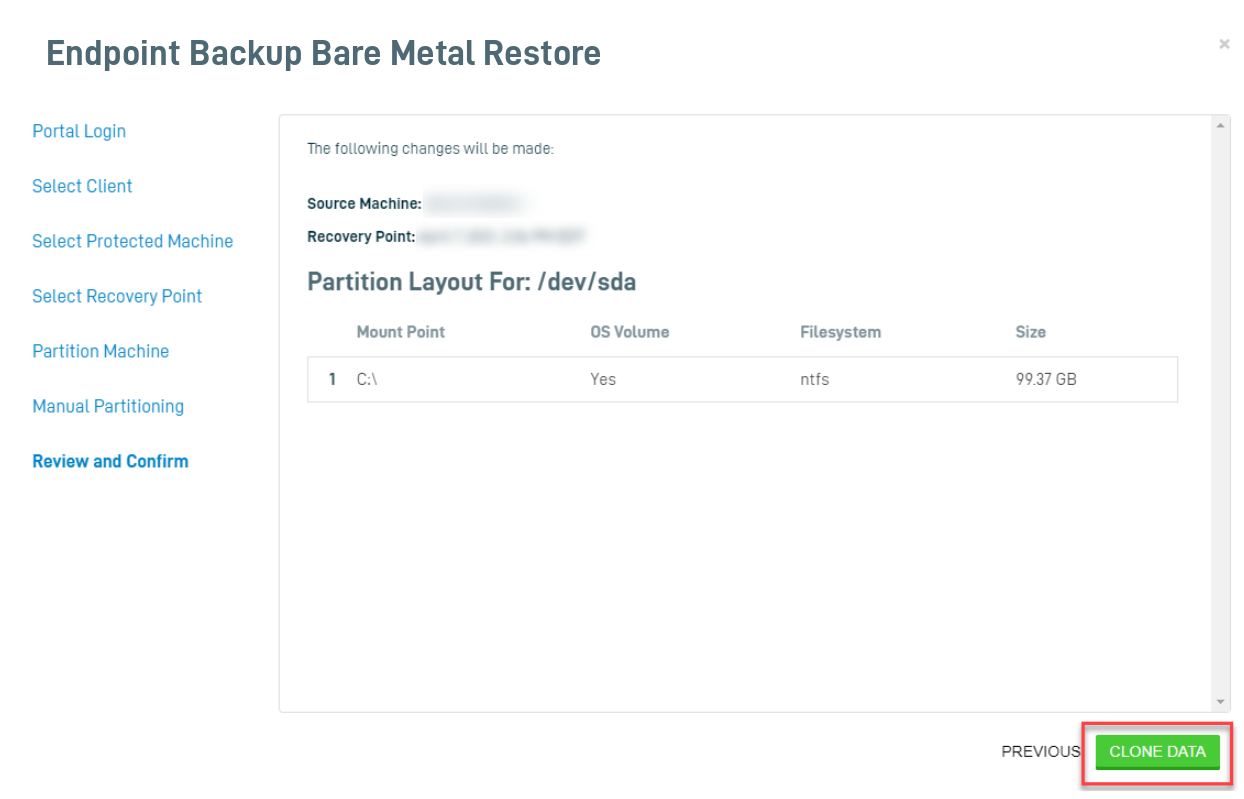
IMPORTANT The Datto Endpoint Backup Bare Metal Restore process will erase any existing partitions on the selected volume.
When prompted, enter FORMAT in the confirmation box, and click CONFIRM. The Datto Endpoint Backup Bare Metal Restore process will erase any existing partitions on the selected volume.

The restore will run, restoring the target machine. It will first initialize, and then start transferring the data.
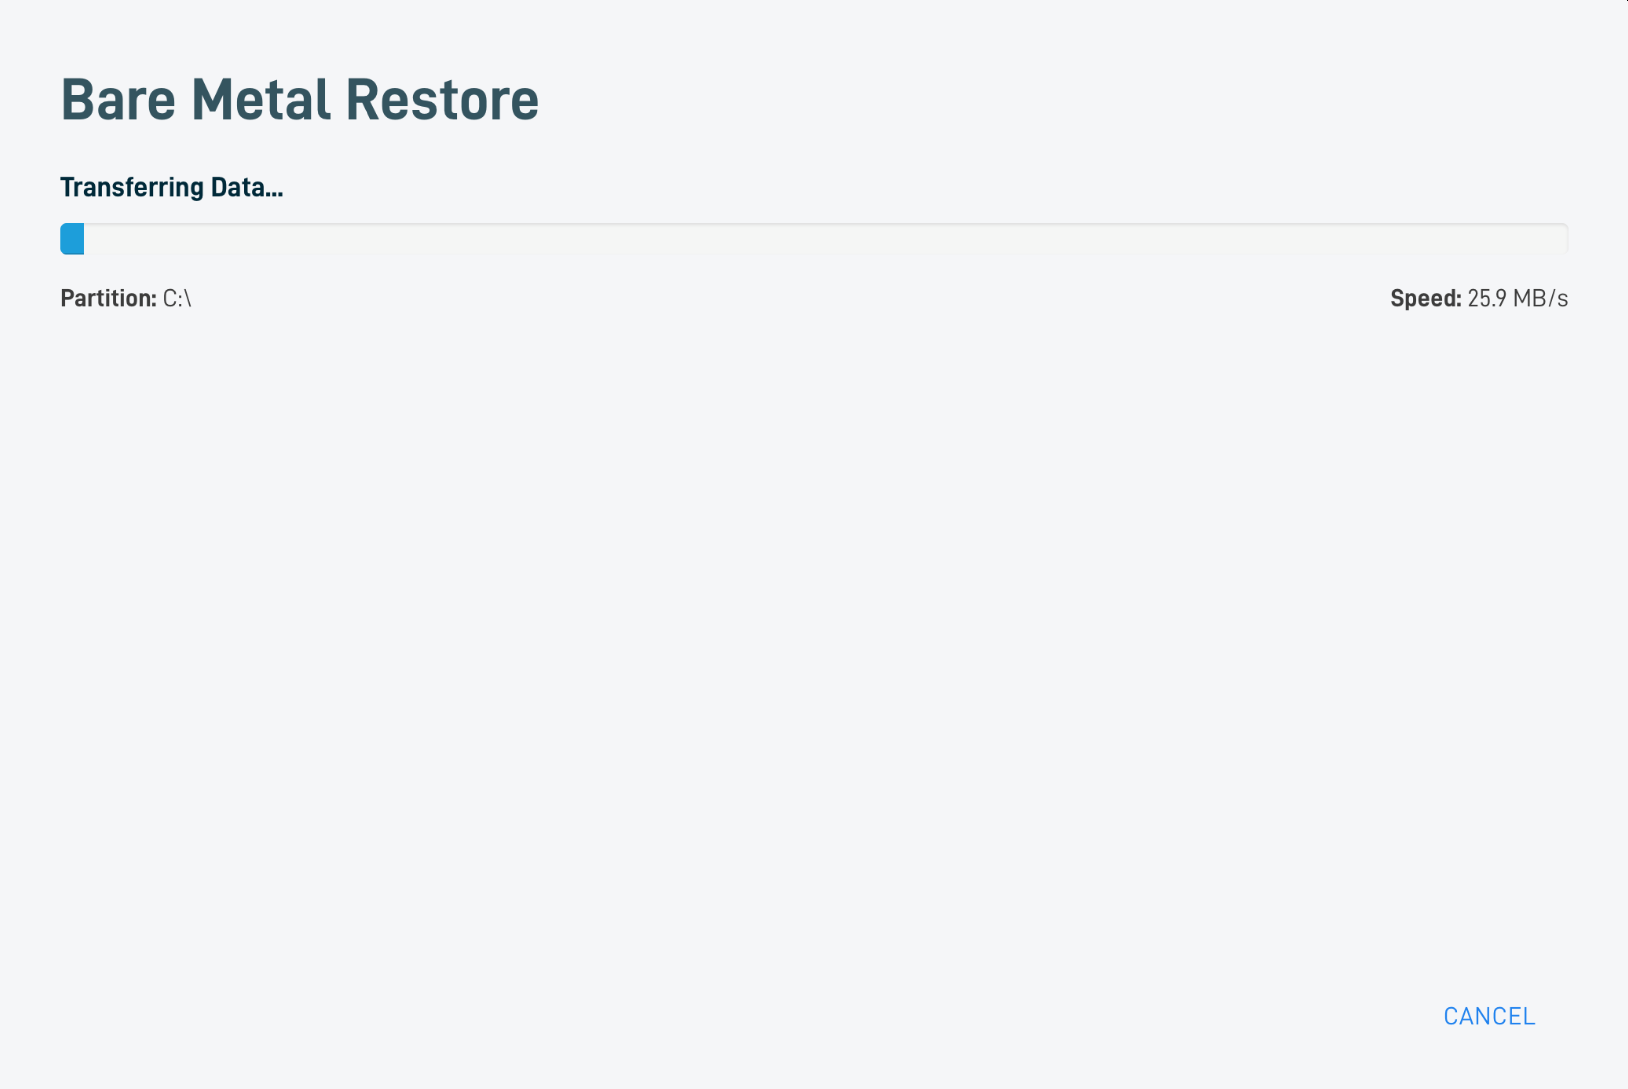
As the restore process completes each volume, it will report its completion status in the GUI.
The restoration may take some time to complete; during this process, do not remove the Datto Utilities USB drive or reboot the production machine.
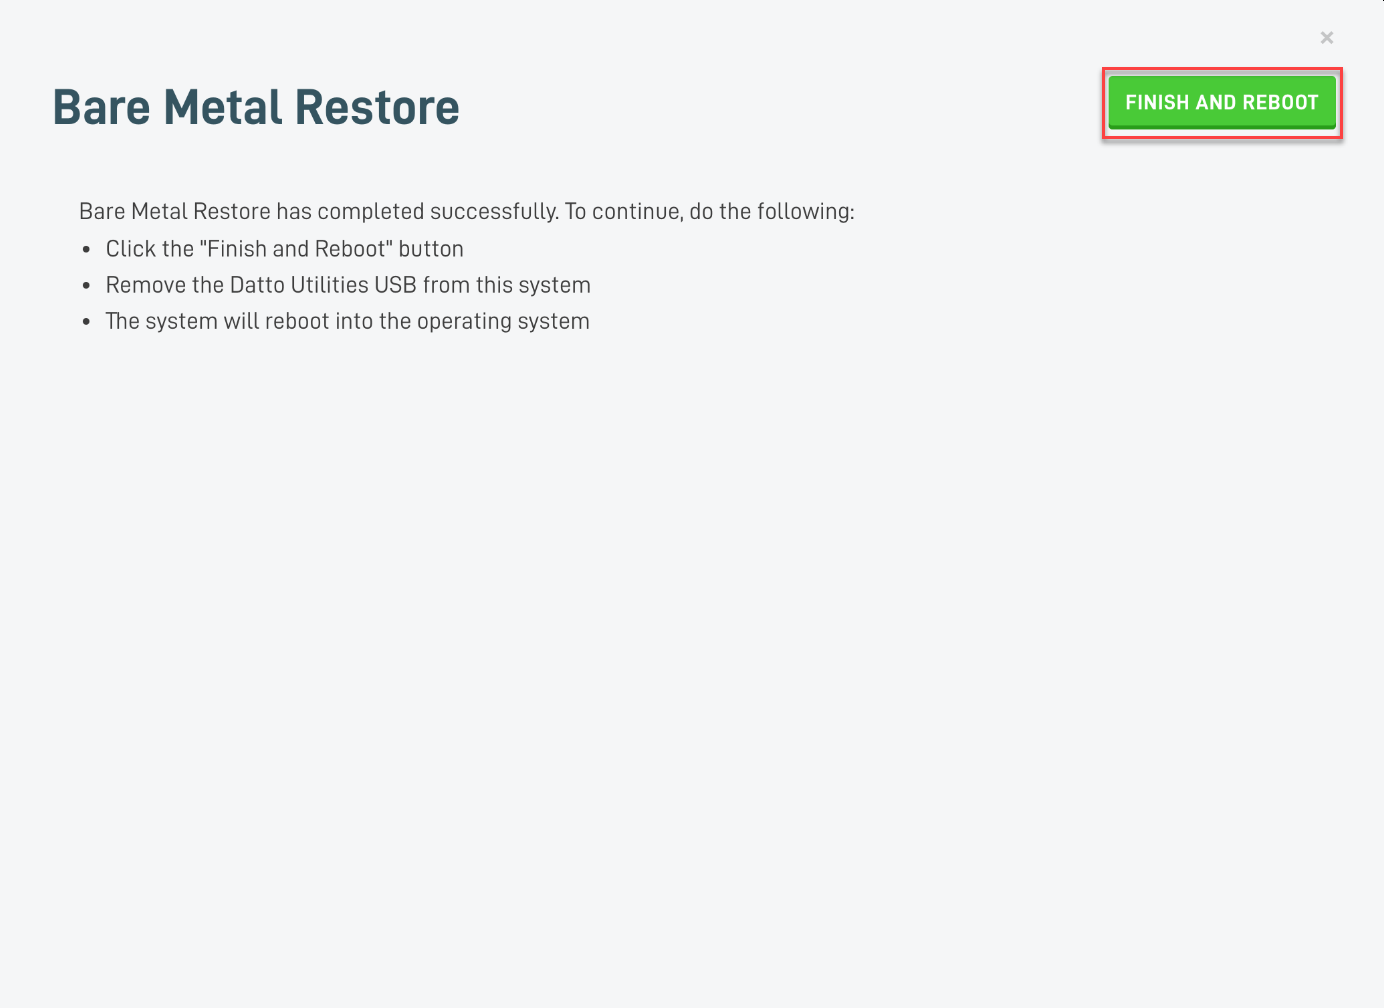
Once the restore completes, you will see the completion prompt. Click Finish and Reboot, then once it powers down, remove the Datto Utilities USB drive from the target machine. The target hardware will reboot in its restored state.
NOTE Once the protected machine boots on the new target hardware, if a partition is sized differently and Windows did not expand properly, diskpart rescan(external link) can be used to re-size the partition(s).


