Recovery operations
Use Recovery Operations to see the real-time status of your restores.
This improved visibility gives you clear status during critical recoveries which helps you track progress, estimate time of completion, set accurate expectations with stakeholders, and make better decisions.
To view Recovery Operations, follow these steps:
- Log in to UniView (login.backup.net).
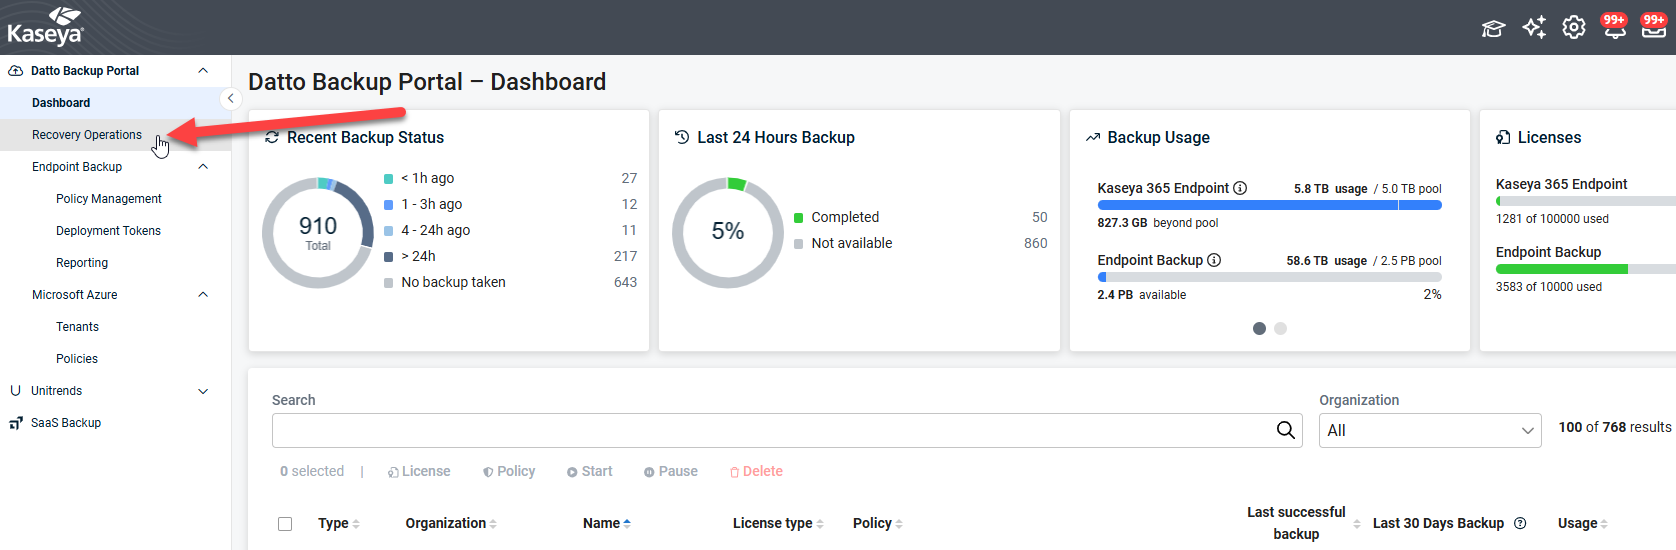
- Click Recovery Operations from the left navigation menu as shown.
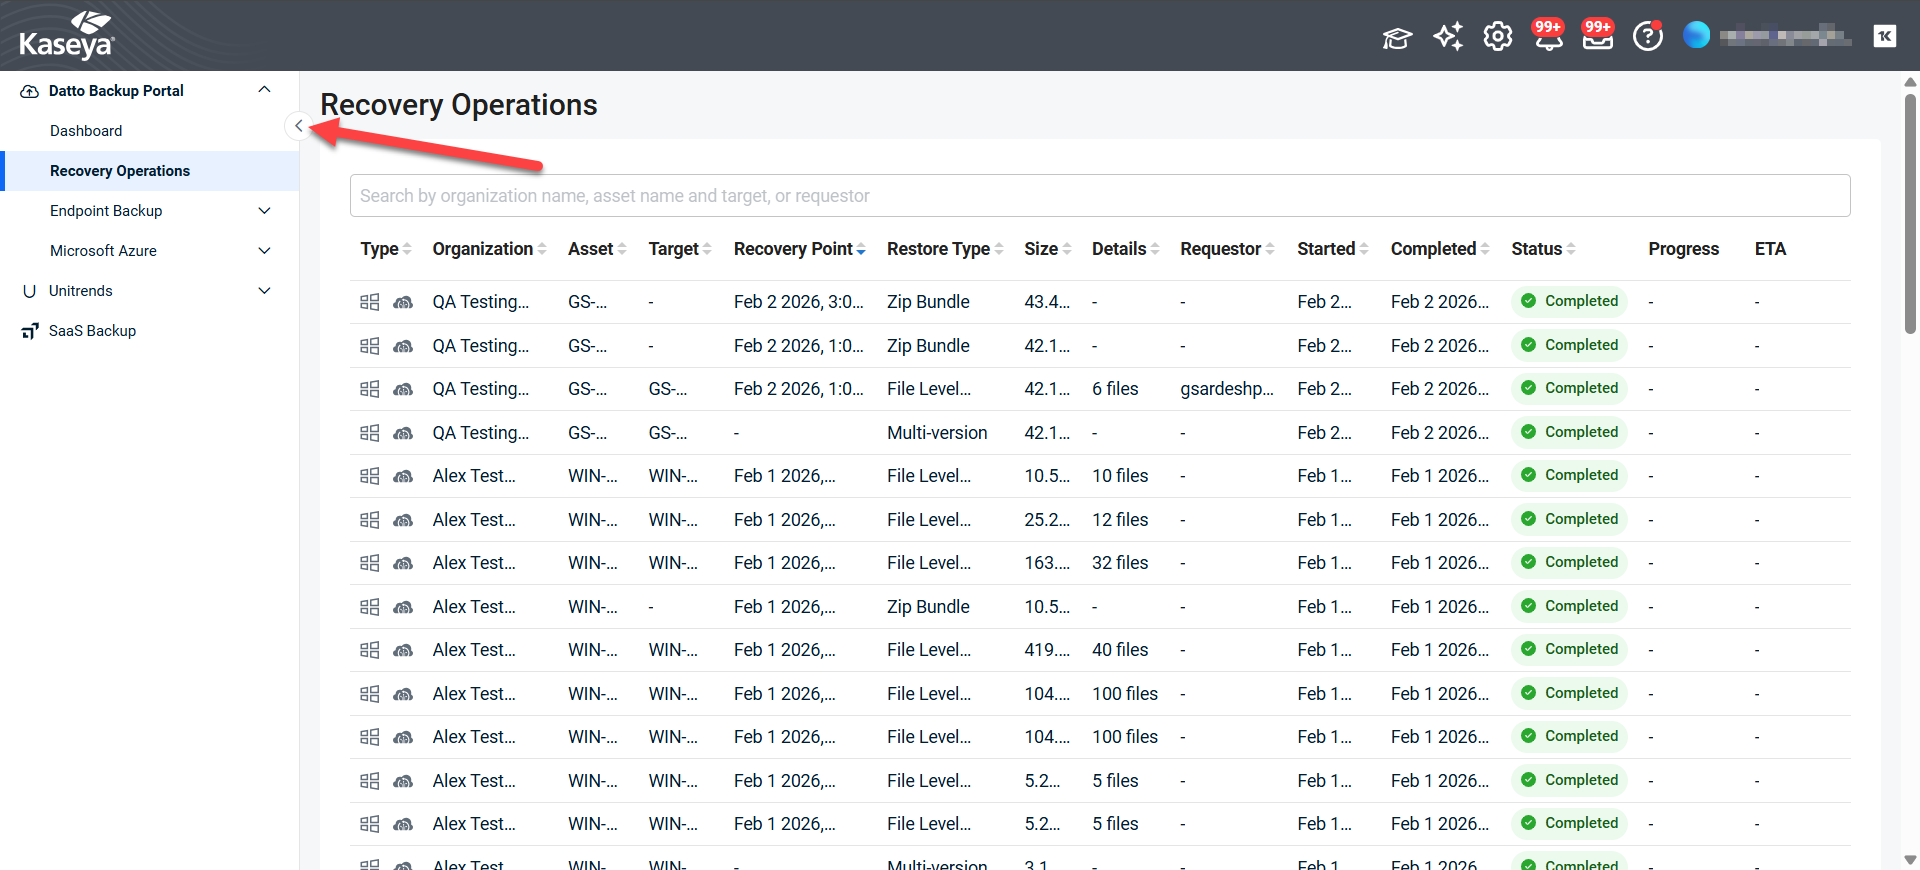
TIP Collapse the left navigation menu to give the recovery operations grid more horizontal room.
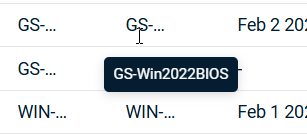
TIP Hover over items that are too wide for the grid to display their full value.
Search and sort 
Use the top search bar to find restores by organization name, asset name, target, or requestor.
Use the arrows in the column headings to sort by the values in that column.
Columns
Type
Shows icons to indicate the operating system of the protected system.
Asset name
Shows the Asset ID for the system that is the source of data for this recovery operation.
Organization
Shows the name of the organization that includes the protected system.
Recovery point
Shows the date and time when the restored data for this recovery operation was backed up.
Restore size
Shows the size of the recovery operation dataset.
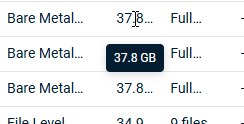
TIP Hover over the size value to see the unit of measurement.
Operation
Shows which type of restore this recovery operation does.
Some possible values for Restore Type are:
Target
Shows the Asset ID for the system where this recovery operation is sending the restored data.
NOTE BMR operations will not show a value for target.
Status
Shows the percentage of the recovery operation that has completed.
NOTE When the recovery operation is complete, the status column will display: 
Progress
Shows the rate of progress for the recovery since the beginning of the operation.
NOTE The Progress column will show "Calculating..." at the beginning of operations and a dash for recovery operations that are complete.
ETA
Shows the estimated date and time when the recovery operation will complete based on the current rate of progress and remaining size.
IMPORTANT The estimate becomes more accurate as the restore progresses.
It will adjust to reflect changes in network conditions during the operation.
NOTE The ETA column will show a dash for recovery operations that are complete.
Restore speeds will vary based on:
- network conditions between the restore location and backup storage
- source data characteristics such as file sizes and compression ratios
- system resources on the target machine
Start time
Shows the date and time that the recovery operation began.
Duration
Shows how long the operation has been running or took to complete.
End time
Shows the date and time that the recovery operation finished.
Requestor
Shows the user name of the person who began the recovery operation.
Action Menu 
Use the action menu to:
- Cancel
- View restore details
Cancel
You can cancel a restore that is in progress or paused.
Cancelling stops the operation and removes any partial data that it has already written to the destination.
NOTE Only users with the Superuser or Admin role can cancel a recovery operation.
To cancel a recovery operation, follow these steps:
- Find the operation that you want to stop in the Recovery Operations grid.
- Click the three-dot menu at the right end of its row.
- Click Cancel.
The Cancel Operation dialog opens and asks you to confirm. - Do one of the following:
- Click Cancel Operation to stop the restore.
- Click Keep Operation to close the dialog and let the restore continue.
When the cancellation succeeds, a message confirms that the operation was canceled and the Status column changes to Cancelled.
IMPORTANT You cannot undo a cancellation.
To recover the same data, start a new restore.
NOTE Operations that have already completed or failed cannot be cancelled.
Cancel is not available for those rows.
NOTE Cancelled operations stay in the Recovery Operations grid for seven days so that you can review them.
After seven days, they are removed from the grid.
To see who cancelled an operation and when, open its restore details.
If the cancellation fails
If UniView cannot cancel the operation, an error message displays the reason and the restore stays in its current state.
You can click Cancel again to retry.
Restore details
To see the full details of a recovery operation, click the three-dot menu at the end of its row, then click Restore Details.
The Restore Details panel opens on the right.
Its fields are grouped into a summary at the top, followed by Source, Destination, and Technical Details.
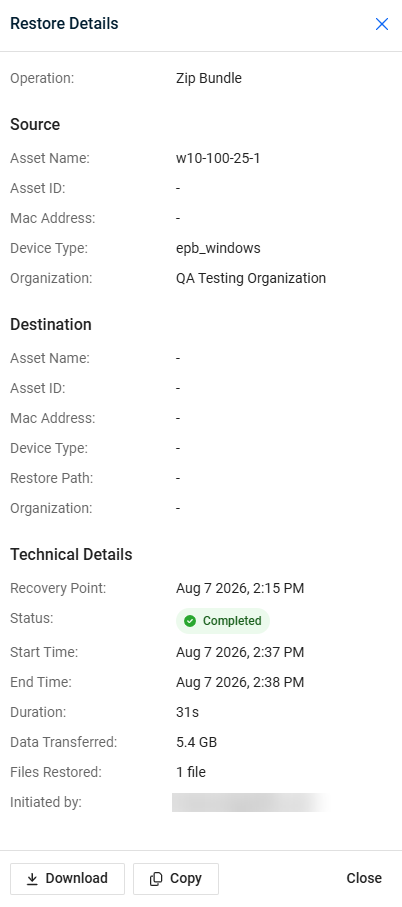
NOTE A dash indicates a field that does not apply to the recovery operation.
The example above is a Zip Bundle restore, which does not send data to another asset, so the destination fields are empty.
Summary
Operation – The type of restore this recovery operation performed. For example, Zip Bundle.
Source
Asset Name – The name of the asset that was the source of the restored data.
Asset ID – The unique identifier of the source asset.
Mac Address – The MAC address of the source asset.
Device Type – The platform of the source asset. For example, epb_windows.
Organization – The organization that contains the source asset.
Destination
Asset Name – The name of the asset that received the restored data.
Asset ID – The unique identifier of the destination asset.
Mac Address – The MAC address of the destination asset.
Device Type – The platform of the destination asset.
Restore Path – The location on the destination asset where the data was restored.
Organization – The organization that contains the destination asset.
Technical Details
Recovery Point – The date and time when the restored data was backed up.
Status – The current state of the recovery operation.
A completed restore shows Completed with a green check mark.
Start Time – The date and time that the recovery operation began.
End Time – The date and time that the recovery operation finished.
Duration – How long the recovery operation took.
Data Transferred – The amount of data transferred during the recovery operation.
Files Restored – The number of files that were restored.
Initiated by – The user account that started the recovery operation.
Panel buttons
These buttons appear at the bottom of the panel:
Download – Downloads the restore details.
Copy – Copies the restore details to your clipboard.
Close – Closes the panel.
NOTE You can also click X in the upper-right corner of the panel to close it.


