Changing the Fan Speed on a Datto Appliance
This article explains how to adjust the fan speed on a Datto appliance.
Environment 
- Datto SIRIS
- Datto ALTO
- Datto NAS
Description 
You can use the procedure outlined below, to adjust fan speeds in order to reduce fan noise or increase air circulation for the Datto device. Use caution when adjusting fan speeds. Hardware warranties may be voided if the hard drives temperature reaches 60 degrees Celsius or above
NOTE SIRIS 4 devices are pre-calibrated to meet the needs of the appliance. Do not adjust the fan speeds on SIRIS 4 models.
NOTE Datto always recommends using the automatic or SMART fan settings, so that the device can adapt to environmental changes. If you change the fan speed to a different value, you will need to monitor the appliance's temperatures to ensure that they do not exceed safe thresholds.
NOTE If this is an S5000 or larger with a rackmount chassis, you must configure fan speed through IPMI.
- For SIRIS 3 Business or SIRIS 3 Enterprise, see Changing The Fan Speed On SIRIS 3 Buisness And SIRIS 3 Enterprise.
- For SIRIS X1 and X2, see Changing The Fan Speed On SIRIS X1 And X2.
- For SIRIS 3 Professional appliances shipped with an ASRock Rack motherboard, see SIRIS, ALTO and NAS: Changing The Fan Speed On A SIRIS 3 Professional With An ASRock Rack Motherboard. You can determine the type of motherboard installed in your Datto appliance by using an OUI lookup tool to decode the device's serial number.
Procedure 
Hardware Needed 
Here is the hardware you will need to configure the Datto device fans:
- Keyboard
- Mouse
- Monitor
- Ethernet Cable (when using IPMI)
Configuring fans via BIOS 
This procedure requires a reboot of the Datto appliance. Before you begin, connect a keyboard, monitor, and mouse to the device, and then perform the following steps.
- Power cycle the Datto device (Off/On), and press the Del key to enter the BIOS on startup.
- When prompted, type the BIOS password. You can get this password from Datto Technical Support.
- Using the arrow keys cycle to Advanced>Hardware Monitor>Fan Speed
- Then, there are three options listed:
- Full On: Default. Fans will run at maximum speed.
- Balanced: Balance fan speed according to CPU usage, which is quieter than Full On.
- Power Saver: Will run fans at the lowest speed possible at all times. This is the quietest setting but may cause the device to run warmer. Ensure that ventilation is available for the device.
- Select the speed option you want.
- Press F10 to save the changes and continue booting.
NOTE Datto does not recommend using the "Power Saver" option when virtualizing or backing up in large quantities (5+ backups at once), as this can cause the device to overheat and possibly cause severe damage. Hardware warranties may be voided if the hard drives reach 60 degrees Celsius.
Configuring Fan Speed via IPMI 
This section discusses how to change the fan speeds in devices that are S5000s or larger in rackmount cases. You will need to use IPMI for these devices as it is not possible to change the fan speed from the BIOS.
- Plug an Ethernet cable into IPMI port. Then turn on the machine, and press Del to enter the BIOS.
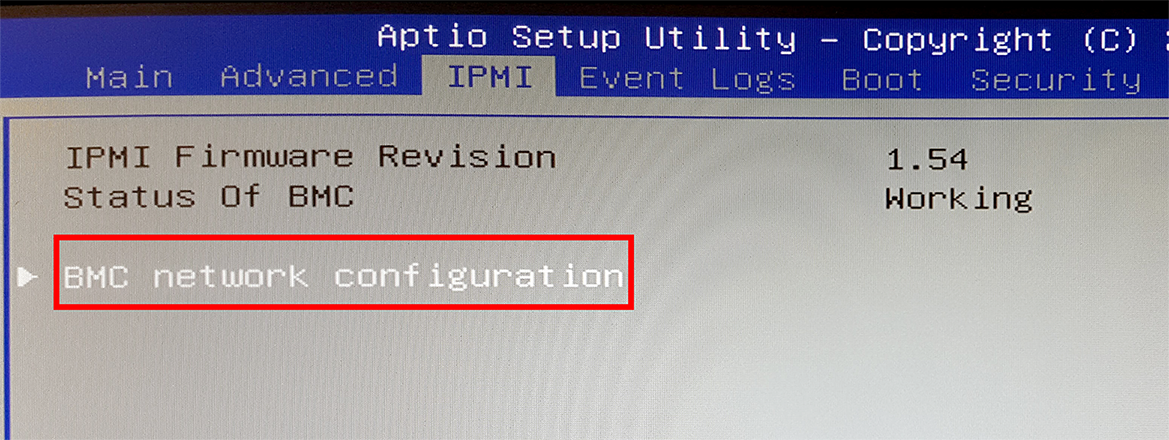
- Under the IPMI tab, select "BMC Network Configuration" and find the "station IP address"
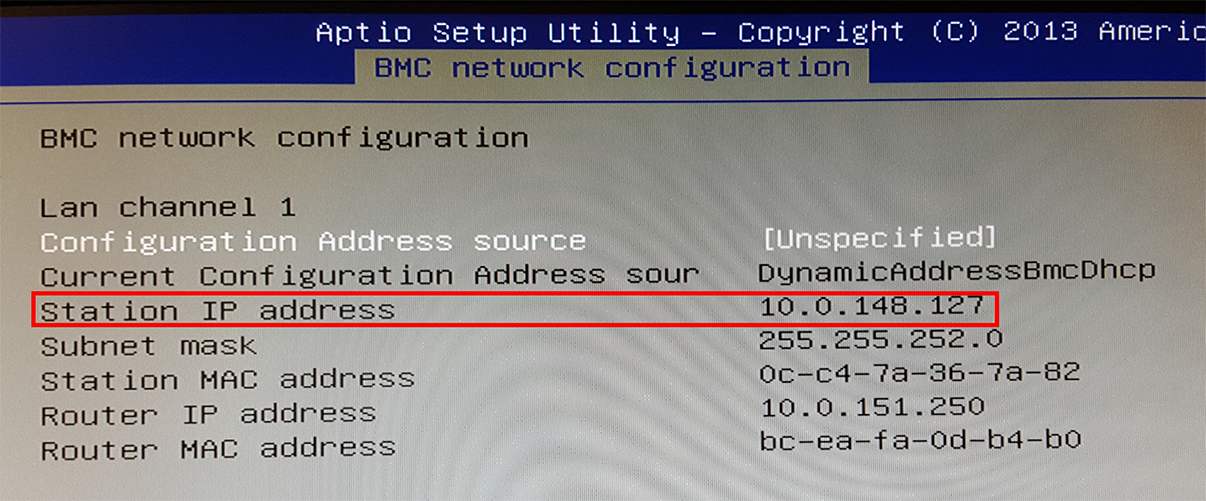
Figure 2: BMC Network Configuration Screen
- Note the IP address, and enter it into the web browser of another computer on the local network.
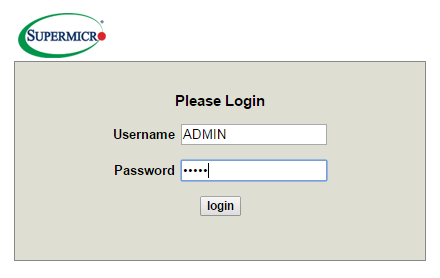
- Login to the IPMI control panel. Contact Datto Technical Support for the default password.
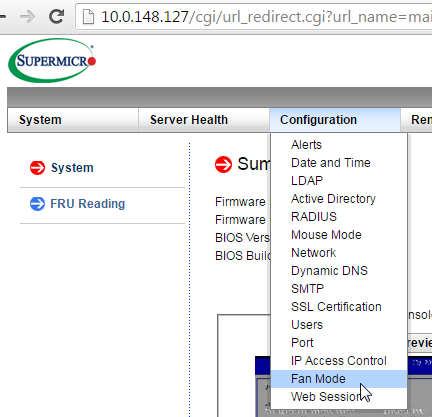
- Once logged in, hover over the Configuration tab and click on Fan mode (Figure 4).
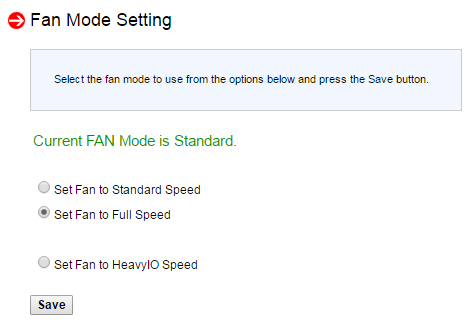
- Then select the "Full Speed" fan option, and click Save.
- Click logout at the top right of the screen, and then unplug the IPMI Ethernet cable.
- Reboot the device.
