Datto Endpoint Backup for PCs: File Restore
This article explains how Datto Partners can perform cloud file restores for endpoints protected by the Datto Endpoint Backup for PCs agent.
For information about performing cloud virtualizations, see Datto Endpoint Backup: Virtualization.
NOTE Partners can now also designate Organization Users who can initiate self service file restores without partner intervention.
- For instructions on how Organization Users can mount their own file restores, see Self-service file restore.
- For instructions on how to create a Organization User, see How to add an Organization User.
Environment 
- Datto Partner Portal
- Datto Endpoint Backup for PCs
Description
With Datto Endpoint Backup, you can mount any restore point as a file restore and use a remote browser or SFTP utility to work with its files.
Procedure 
- To start a cloud file restore, log into the Datto Partner Portal, and access the Datto Endpoint Backup Status page.
- Select the organization you'd like to restore, and then click the launch icon, as shown in Figure 1.

Figure 1: Start a restore
- You will see a launchpad page similar to the example shown in Figure 2.

Figure 2: Launchpad page
From this page, you can start a virtualization, a file restore, or a restore to PC (visit Imaging a USB Drive with Datto Utilities for further instructions) for the selected recovery point. You can only have one type of restore (virtualization or file) mounted at a time.
- Click Start File Restore to continue.
- You will see the File Restore card shown in Figure 3.
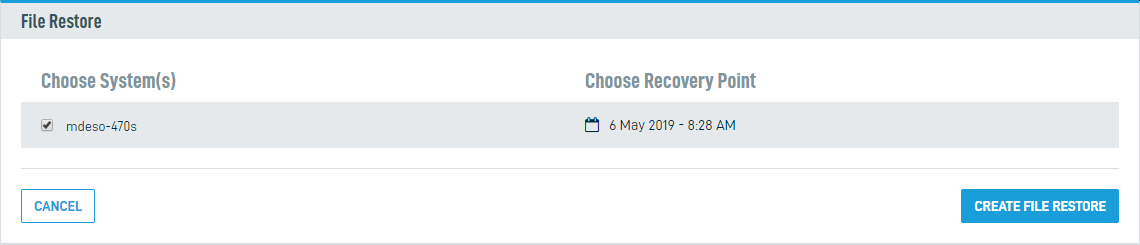
Figure 3: File Restore
- In the Choose System(s) field, check the box next to the name of the system you would like to restore.
- In the Choose Recovery Point field, select the snapshot you'd like to restore. The most recent backup is selected by default. Clicking the date displayed will show additional recovery points. Dates shown in blue contain restorable snapshots.
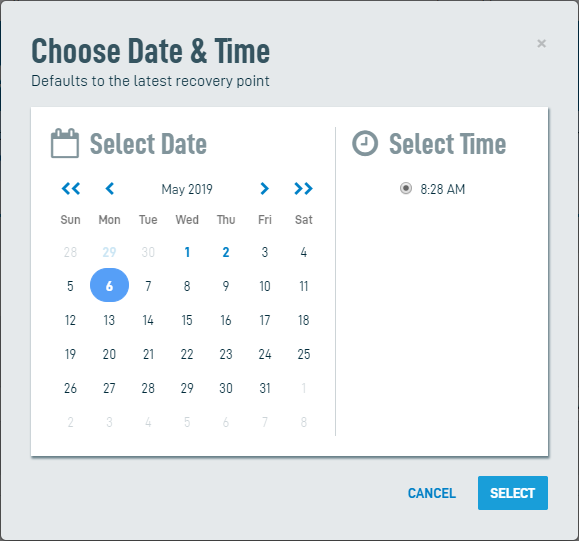
Figure 4: Choose Date Time
- Click Create File Restore. The file restore will mount. You'll be redirected to the Restore page, where you will see an entry for the restore you just created on the File Restores card, as shown in Figure 5.

Figure 5: File Restores
- Click the Browse icon to connect to the file restore.
- You will see the prompt shown in Figure 6.
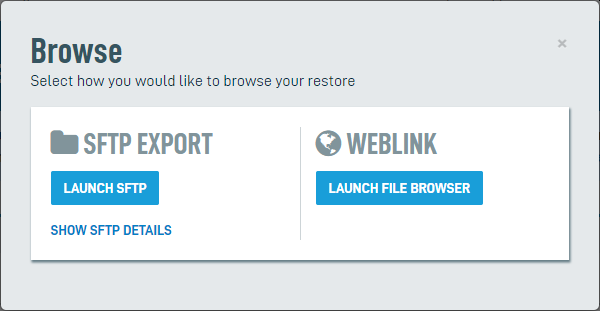
Figure 6: Browse prompt
The Browse prompt provides you with the ability to connect to your cloud restore via the SFTP browser of your choice, or via a web-based file browser.
Connecting to Your Restore via SFTP Export

Figure 7: Select browse method
- If you have an SFTP client (external link) installed and integrated with your web browser, selecting the Launch SFTP option will automatically connect the client to your cloud restore and launch your SFTP browser.
NOTE The Launch SFTP feature has been tested for compatibility with WinSCP (external link). Other file browsers are untested and may produce unreliable results.
- To manually configure your SFTP client, click the Show SFTP Details link shown in Figure 11. You will see connection information similar to the example shown in Figure 12. You can use this information to configure any client capable of completing the connection process.
Connecting to Your Restore via Weblink
- If you click Launch File Browser, you will see an interactive file directory of your restore similar to the example shown in Figure 8.
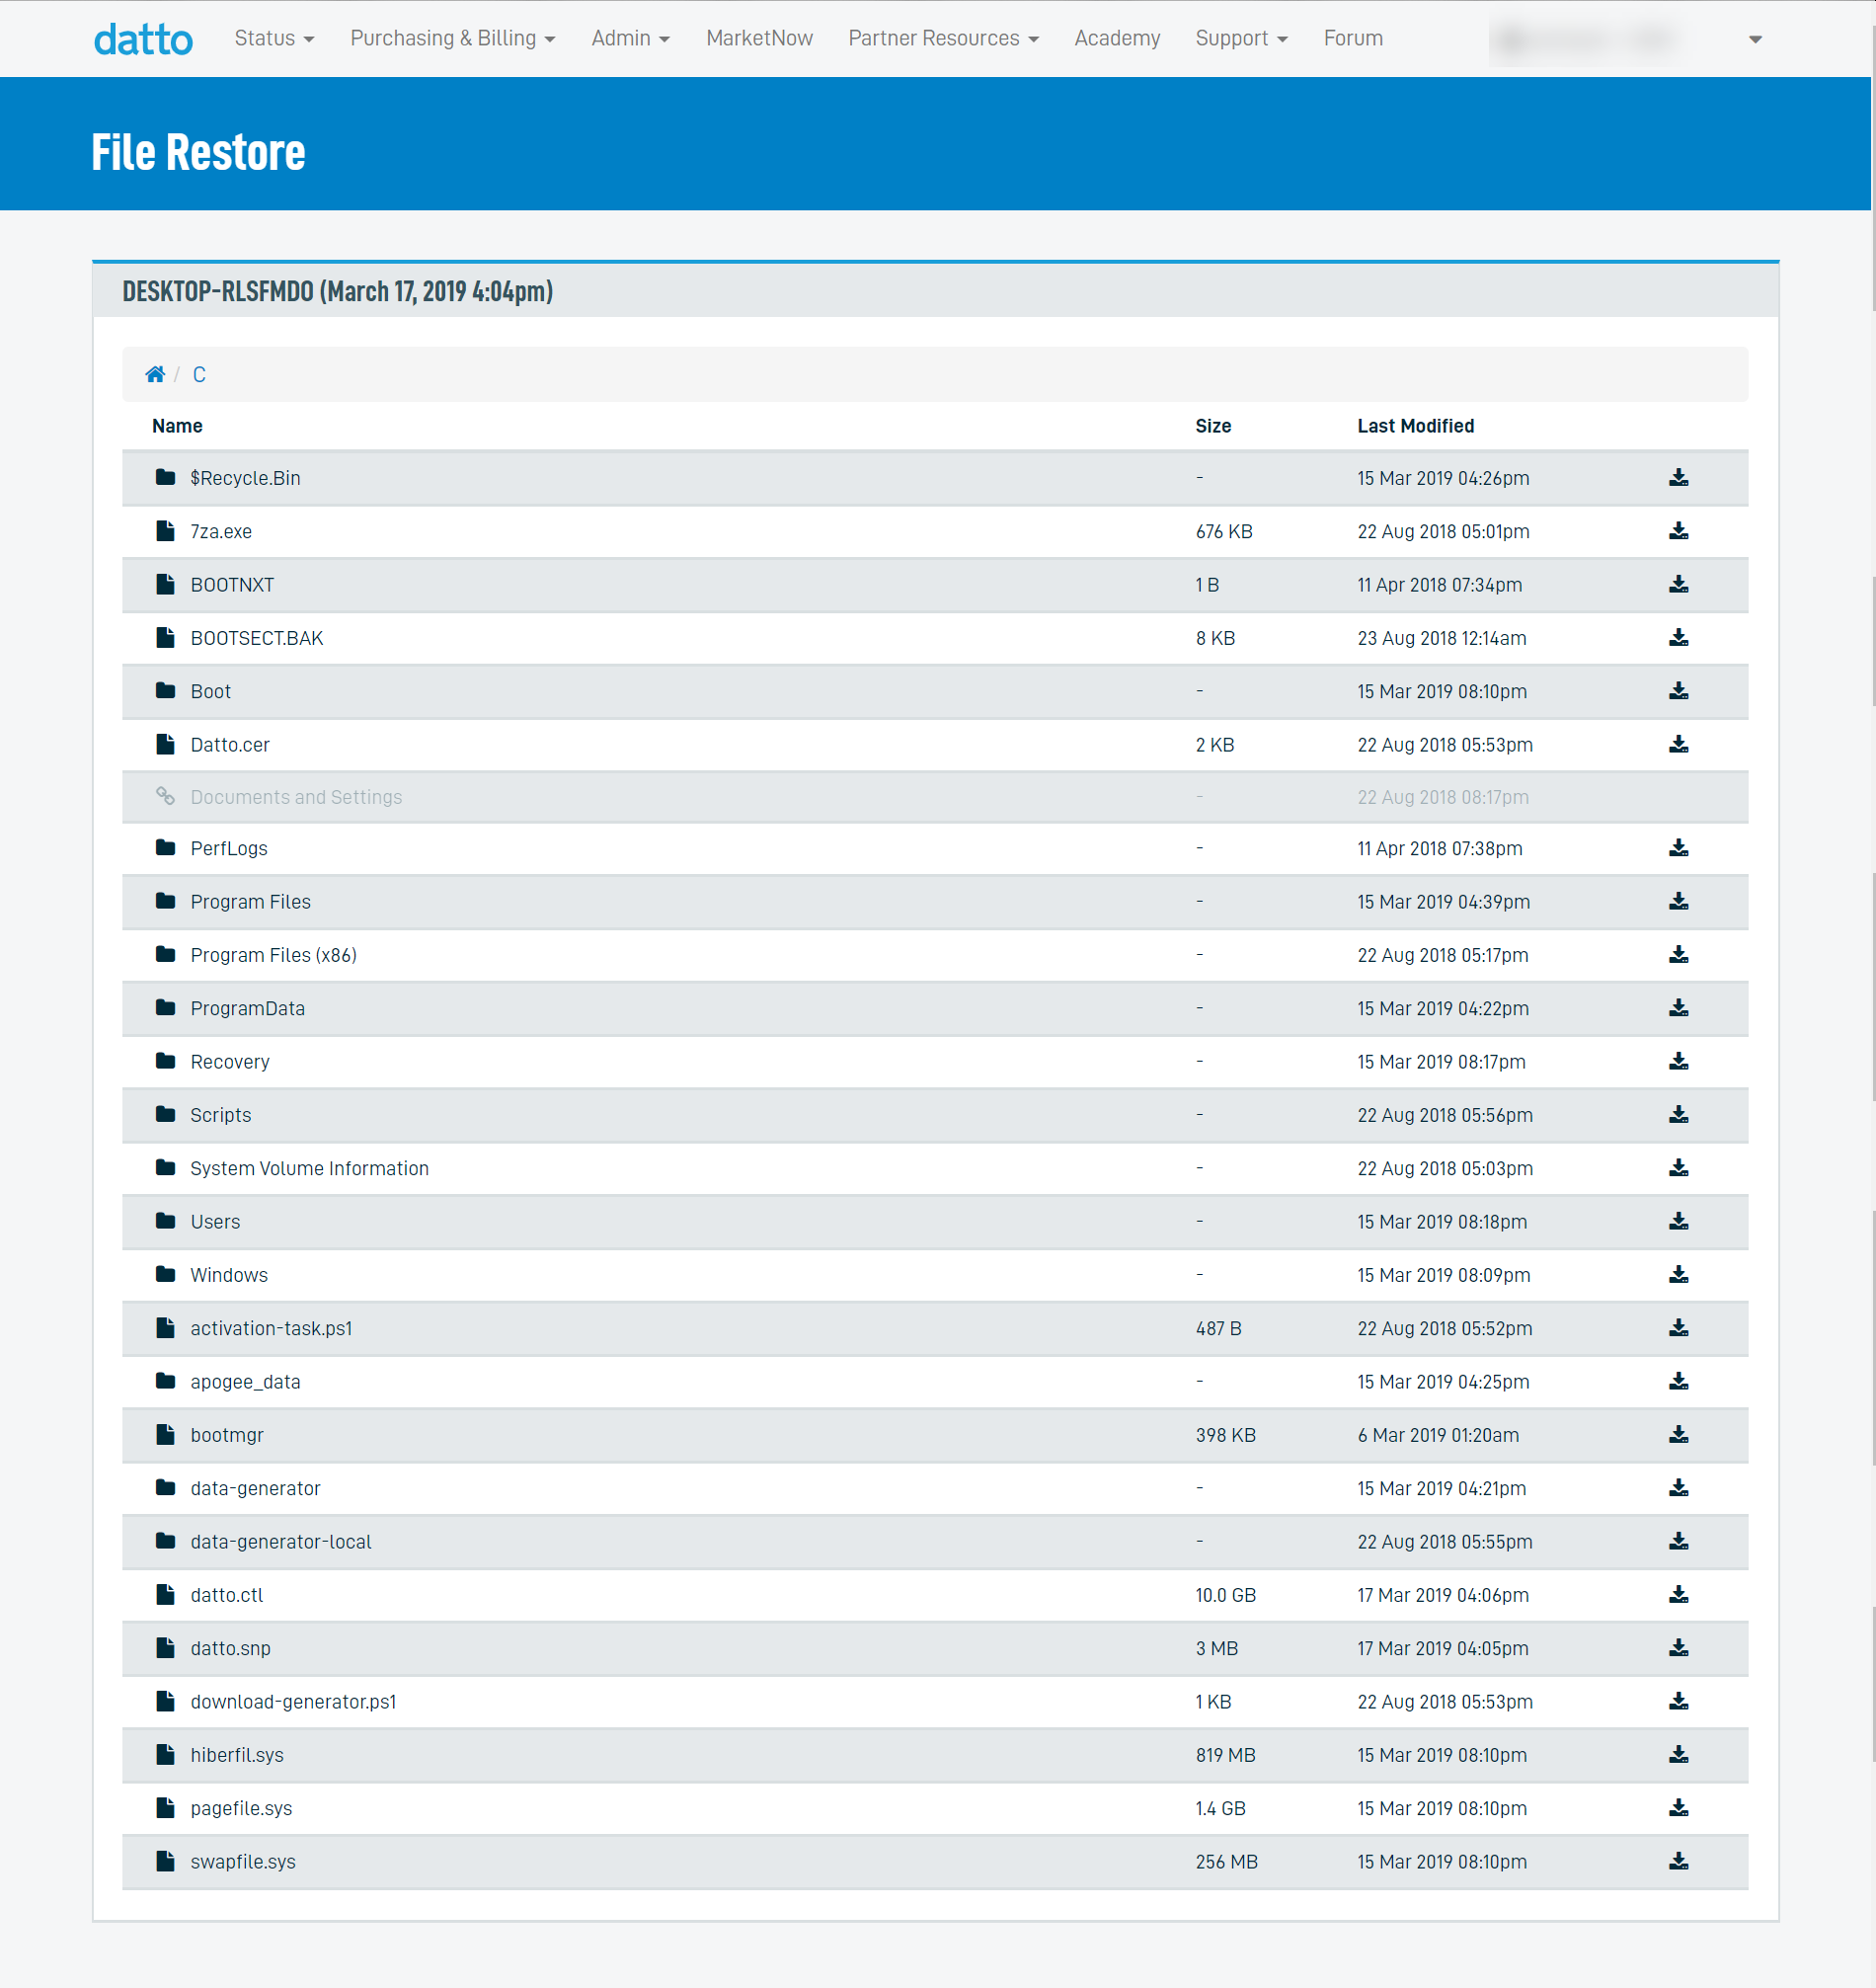
Figure 8: Mounted file restore
- The interactive File Restore window functions in a similar manner to a desktop browser. Clicking a directory's name will navigate you deeper into the file structure. To download a single file, click the download icon to the right of its Last Modified date. To download all of the contents in a directory, click the download icon to the right of the directory's Last Modified date. The File Restore utility will download the selection as a ZIP file.
- When you are finished using the file restore, click the wastebasket icon shown in Figure 9 to unmount the restore.

Figure 9: Unmount restore


