Rapid Rollback: Performing the Restore
This article describes the procedure for performing a Rapid Rollback in a disaster recovery scenario.
IMPORTANT Review the Rapid Rollback: Getting Started article for important pre-deployment considerations and instructions before attempting this process.
Environment
- Datto SIRIS
- Datto ALTO
- Datto Utilities
- Rapid Rollback
Prerequisites
This article assumes that you have already booted the target machine into the Datto Utilities environment and have selected the Rapid Rollback option. If you have not already done this, see the Booting a Target Machine with Datto Utilities article.
Procedure
After the Rapid Rollback environment loads, you will see a list of the Datto appliances detected on your local network. Select the device that holds the production machine's backups.
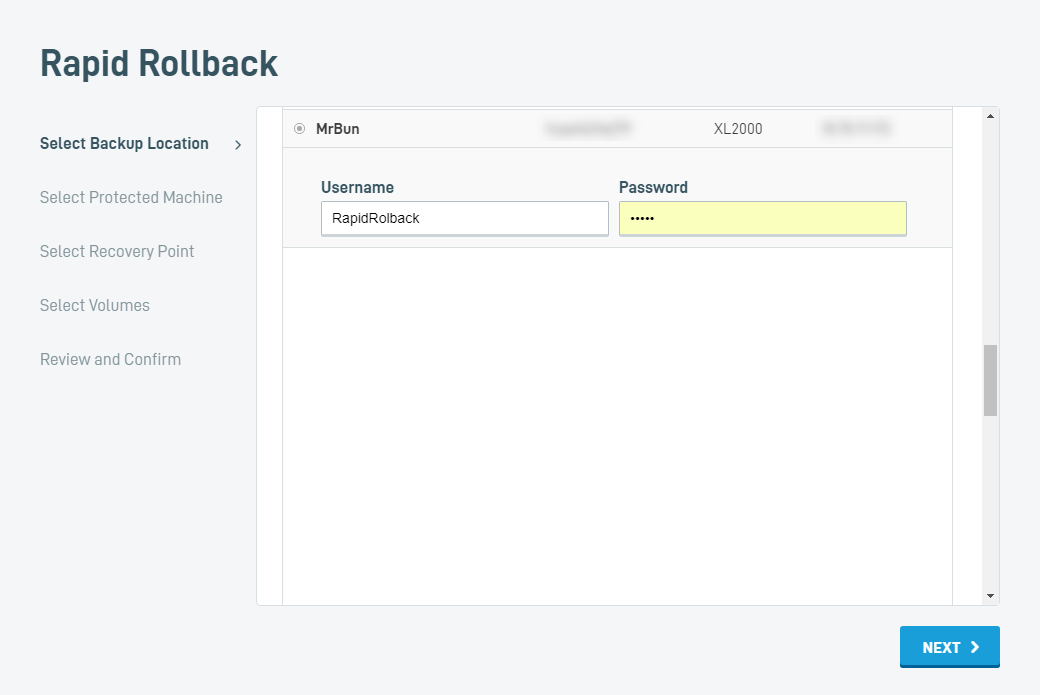
Enter the username and password of a local user authorized to access the device. Then, click Next.
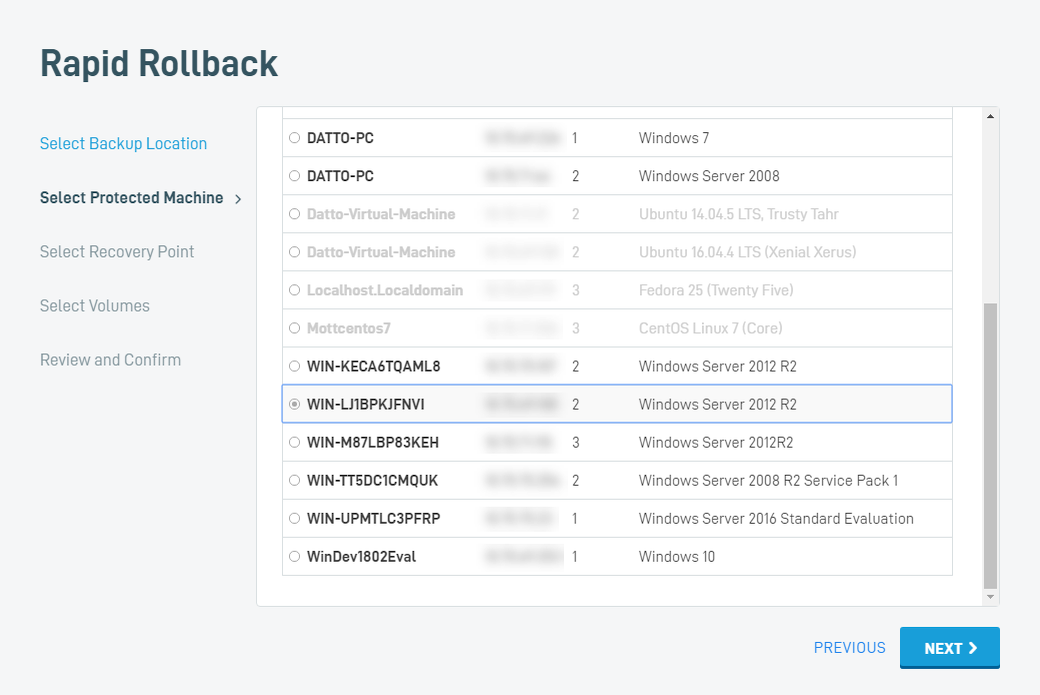
Select the Protected Machine to restore from the list of available backed up machines. Select the agent matching the target machine you are restoring; you cannot restore the target machine with data from a different system. Click Next.
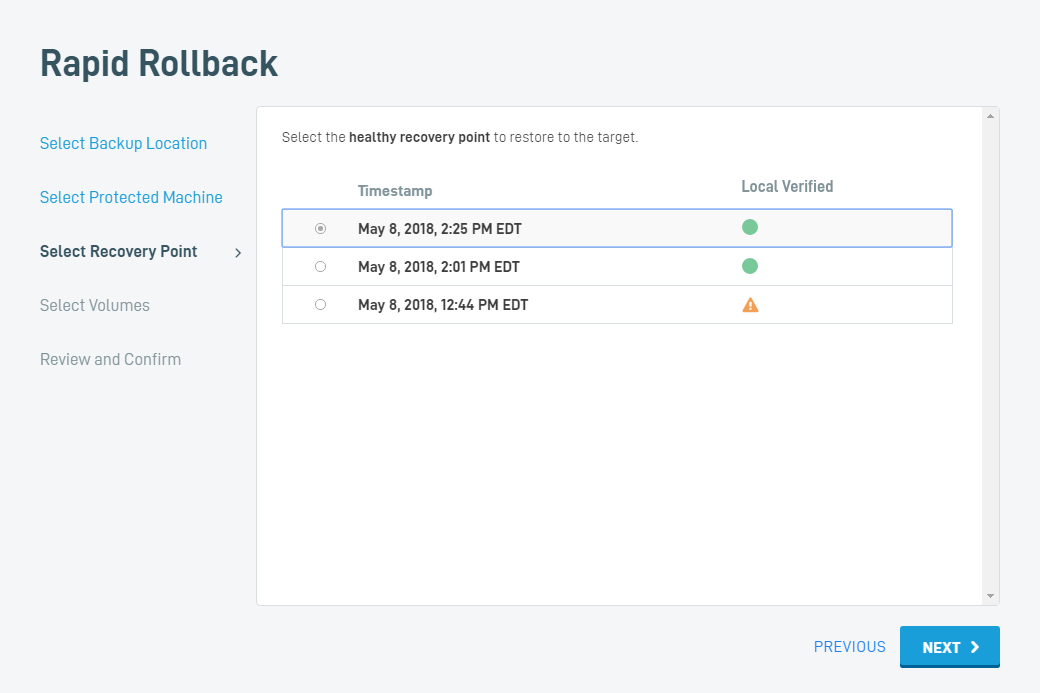
Select the date that you want to restore the target machine to, and then click Next. Datto recommends only restoring recovery points that have passed local verification testing without issue. Learn more about Local Verification here.
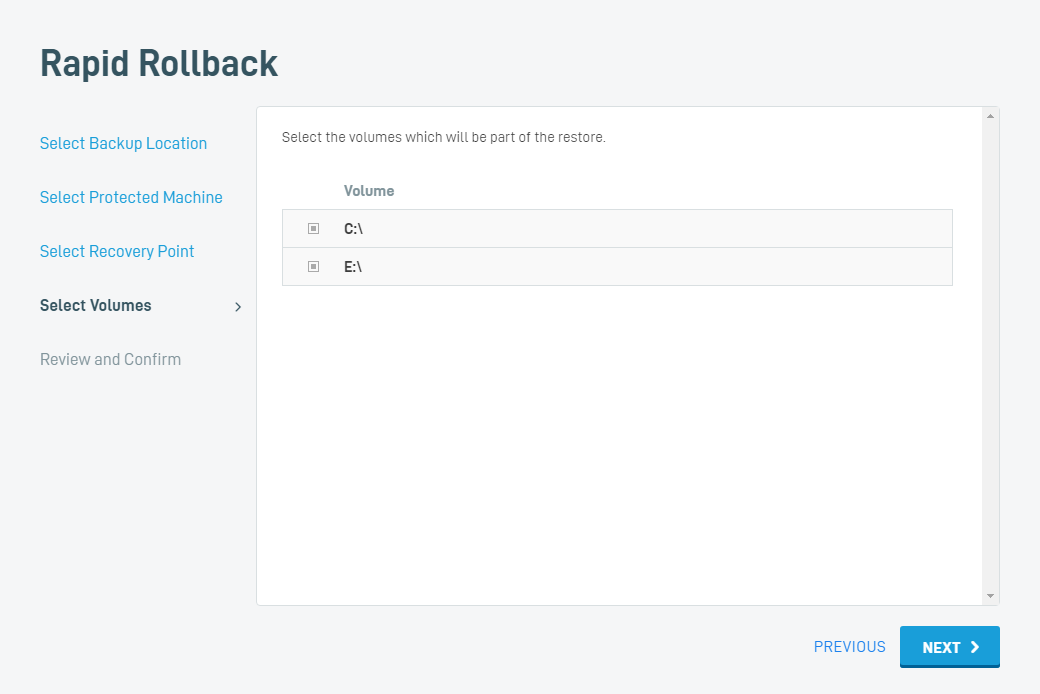
NOTE If you receive the error message, "The volumes to be restored do not match the volumes on the protected system," during this step, the volumes on the production machine have either changed since the selected backup occurred, or you have chosen a protected machine that does not match the hardware to which you are attempting to restore.
When the restore mounts, you will see a corresponding iSCSI share appear in the Restore section of the host Datto appliance's UI. Do not remove this restore - if you do, you will need to restart the Rapid Rollback process from the beginning.

NOTE When rolling back a Rescue Agent, do not roll back to the first snapshot. The initial snapshot does not contain all the needed files to virtualize. You can rollback Rescue Agents to the 2nd snapshot, or any subsequent snapshot.
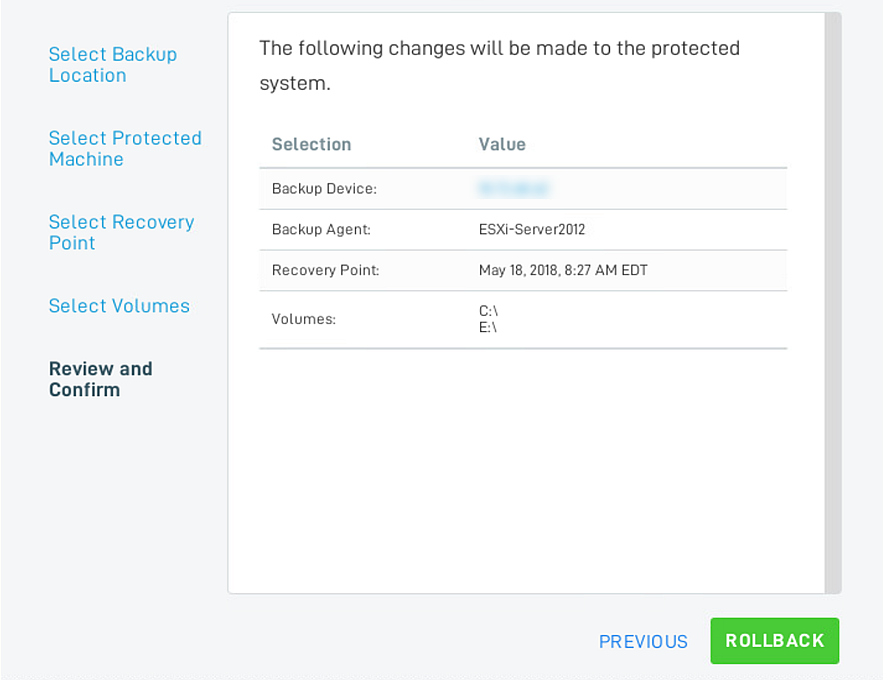
Review and confirm your restore configuration. Then, click ROLLBACK.
When prompted, enter ROLLBACK in the confirmation box and click Confirm.
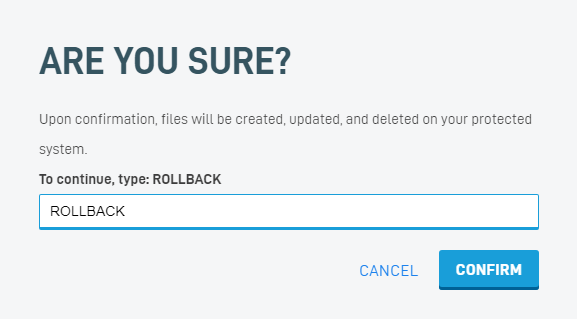
IMPORTANT This step will irretrievably destroy any data on the production machine that did not exist before the selected rollback date. Be sure that you wish to proceed before doing so.
The rollback will run, restoring the target machine. As each volume completes, you will see its completion status. The restoration may take some time to complete; during this process, do not remove the Datto Utilities USB drive or reboot the production machine.

Once the rollback completes, remove the Datto Utilities USB drive from the target machine and click Finish and Reboot. The target hardware will reboot in its restored state.

The next backup of your production system following a Rapid Rollback will be a Differential Merge. A differential merge allows the Datto appliance's backup engine to reconcile the differences between the most recent backup taken before the restore and the new state of the production machine, preserving the integrity of your backup chain.
