Troubleshooting common Screenshot Verification issues
This article provides an introduction to troubleshooting screenshot verification issues across the Datto Unified Backup products.
Environment
- Datto SIRIS
- Datto ALTO
- Datto Endpoint Backup for PCs
- Datto Endpoint Backup with Disaster Recovery
- Datto Backup for Microsoft Azure
Description
This article encompasses addressing common issues with the screenshot verification process for Datto Backup devices and Datto Endpoint Backup.
About screenshot verification
The screenshot verification feature of the Datto product line automatically builds and boots virtual machines from preexisting backups and performs context-sensitive tests against the virtual machine's output to evaluate a pass or fail state.
Following Datto's recommended system preparation guidelines can alleviate many post-install headaches with screenshot verification as healthy volumes lend themselves to healthy screenshots, but not all issues with screenshot verification stem from problems such as file system corruption.
The screenshot verification process must necessarily make assumptions about a Windows installation in order to automatically configure a virtual machine that will boot and to properly evaluate the virtual machine's state. For example, two very important assumptions that screenshot verification makes are that the System and Boot files are located on the same volume and that the operating system resides on an MBR partition.
Some assumptions the screenshot verification process makes are based on simple configurable options. This article focuses on common problems that can be resolved through these configurable options. If the screenshot verification process does not detect a successful boot, it will simply capture an image of the screen after a preset amount of time.
For more information on the screenshot settings available for each product and how to create a virtualization for testing, refer to the Additional Resources below.
Common screenshot verification problems
The following are the most commonly encountered issues with screenshots that are addressable through either the Datto device web interface or by modifying the Windows operating system configuration on the protected machine.
- Screenshots Fail to the "Getting Devices Ready" Windows Screen
- Failed screenshot with blue screen stop code 0x0000007b
- Failed screenshot showing Windows desktop
- Failed screenshot with black/blank image or image of Windows still loading
- Failed screenshot with customized login screen
- Failed screenshot with chkdsk/Windows updates in progress
- Failed screenshot with screen showing "(file) is missing or corrupt" or "BOOTMGR is missing" / WINLOAD.EXE Error
- Failed screenshot with "FATAL: No bootable medium found! System halted."
- Failed screenshot with "BOOTMGR is compressed"
- SeaBIOS Screenshot failures
NOTE An example image of each error is provided with it, but it may display differently based on the Windows version or configuration.
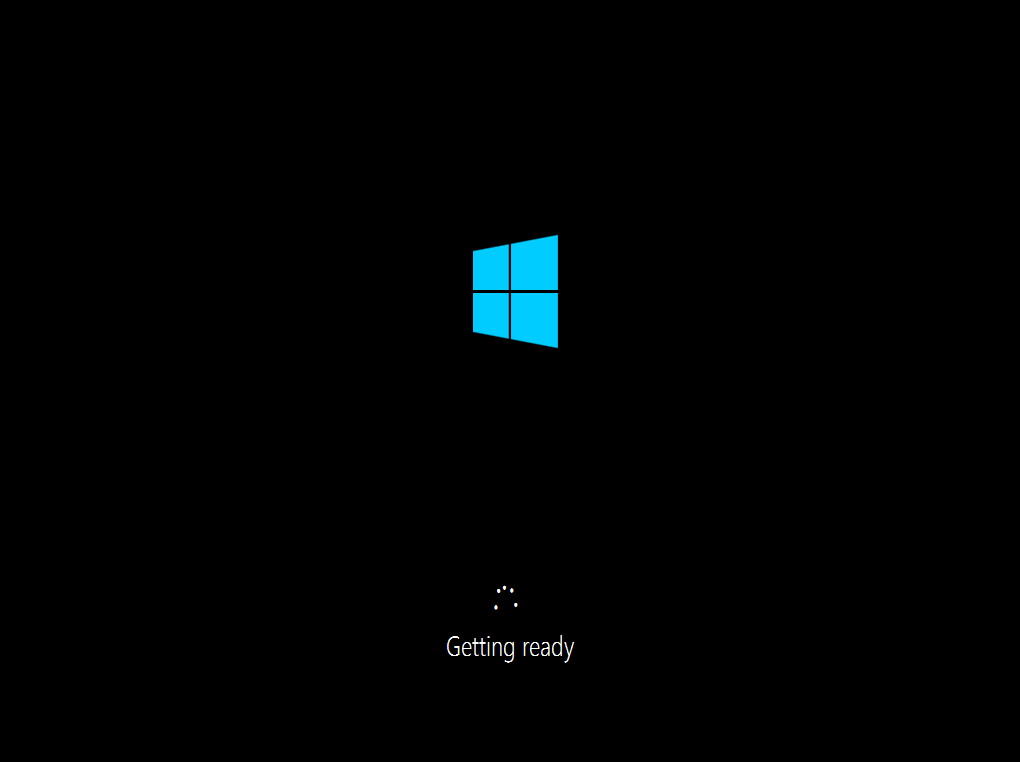
Screenshots Fail to the "Getting Devices Ready" Windows Screen
Cause:
- This error occurs when the Screenshot Verification process takes a screenshot before the login screen displays.
Solution:
- Configure additional wait time for the screenshot (SIRIS/ALTO devices).
- Adjusting services startup types on the production machine.
Additional Information: Screenshots Fail to the "Getting Devices Ready" Windows Screen
Failed screenshot with blue screen stop code 0x0000007b
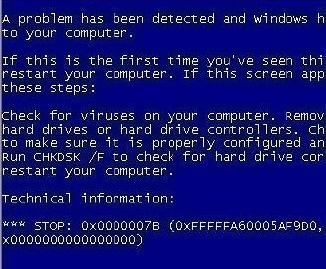
While the machine is attempting to boot you briefly see an error message stating A problem has been detected and windows has been shut down to prevent damage to your computer followed by a reboot:
Probable cause:
- The driver for the selected virtualization storage controller is missing, incompatible, or corrupt.
Solution:
- Try a virtualization with a different storage controller. For Vista and newer operating systems, SATA or SCSI will typically work. Older operating systems may require one of the IDE controller options.
- SIRIS/ALTO devices: The setting may be adjusted in the Configure Agent Settings screen for the desired agent, in the local UI. Agents are viewable by clicking the PROTECT option in the menu bar at the top of the device web interface
Alternate cause:
- In some cases, Group Policy applied to an Agent may cause a 7B upon virtualization.
Solution:
- Check for group policy enforcement of: "Prevent installation of removable devices" & "Prevent installation of devices using drivers that match these device setup classes"
Additional Information:
- Failed screenshot with blue screen stop code 0x0000007b(Datto SIRIS/ALTO)
- Failed screenshot with blue screen stop code 0x0000007b (Datto Backup for Microsoft Azure and Datto Endpoint Backup with Disaster Recovery)
- Failed screenshot with blue screen stop code 0x0000007b (Datto Endpoint Backup for PCs)
Failed screenshot showing Windows desktop
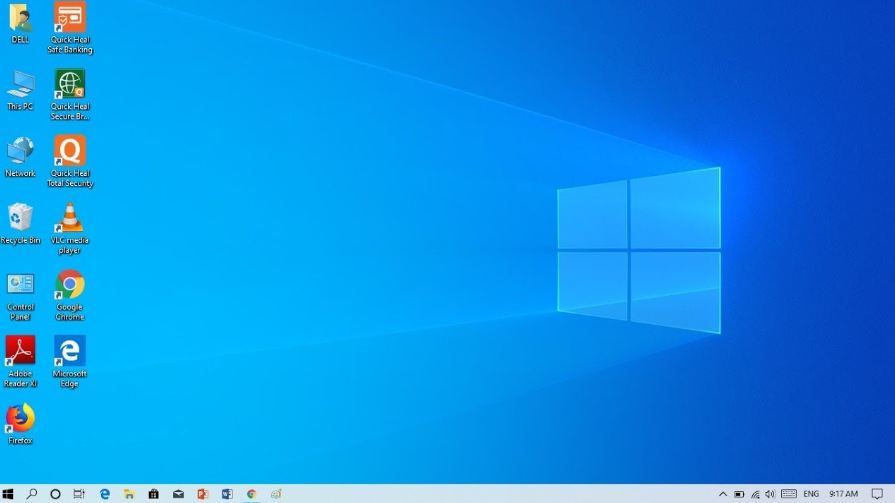
Cause:
- The screenshot verification process uses image processing to analyze the captured screenshot of the virtual machine. If the Windows machine being virtualized does not require authentication to log in, it may cause the image processing software to analyze an image of the Windows desktop instead of the Winlogon interface, causing it to fail verification.
Solution:
- Configure the Windows machine to require credentials to log in.
Additional Information: Failed screenshot showing desktop
Failed screenshot with blank image or image of Windows loading

You may encounter instances where a screenshot will fail verification with a completely blank screen or a lone loading bar.
Probable cause:
- The operating system was not allotted enough time to load into a state where screenshot verification could properly evaluate the screenshot image and/or state of the virtual machine.
Solution:
- Increase the amount of time the virtual machine is allotted to load by using the Additional wait time drop-down in the Configure Agent Settings screen for the desired agent. Agents are viewable by clicking the PROTECT option in the menu bar at the top of the device web interface.
Additional Information: Failed screenshot with blank image or image of Windows loading
Failed screenshot with customized login screen
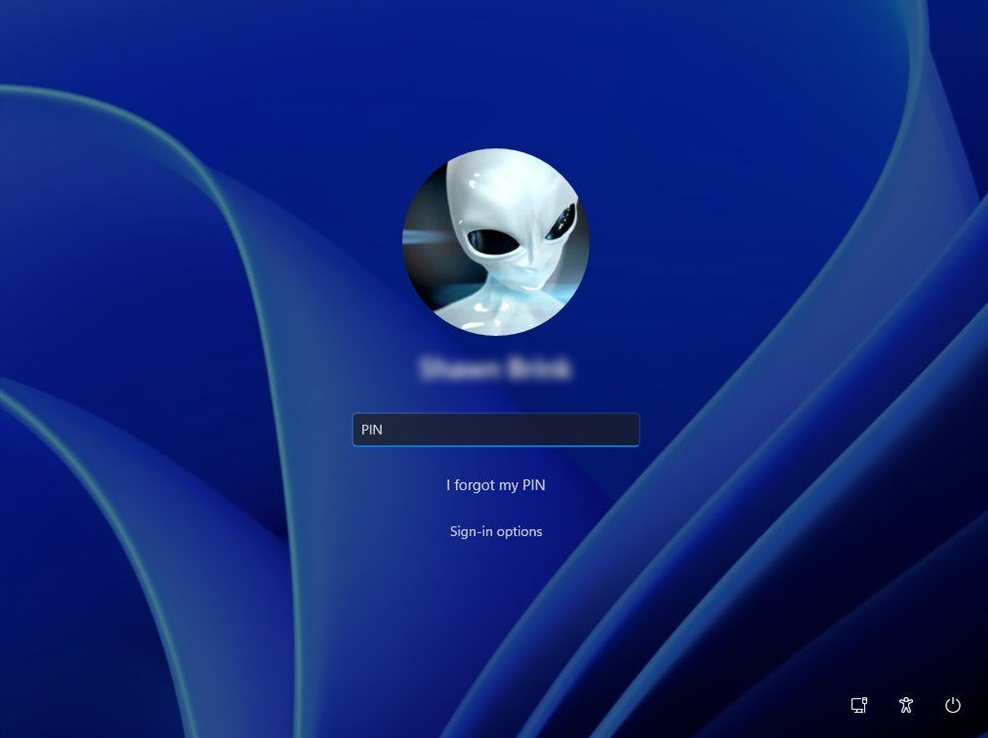
Probable cause:
- Part of the screenshot verification process involves image processing. Modifications such as complex rasterized background images, complex fonts, or Windows shell modifications that may significantly change the appearance of the login screen may trigger the screenshot verification process to fail, even though the virtual machine appeared to properly load and display the Winlogon interface.
Solution:
- Use the default Windows theme or manually configure Windows so the login screen appears unmodified.
Additional Information: Failed screenshot with customized login screen
Failed screenshot with chkdsk/Windows updates in progress
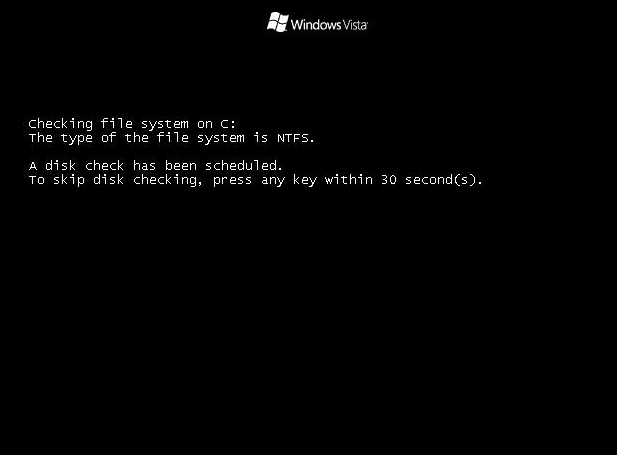
A screenshot may fail with an image of a chkdsk running or a Windows update configuration screen.
Cause:
- The machine being backed up has a chkdsk scheduled on the next boot or Windows updates have been applied that require a reboot to finalize.
Solution:
- For chkdsk screenshots, reboot the protected machine and allow the chkdsk to complete, unset the dirty bit on the volume, or resolve the issue causing the chkdsk to be scheduled, then take a new backup. For Windows update screenshots, reboot the machine to finalize the updates and take a new backup.
Failed screenshot with screen showing "(file) is missing or corrupt" or "BOOTMGR is missing" / WINLOAD.EXE Error
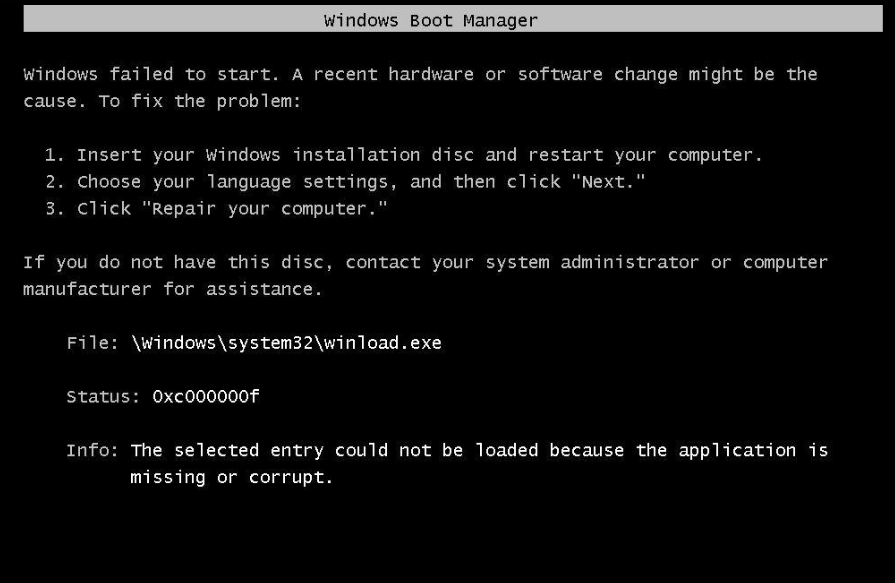
A screenshot may fail with a Windows Boot Manager error.
Although these types of errors can have many different causes, the backup agent may just need to reconcile its current backup with a new full scan of the target machine.
Solution:
- Manually force a diff-merge for the agent. Note that this will force the agent to traverse the entirety of each volume being backed up, giving the appearance of a new full backup. However, a diff-merge backup will only incur a cost of space on the storage array equal to a normal incremental and a minor amount of overhead.
- SIRIS/ALTO devices: To force a diff-merge, use the Force a diff merge button in the Configure Agent Settings screen for the desired agent. Agents are viewable by clicking the "PROTECT" option in the menu bar at the top of the device web interface.
Additional Information: Failed screenshot with screen showing "(file) is missing or corrupt" or "BOOTMGR is missing"
Failed screenshot with "FATAL: No bootable medium found! System halted."
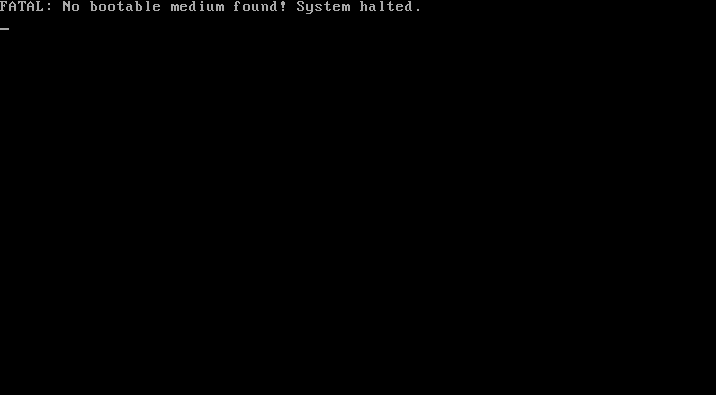
A screenshot may fail with an error stating FATAL: No bootable medium found! System halted.
Cause:
- The virtual machine could not find an active partition, volume with valid boot information, or a valid operating system.
Possible solutions:
- Verify that the volume the operating system resides on is part of the backup job. This can be verified by examining the Volume Level Backup Control option in the Configure Agent Settings screen for the desired agent. Agents are viewable by clicking the PROTECT option in the menu bar at the top of the device web interface.
- System Reserved and D:\ volumes are excluded from the backup job (indicated by a checkmark):
- (Verify that no other partitions are set as active (bootable) on the origin system.
- If the system has a "System Reserved" volume, try excluding it from future backups and deleting it in the "Volume Level Backup Control" options. To remove the "System Reserved" volume, click the "Delete" button under the "Delete Dataset" header for the "System Reserved" entry. After excluding and removing the "System Reserved" volume, take a new backup and then schedule a screenshot for the new backup.
Failed screenshot with "BOOTMGR is compressed"
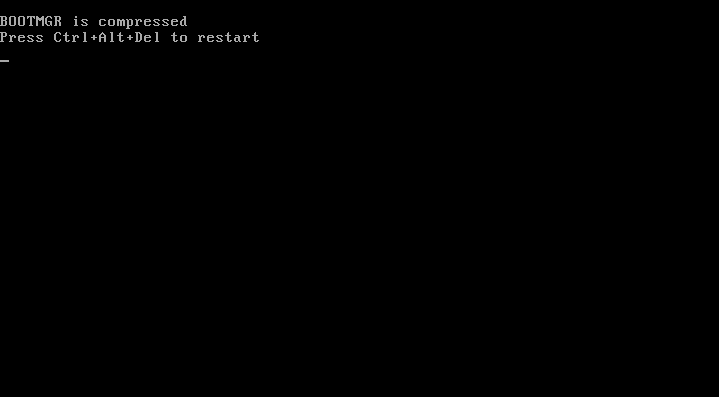
A screenshot may fail with the error BOOTMGR is compressed.
Cause:
- NTFS compression has been enabled on the volume containing the Windows boot files. Windows will try to compress all files, including critical boot files, if this option is selected.
Solution:
- On the production machine, open Windows Explorer (explorer.exe) and right click the drive where BOOTMGR is located (typically C:) and select Properties. Un-check the Compress this drive to save disk space option, take a new backup, and then schedule a screenshot for the new backup.
- If you still receive the BOOTMGR is missing message after a new backup, manually force a diff-merge for the agent. Note that this will force the agent to traverse the entirety of each volume being backed up, giving the appearance of a new full backup. However, a diff-merge backup will only incur a cost of space on the storage array equal to a normal incremental and a minor amount of overhead.
- SIRIS/ALTO devices: To force a diff-merge, use the Force a diff merge button in the Configure Agent Settings screen for the desired agent. Agents are viewable by clicking the PROTECT option in the menu bar at the top of the device web interface.
Additional Information: Failed screenshot with "BOOTMGR is compressed"
SeaBIOS screenshot failures
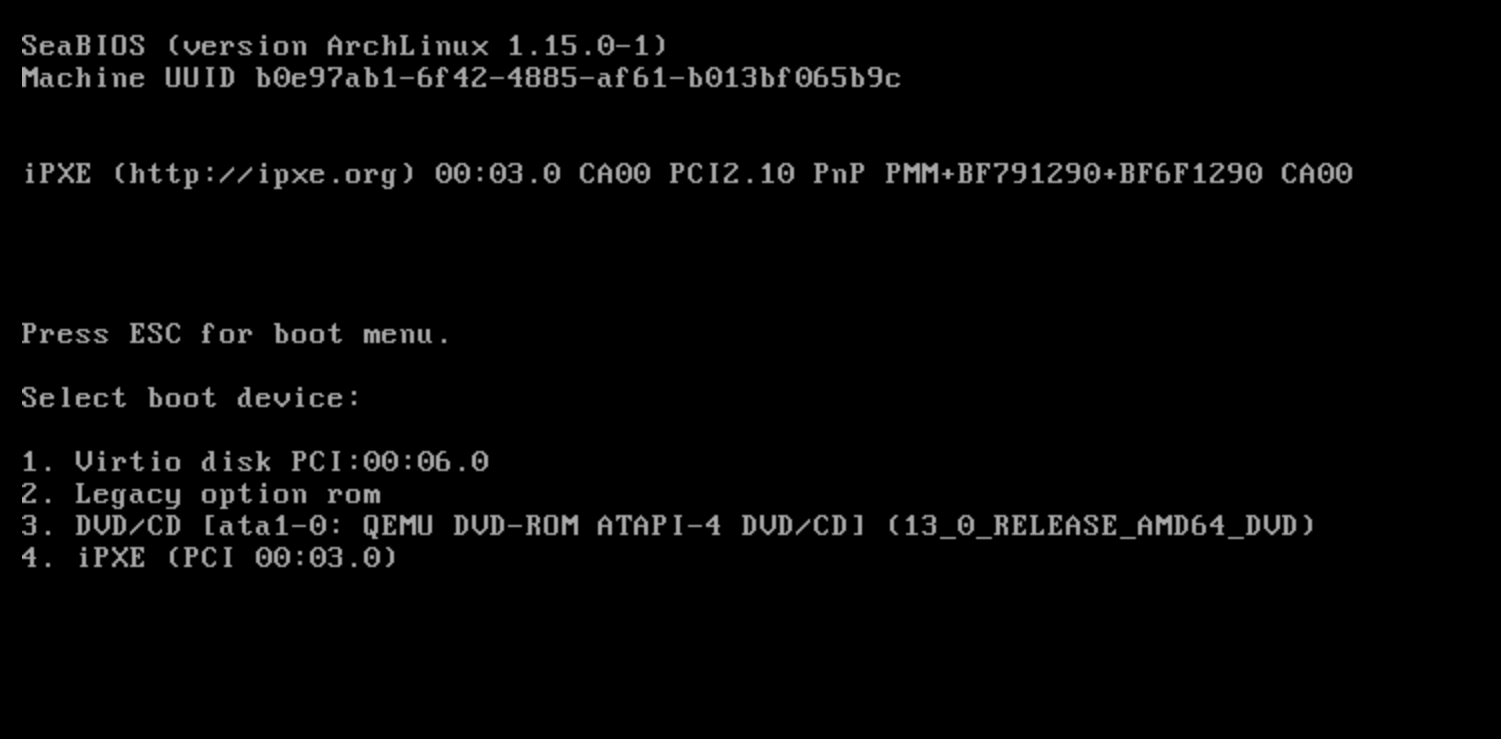
Screenshots that fail and display a SeaBIOS message are a result of the screenshot virtualization failing to boot and can have a variety of causes that may need more in-depth troubleshooting.
- Check to make sure that the boot volume is included in the backups, if the boot volume is excluded, include it in future backups.
- Run a differential merge and then a new backup and screenshot.
- Try changing to a different storage controller. You can select a different storage controller option on the Configure Agent Settings page in the web UI. If this doesn't help, switch back to your original storage controller setting.
If the above steps do not resolve the issue, contact Datto Technical Support for assistance.


