How to register a Datto backup appliance
This article describes the procedure to register a Datto backup device.
Environment
- Datto SIRIS
- Datto ALTO
- Datto NAS
Description
The Datto device registration process creates a permanent link between the Datto appliance and the Datto Cloud, allowing for data replication to the Cloud. Once the device starts communicating with Datto's monitoring servers, it will appear on the BCDR Status page of the Datto Partner Portal. While connected to Datto's servers with an active subscription, your appliance will receive automatic updates for its operating system.
IMPORTANT For security, after registration, the Datto device UI will only be accessible from the Partner Portal unless you adjust settings via the Remote Web UI to allow local access.
Registration prerequisites
For communication with Datto's registration servers, downloading updates, and performing cloud replication, your Datto appliance's environment must meet the Unified Backup Networking & Bandwidth Requirements.
Datto recommends that you use Mozilla Firefox or Google Chrome to complete these steps. Datto tests the appliance's GUI with the above browsers. Using Microsoft Internet Explorer may compromise functionality.
NOTE A new Datto appliance will automatically attempt to configure its networking with a DHCP address. If you cannot find your Datto appliance on the LAN, or if your network does not support DHCP, follow the steps in Configuring Networking from the Datto Appliance Console article to configure networking manually.
To get to the Registration page
Once you've connected your Datto backup device to your LAN, there are multiple methods you can use to reach the registration page for your device:
From the local LAN your device is connected to:
- Open your web browser on a machine on the local network. Navigate to device.dattobackup.com, and you will see your Datto appliance on the list (if you have more than one Datto device on the same network), or you will see the registration page (if only one Datto appliance exists on the LAN).
From a direct link to the Datto Partner Portal:
- From a web browser, navigate to https://portal.dattobackup.com/rly/web/device/(you datto device mac address)
From the Datto Partner Portal home page (requires Log On access):
Log in to portal.dattobackup.com.
Navigate to Status > BCDR Status
Click the Add New button at the top right of the page.
Unregistered devices that are avilable from the Inventory page. Select Register Device from the same column as the device you would like to register. To see more information on a device listed, click on the MAC address to open it's device overview page.
To register a Datto Backup for Microsoft Azure or Endpoint Backup with Disaster Recovery device select the appropriate option at the top of the page to create the device. More information on these processes can be found here:
Your appliance will contact Datto's cloud servers to download and install any available updates.
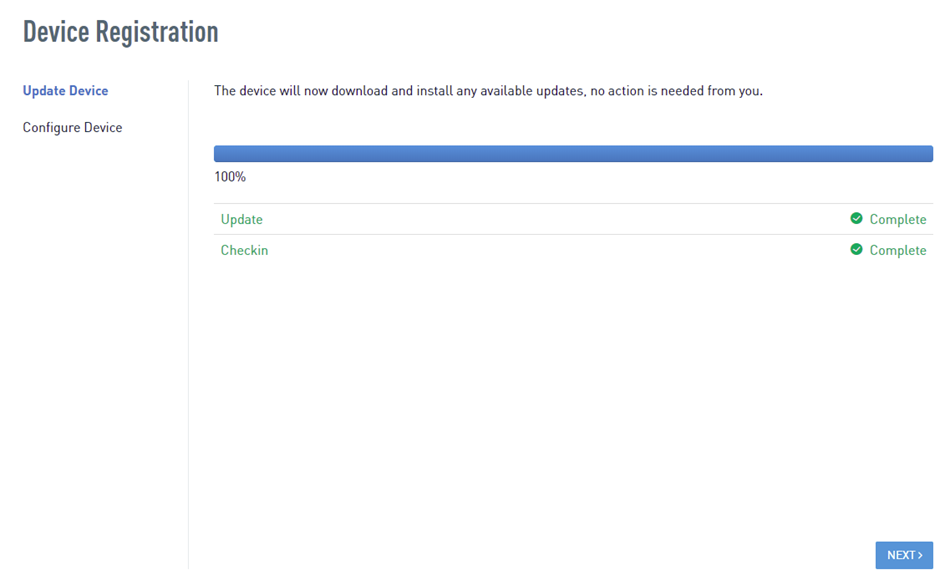
If the device is unable to contact Datto's cloud server, you will see an error message stating that the network check failed. Ensure that the network environment you have deployed the device into meets the Unified Backup Networking & Bandwidth Requirements, and attempt the registration process again. If the issue persists, contact Datto Technical Support for assistance.

When the device updates complete, the appliance will reboot and display the Configure Device screen. On the Configure Device page, you will receive a prompt to complete the following fields:
- Device Name: Specify the hostname of the Datto appliance. Device hostnames must not exceed 16 characters and cannot contain special characters or spaces (hyphens are allowed). If the appliance's hostname needs to be changed after registration, it can be done from the Networking page of the device GUI.
- Administrator Credentials: Create a local user account with full administrator-level access to the entire Datto appliance. You can add additional, limited-access user accounts from the Device Settings page. The following fields are required:
- Username: Create a username for the local administrator account. Do not use 'administrator' or 'admin' as the username. Doing so could make the registration appear to succeed while failing to register in the partner portal.
- Password: Create a password for the account that is at least eight characters long. Datto recommends that passwords meet the following criteria:
- Use a combination of uppercase and lowercase letters as well as numbers and special characters.
- Reflect a 'Very Strong' level of security in the account creation wizard.
- For password security best-practices, see NIST Guidelines For Password Strength(external link).
- Device Alerts Email Address: Enter the email address you would like to use to receive notifications about the overall status of your Datto appliance. You will receive alerts for events such as when agents get added or removed, or when the health of a hard drive triggers a SMART alert.
- You can add additional email addresses from the Device Alerts Email Address section of the Datto appliance's Device Settings page.
- You can also view, manage, or remove device alerting email addresses on the Partner Portal from the Alert Settings page.
- After entering your Device Alerts email addresses, you must enable alerts in the Datto Partner Portal before the system will begin sending alerts
- Time Zone: Select the local time zone for the device location. You can change this later from the Device Settings page.
- Offsite Data Storage Location: Select the geographic region you would like your device to replicate its offsite data to. The options are:
- Australia
- Canada
- Germany
- Singapore
- United Kingdom
- United States
- Click Allow installation of third-party drivers and software to allow your device to receive critical updates.
- Click Complete Registration. Allow the web browser to refresh on its own.
Then, proceed to the Next Steps section of this article.
Enter your virtual Product Authorization Code on the Authorize Service page, and then click Next.
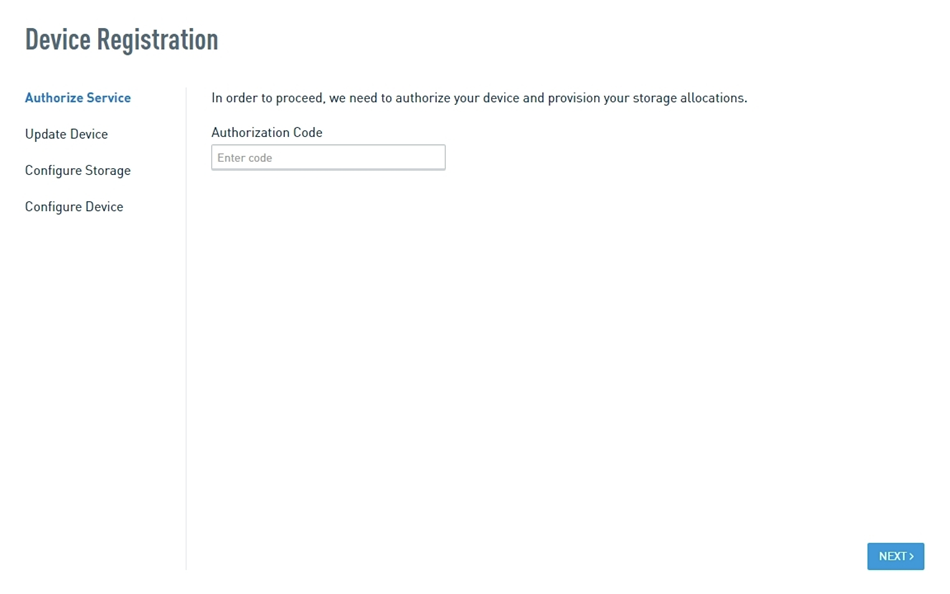
The Datto appliance will attempt to contact Datto's cloud servers. If it is unable to do so, you will see the error message shown. Ensure that the network environment you have deployed the device into meets the Unified Backup Networking & Bandwidth Requirements, and attempt the registration process again. If the issue persists, contact Datto Technical Support for assistance.

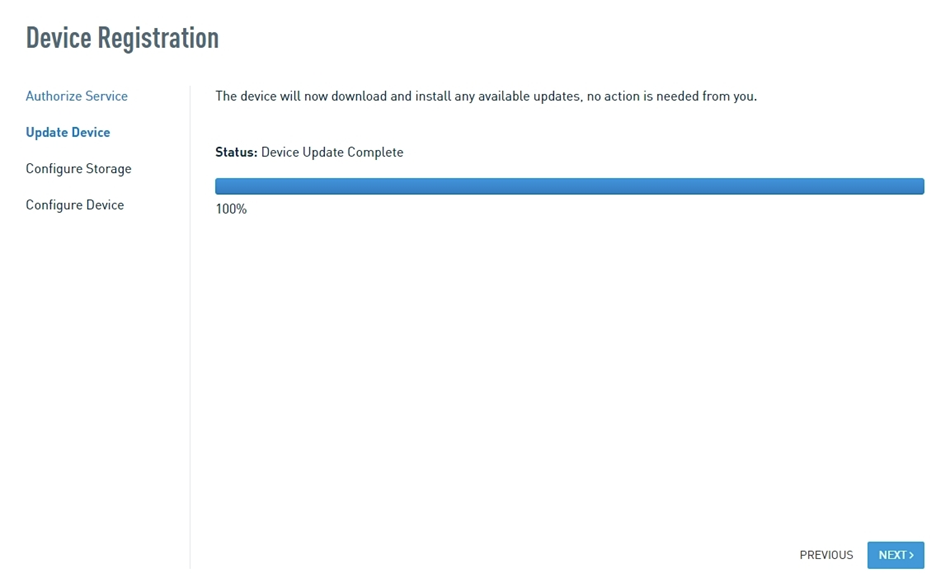
When the check succeeds, the appliance will download and install updates. After the device updates complete, the device will reboot and display the Configure Storage screen.
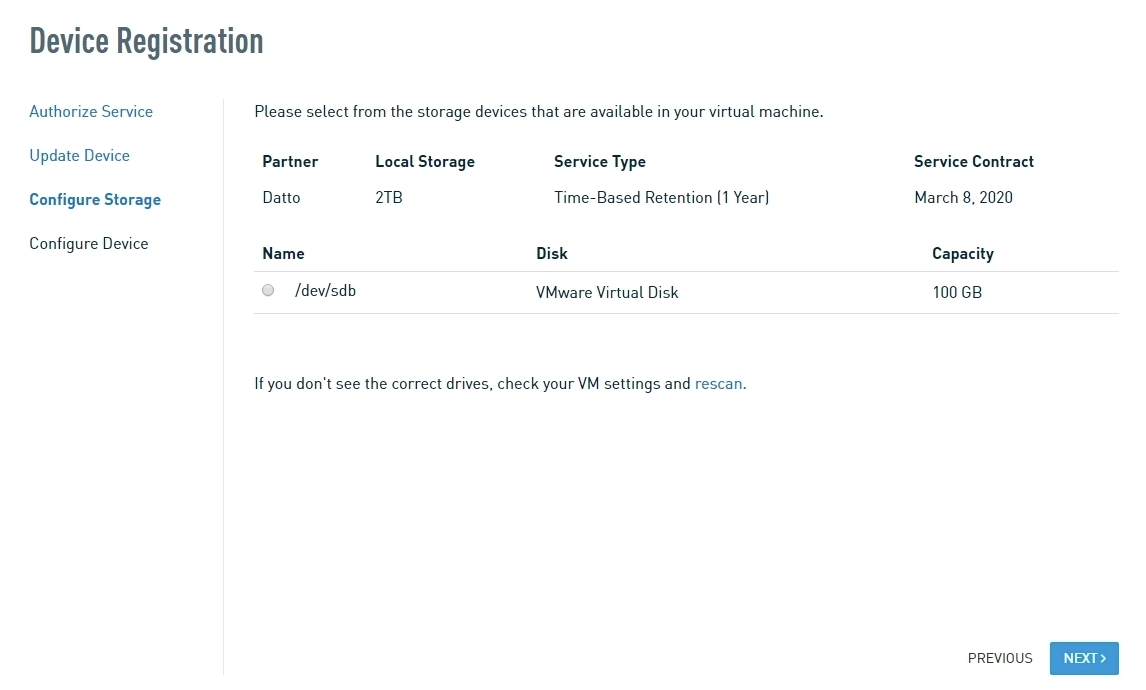
On the Configure Storage screen, select the storage disk you wish to use for the virtual appliance's storage array, before selecting Next.
On the Configure Device page, you will receive a prompt to complete the following fields:
- Device Name: Specify the hostname of the Datto appliance. Device hostnames must not exceed 16 characters and cannot contain special characters or spaces (hyphens are allowed). If the appliance's hostname needs to be changed after registration, it can be done from the Networking page of the device GUI.
- Administrator Credentials: Create a local user account with full administrator-level access to the entire Datto appliance. You can add additional, limited-access user accounts from the Device Settings page. The following fields are required:
- Username: Create a username for the local administrator account. Do not use 'administrator' or 'admin' as the username. Doing so could make the registration appear to succeed while failing to register in the partner portal.
- Password: Create a password for the account that is at least eight characters long. Datto recommends that passwords meet the following criteria:
- Use a combination of uppercase and lowercase letters as well as numbers and special characters.
- Reflect a 'Very Strong' level of security in the account creation wizard.
- For password security best-practices, see NIST Guidelines For Password Strength(external link).
- Device Alerts Email Address: Enter the email address you would like to use to receive notifications about the overall status of your Datto appliance. You will receive alerts for events such as when agents get added or removed, or when the health of a hard drive triggers a SMART alert.
- You can add additional email addresses from the Device Alerts Email Address section of the Datto appliance's Device Settings page.
- You can also view, manage, or remove device alerting email addresses on the Partner Portal from the Alert Settings page.
- After entering your Device Alerts email addresses, you must enable alerts in the Datto Partner Portal before the system will begin sending alerts
- Time Zone: Select the local time zone for the device location. You can change this later from the Device Settings page.
- Offsite Data Storage Location: Select the geographic region you would like your device to replicate its offsite data to. The options are:
- Australia
- Canada
- Germany
- Singapore
- United Kingdom
- United States
- Click Allow installation of third-party drivers and software to allow your device to receive critical updates.
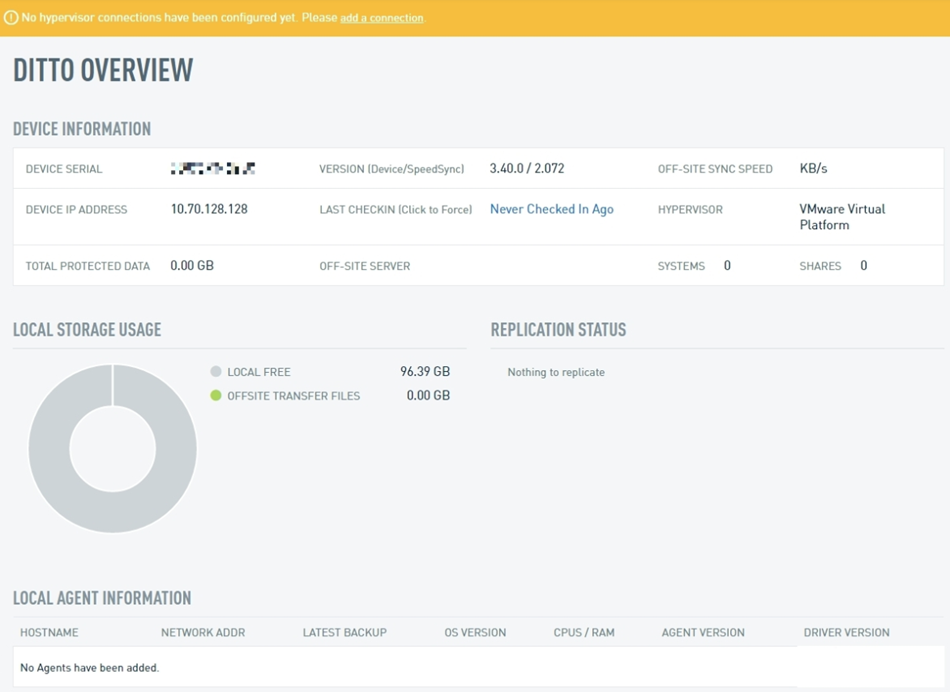
Click Complete Registration. The Datto appliance's dashboard will load. You should see a yellow banner stating:
No hypervisor connections have been configured yet. Please add a connection.
Follow the steps detailed in Connecting a SIRIS to a VMware Hypervisor to configure the connection. This step is required to have agent screenshots and for virtualization on Virtual SIRIS.
Next steps
Once you have registered your device, if you are setting up a SIRIS or ALTO, follow the Protect a System article for instructions on pairing protected machines to the Datto appliance.
For Datto NAS, follow the steps for creating a NAS share outlined in the Creating and Protecting Network Shares With a Datto Appliance article to continue.


